
 Are you interested in trying out a harness style? This trend seems to be going to the extreme with whole-body harnesses, but I wanted to just dabble with one at the waist. If you can make a bra strap, you can easily make this sexy add-on to the Dahlia Hipster for Styles C & D. Watch the video below to see how it's done.
0 Comments
 Do you prefer the contrast insets over the lace for the Dahlia Hipster? Come along with me, and we'll go step-by-step through the sewing instructions for Style B. 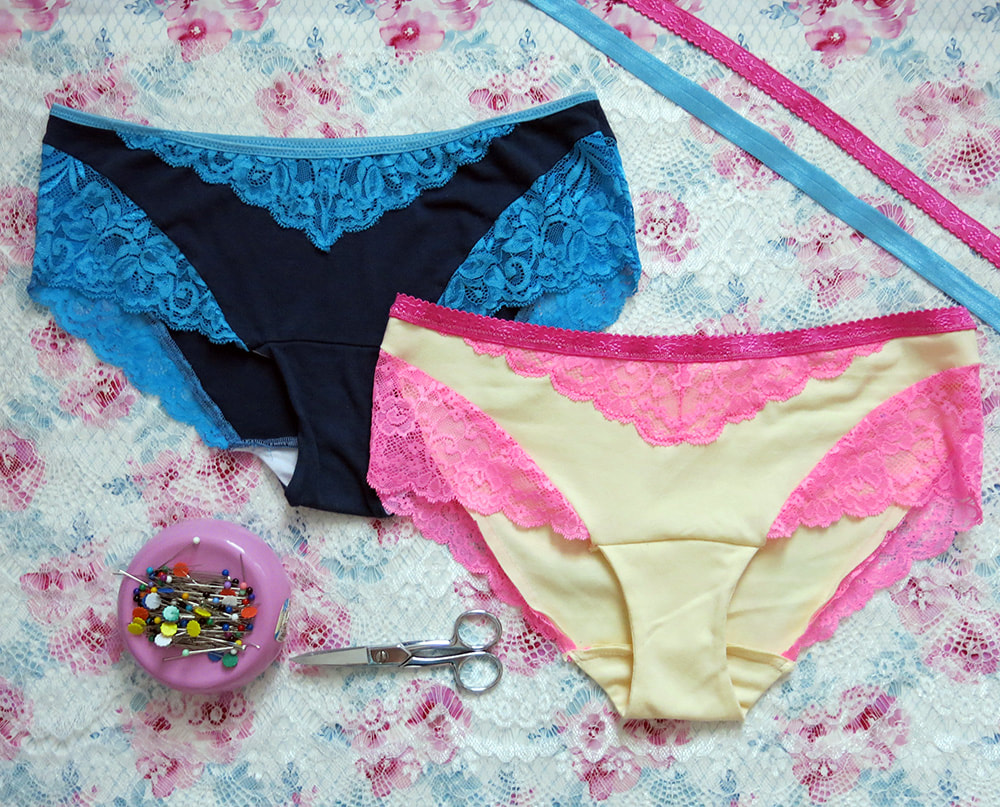 Confused about cutting lace? Wondering about how to sew the insets? With a few carefully matched points, I'll show you how easy it can be. Learn how to cut mirrored lace pieces, and go step-by-step through the instructions for sewing Style A of the Dahlia Hipster. Today I am happy to share with you the Dahlia Hipster panties made by my lovely pattern testers. I always love to see the fabric and trim choices of my testers, they are a source of inspiration!
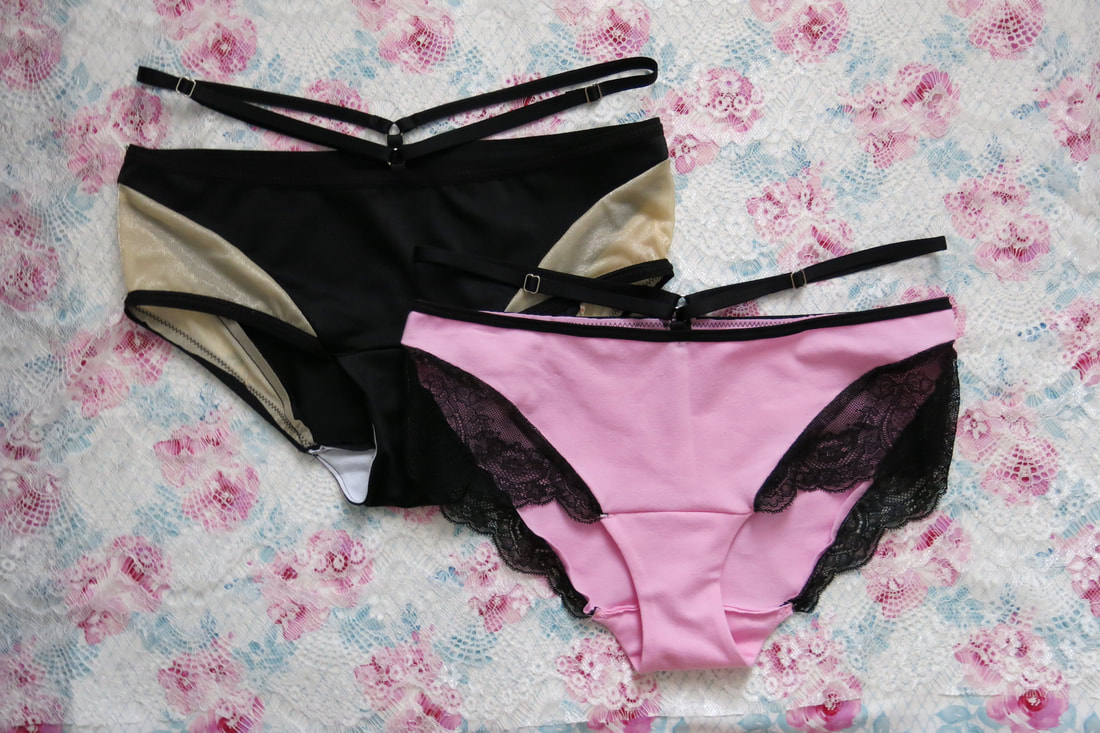
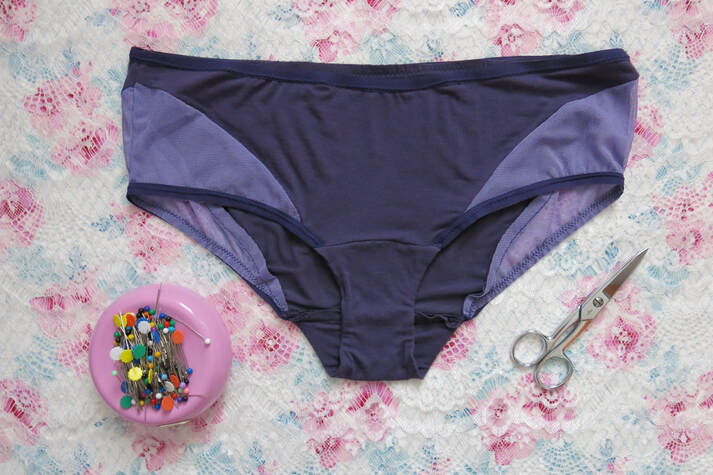
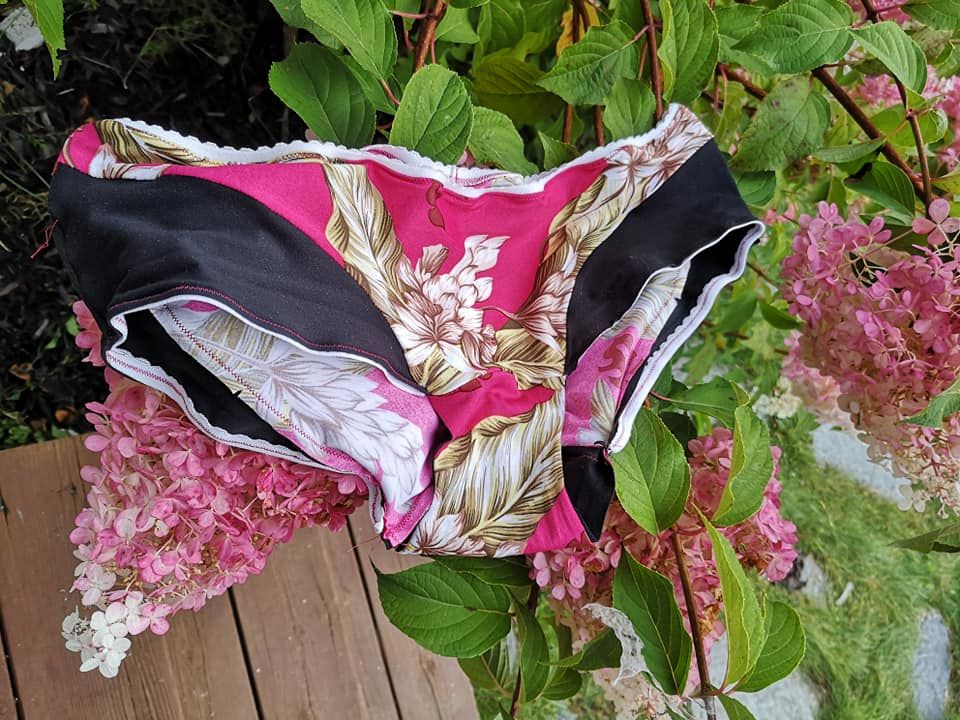
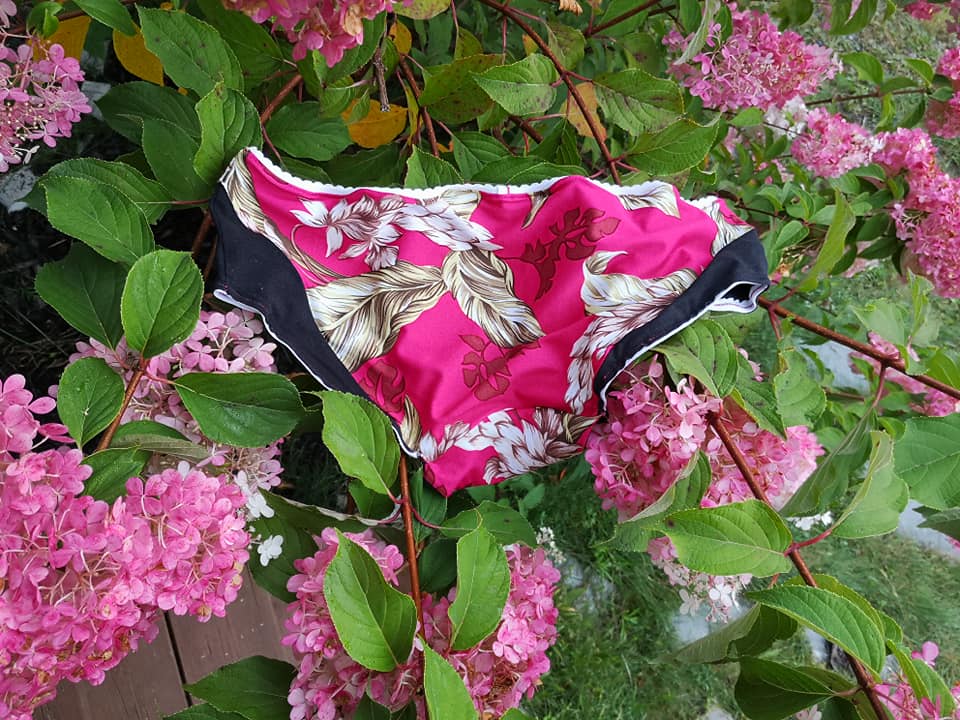
Do you make clothes to match your flowers? I love this beautiful pink floral with black contrast. 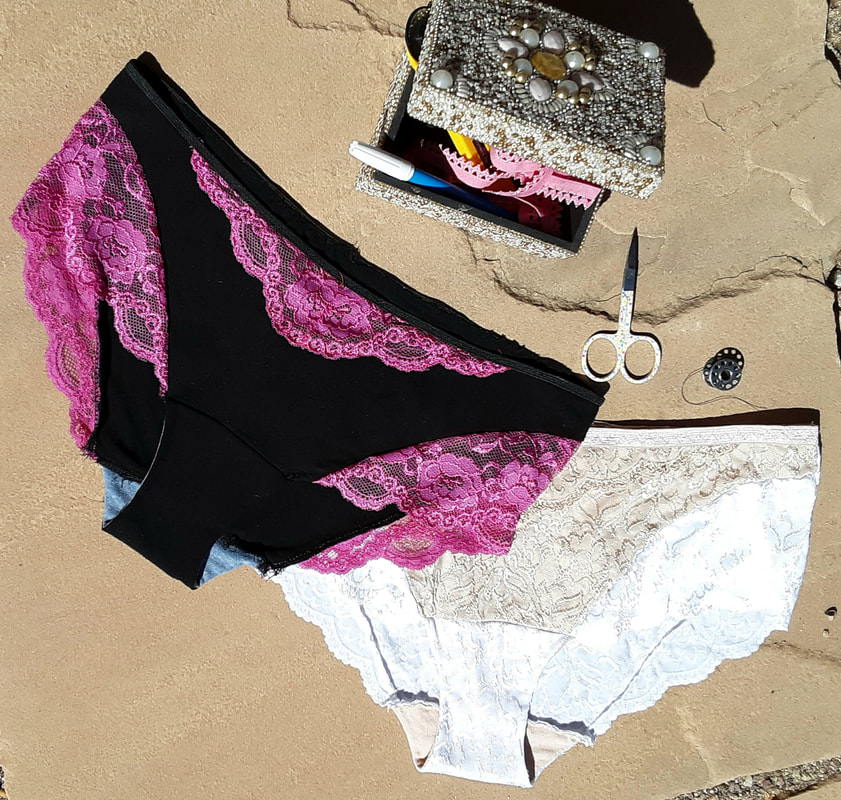 Jeanne More pink and black here, plus tan and white lace by Jeanne. 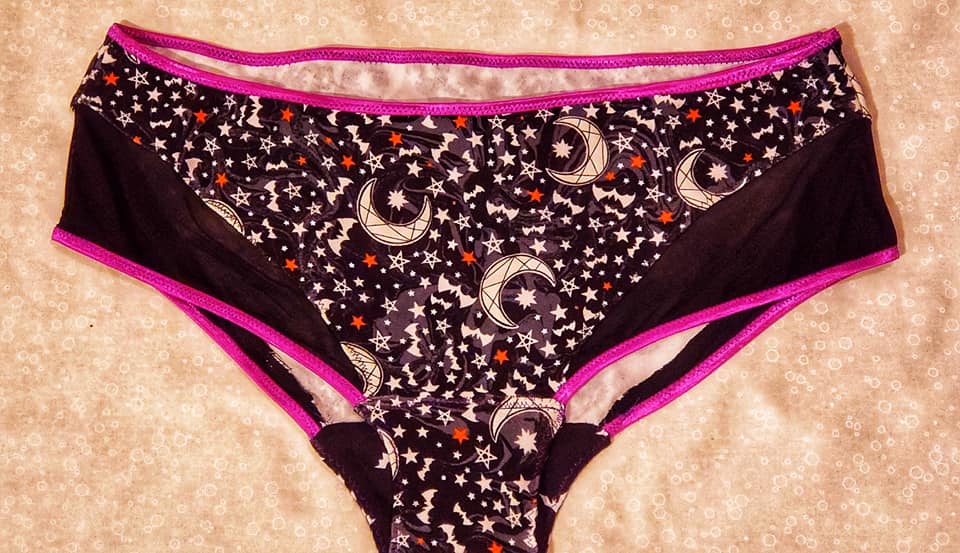 Marina 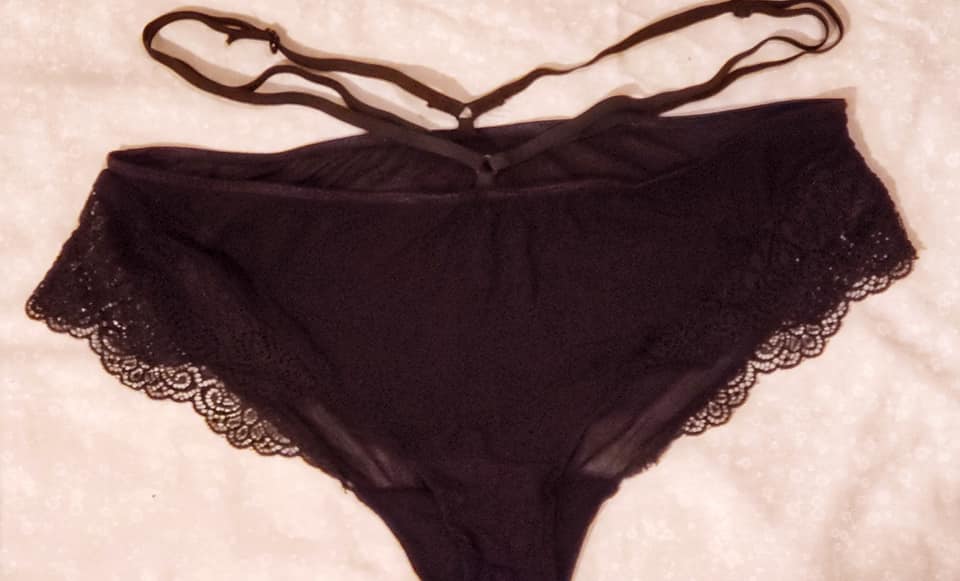 Marina Marina is ready for Halloween! Though she joked that it's always Halloween at her house. I love the bright purple pop of elastic. She also made a lovely Style C with the waist harness. 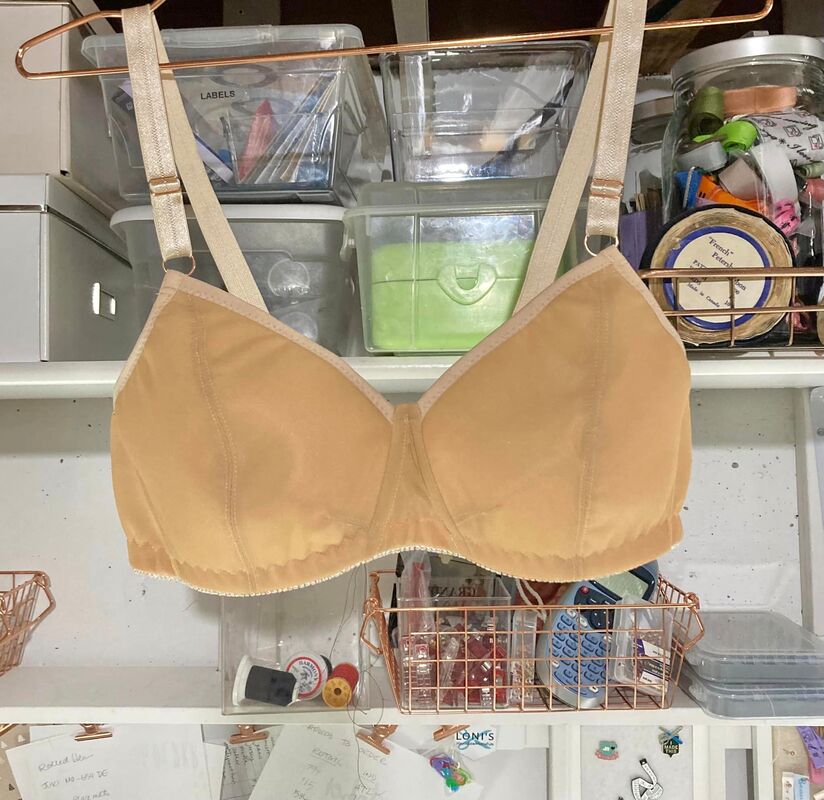 Heather @heathersewist Heather used black fabrics as well, making a Style B with mesh insets. I really like her use of fold over elastic sewn flat.  Katrina https://www.etsy.com/au/shop/SewWhatMay? Katrina used beautiful blues that sparkle for her Style A. 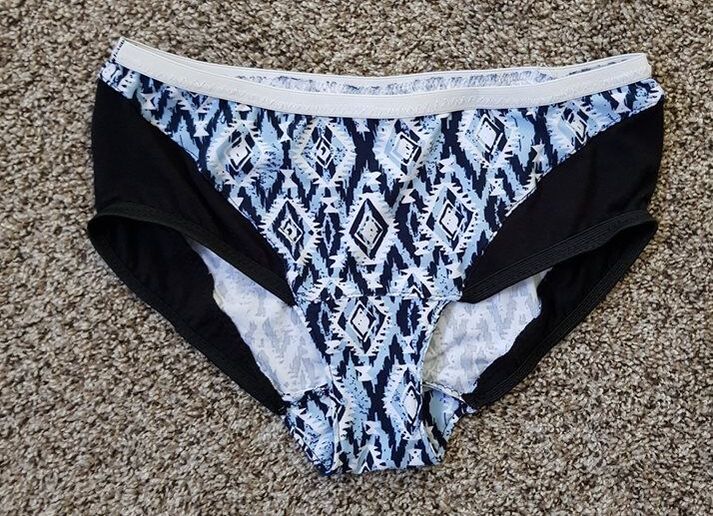 Shubha More beautiful blue from Shuba with black contrast insets. 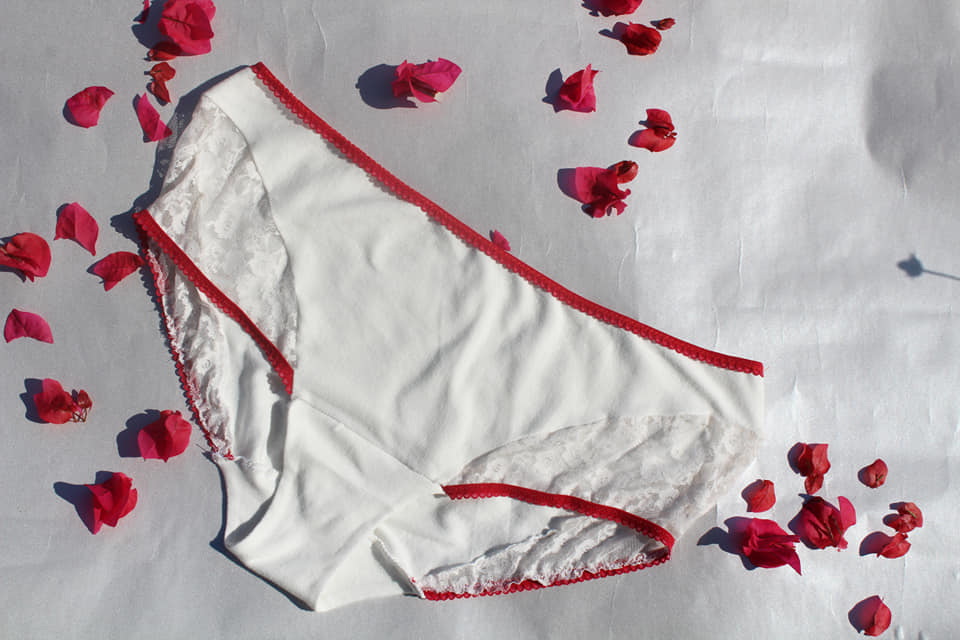 Phoebe Aren't these sweet? White with white lace and a pop of red. 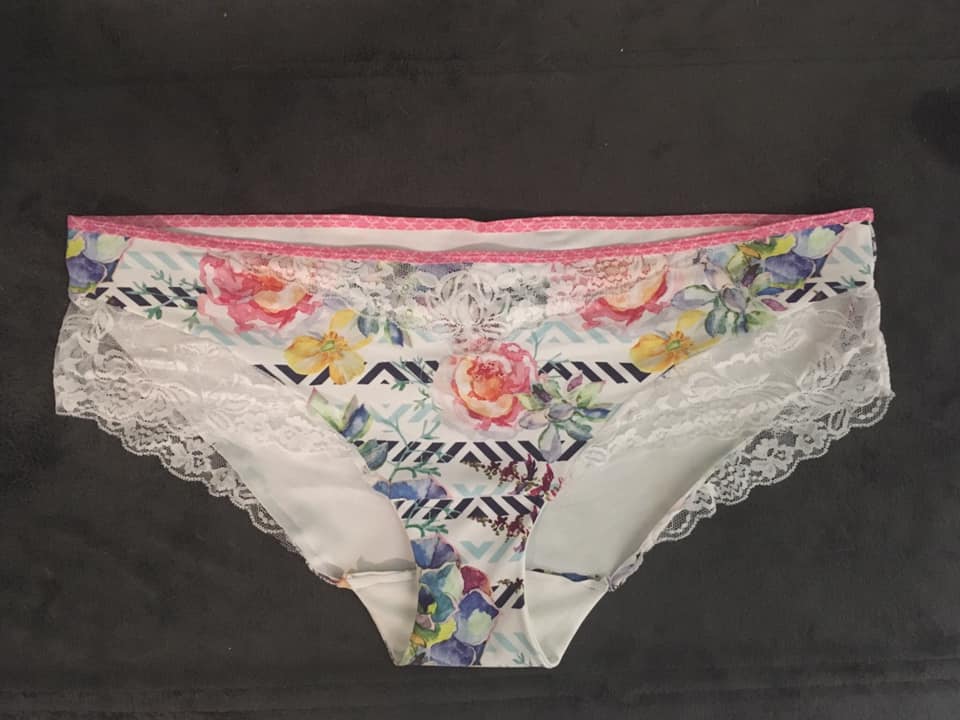 Sarah Sarah Floral, lace and pink elastic? All my favorites! Love Sarah's Style A. 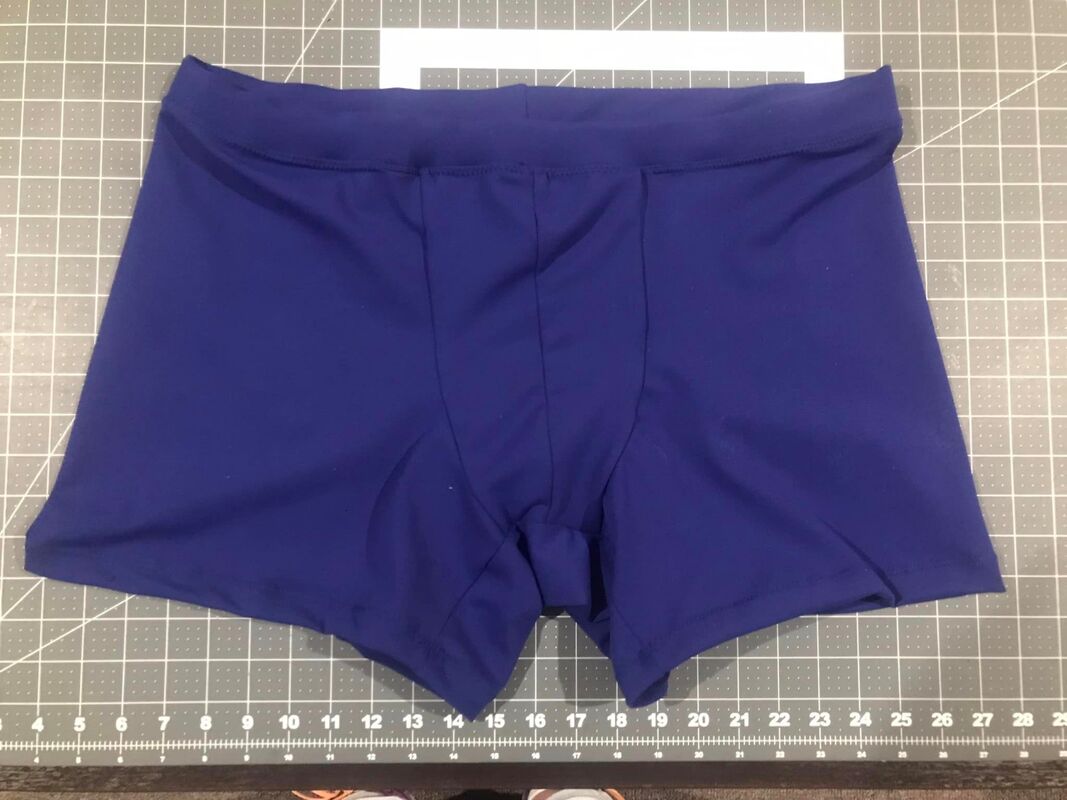 Wendy Striped black and white print with fuschia lace. Love it!
Many thanks to my pattern testers! Their hard work helps my patterns come to life! Hello, sewists! I just wanted to pop in and let you know about a couple changes I made to my store this morning to hopefully make it a better experience for you. Payment OptionsPreviously I had only PayPal as a payment option. While you were able to check out as a guest without a PayPal account, I don't think it was very clear. I have added Square as a payment option, so you can directly enter your credit/debit card information. I hope this makes things easier for you if you don't have a PayPal account. Store PoliciesI added a bit more to the store policies on the checkout page, and also made a separate Store Policies page for you to view. If you have any questions about the store policies, please don't hesitate to contact me. Another note about the checkout process, I realized it looks like you have to enter your phone number, along with your name and email address. The phone number is optional, and quite frankly I don't have a use for it. You won't be receiving any calls or texts from me. Why is it there as an option? Because Weebly (my website builder) currently has no function to turn it off. I've already made a complaint, and so have other people. The only choices are to make it required or optional, though the verbiage on the checkout page doesn't make it clear that it is optional. I don't have any way to change the phrasing on the checkout page, unfortunately. Questions or Comments?If you have any other questions or comments (or even just want to say hello!) I'd love to hear from you. You can use the contact form and I'll get back to you.
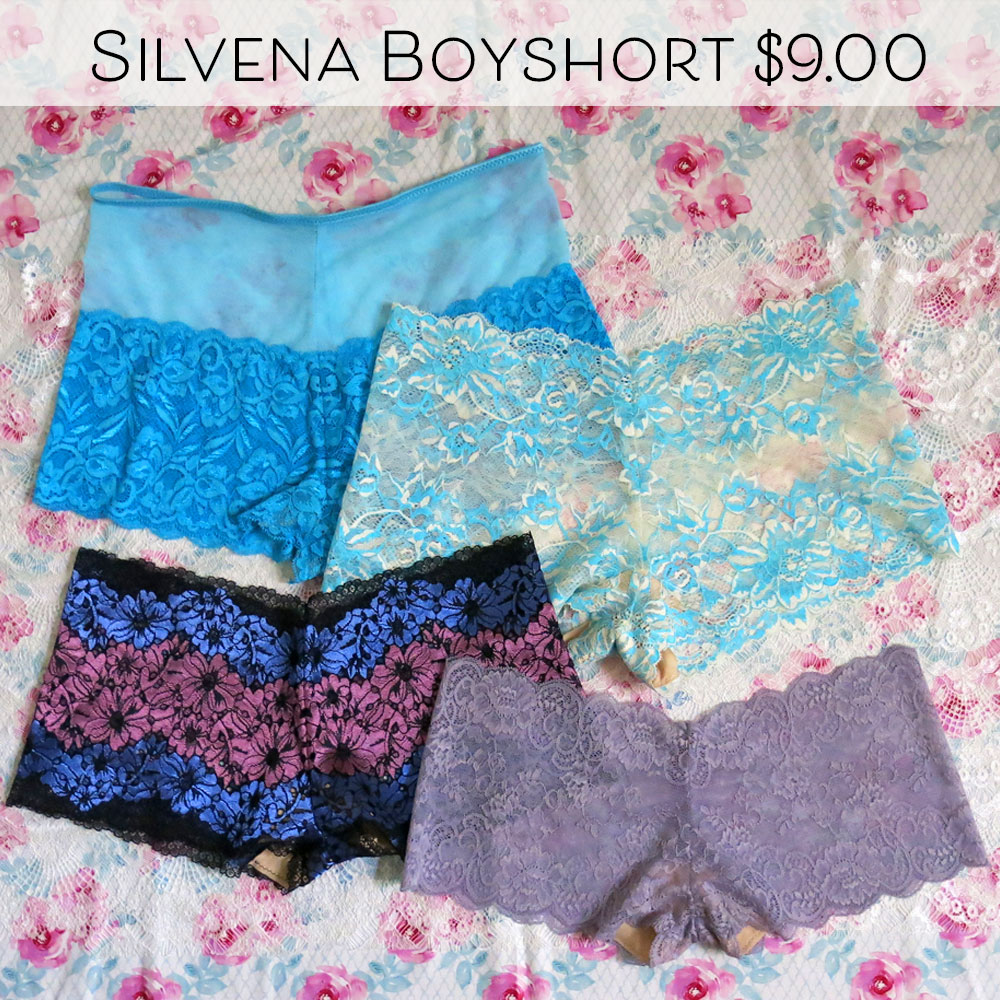
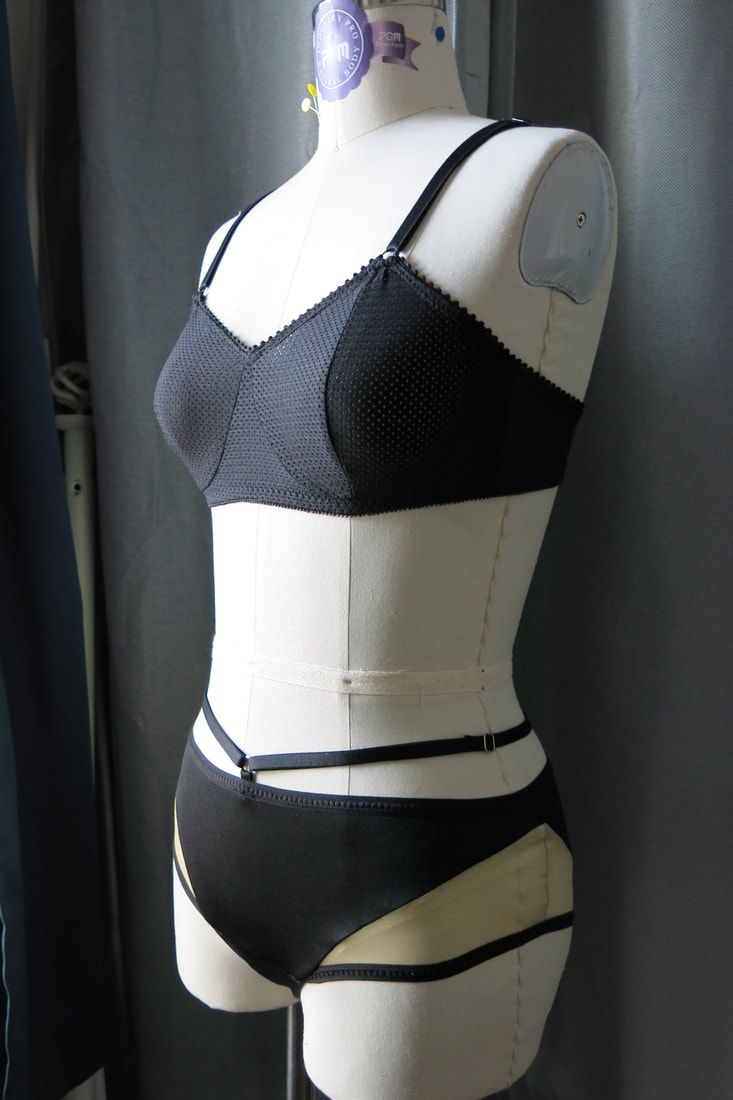
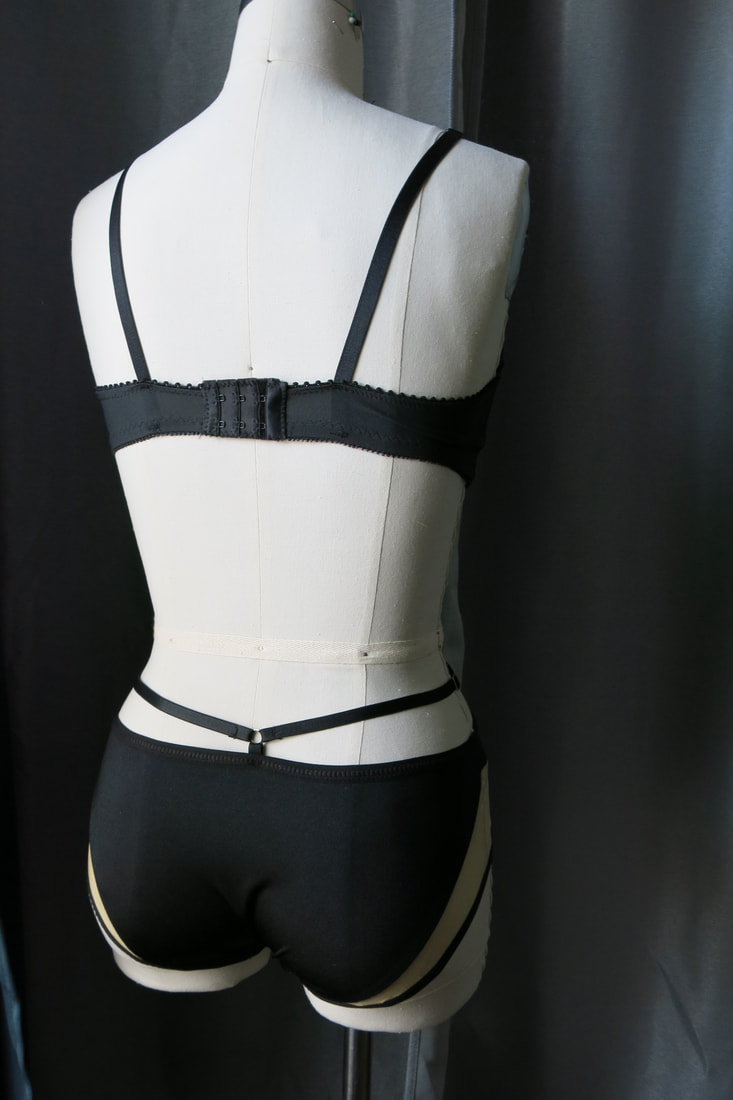
I am so happy to introduce to you my newest sewing pattern, the Dahlia Hipster. Dahlia is a low-rise panty with insets, either in lace or contrast fabric. Options include a front lace overlay and a waist harness.  Do you love lace as much as I do? My stash of wide stretch lace has been growing into a small mountain, and I wanted to try it out in a sexy-but-comfortable panty. After working on a few mid-rise styles, I decided to go low for this one. Back has medium coverage, showing just a bit of cheek.
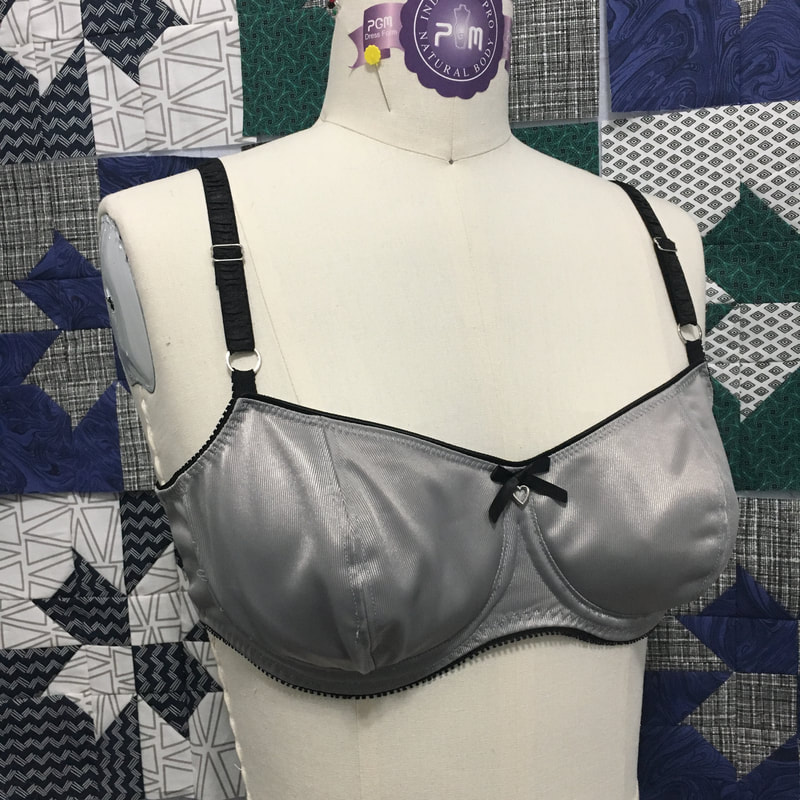 Here it is, my first bra made with my custom bra sloper using the drafting method from Bare Essentials Bras, 3rd Edition by Jennifer Lynne Matthews-Fairbanks. Pattern: self draft, 2-piece vertical seam cups with full frame. Underwire: Carmen by Emerald Erin Fabrics: Grey duoplex and powernet I think from Bra Maker's Supply. Elastics: 3/8" & 1/2" black picot elastics from Fabric Depot Co. Piping edge elastic along the neckline from Sew Sassy. Straps: 1/2" ruched strap elastic. Can't remember where I bought it, sorry. Bow: 1/4" satin ribbon, heart charm from Joann jewelry department.  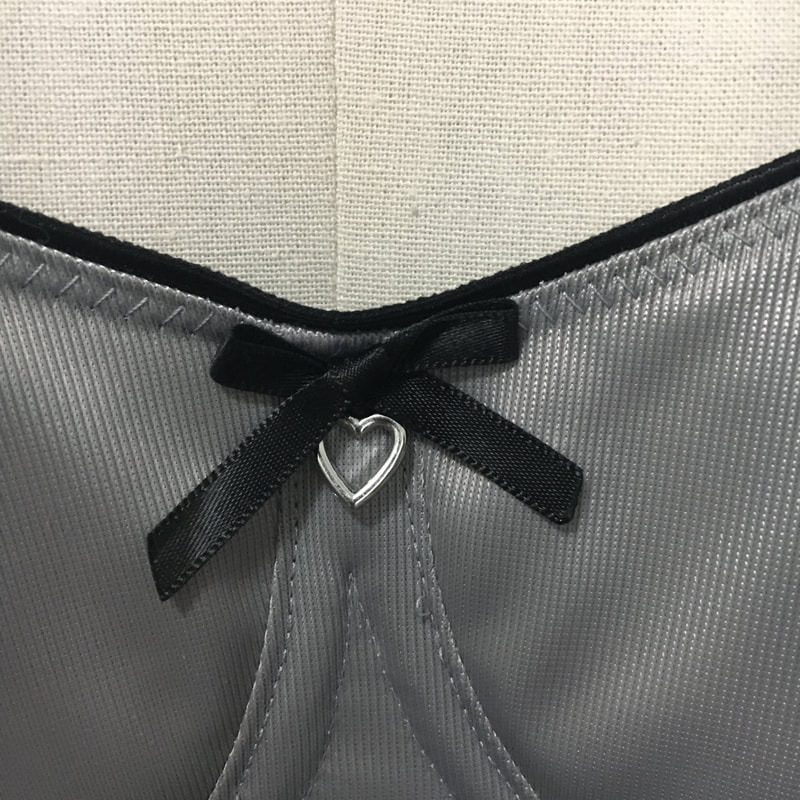 While I would not say that sewing a bra is hard, there are always a few parts I struggle with. Every time I sew a bra, I try out a new technique or two to see if I can improve my sewing experience.
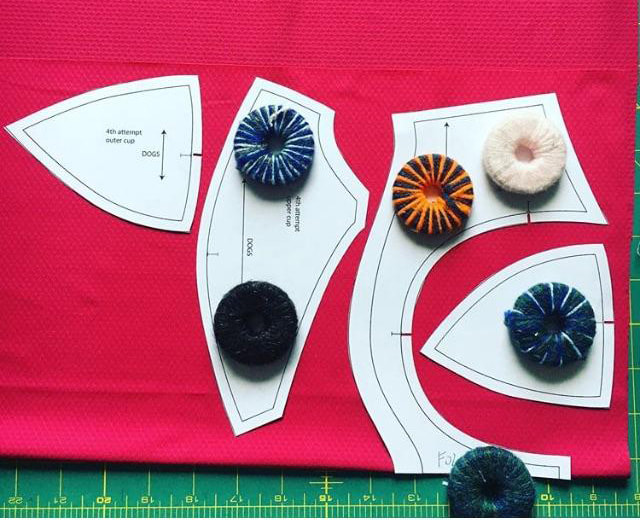
This time around, there were two areas I wanted to try something new: encasing the ends of the channeling at the front, and making a strap attachment less bulky. For the channeling, I'd normally have the ends extend past the edge of the cradle, then close them off and trim them at the end after everything else is sewn. I think I learned this method from the Harriet Bra instructions. But after seeing a few Emerald Erin bras that use the neckline elastic to finish the top of the cradle as well as the cups, I decided to see if I could get the ends of the channeling under the edge of the neckline elastic. I started the channeling 1/4" down from the edge, since I was using 1/4" elastic. I didn't quite get the ends under the elastic, but at least they aren't sticking out past the top of the cradle. I usually attach the ring to a strap attachment that is part of the cup. So far that has led to a very bulky seam that usually breaks my needle with several layers of fabric and elastics all coming together. This time I decided to just let the armhole elastic extend past and thread the ring through that. I probably should have made a tighter loop against the cup; it stretches out a bit when worn, obviously because it is elastic. But this join was much easier for me to execute and left me with a much smoother fold. Do you have any tips for sewing channeling or attaching the straps? I'd love to hear them, leave a comment below. Happy Sewing! In my previous post, I talked about creating a custom bra draft using the method from the book Bare Essentials Bras, 3rd edition by Jennifer Lynne Matthews-Fairbanks. After finalizing the fit of the bra draft, the 3-piece cup, cradle and band are turned into a sloper to make custom bra designs. What is a sloper?A sloper, in fashion industry terms, is a basic building-block pattern without seam allowance or design lines. It is used as a starting off point to create various designs. For a bra, the sloper includes a basic cup, a cradle without bottom shaping and a back band. Here's a peek at my sloper, drafted in Adobe Illustrator.
 I'll begin this post by saying I have not been paid in any way to endorse or give a review of this book. I'm just a bra-making fangirl giving her opinion!
I was so excited when Jennifer Lynne Matthews-Fairbanks came out with the 3rd edition of her book Bare Essentials: Bras. This new edition has a whole new drafting method that takes into account torso size and shape for a completely custom fit! I have the previous edition of her book and found it monumentally helpful for drafting bra patterns. I haven't been completely satisfied with my Shin draft, (there were too many unexplained variables in the drafting instructions) so I wanted to try a different drafting method and compare. |

CassieI design lingerie sewing patterns for everyday comfort and feminine style in an inclusive size range. Fill up your underwear drawer with beautiful custom-made bras and panties in your favorite fabrics and trims, designed to fit your body. 


Categories
All
Archives
February 2024
|
 RSS Feed