
|
This week has been cold and dreary, so can I pretend that spring is coming soon with sunny skies and flowers?
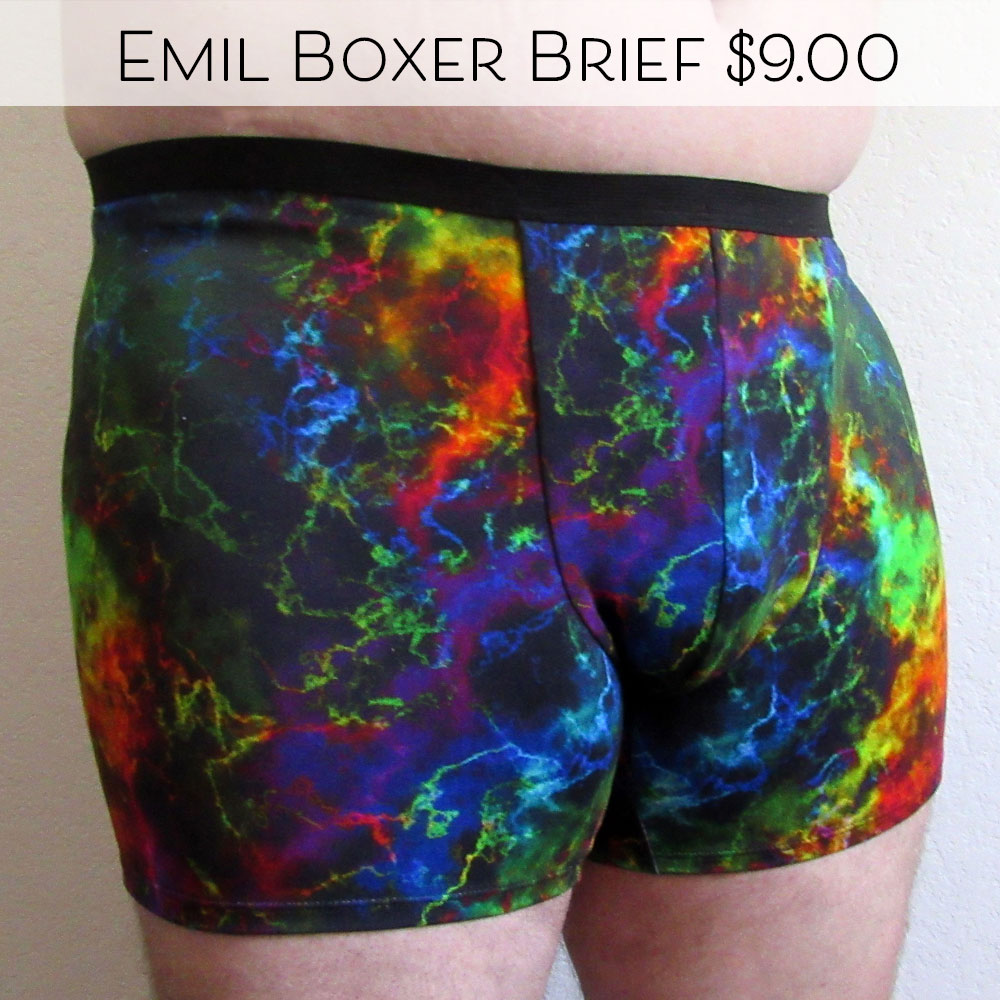
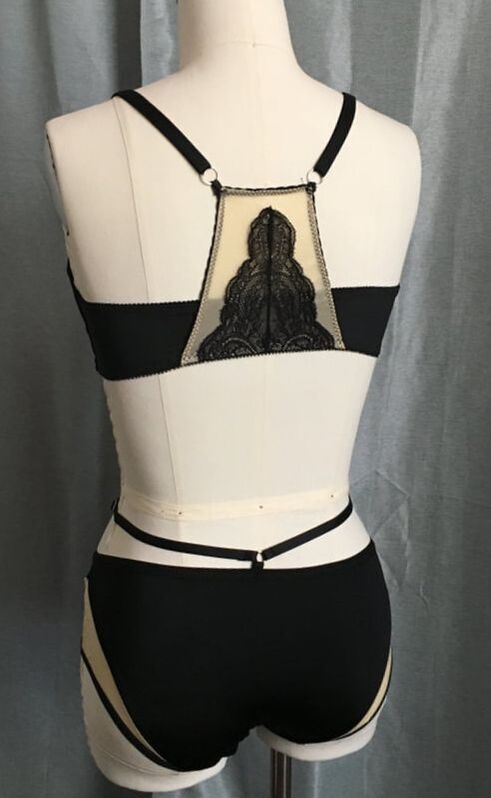
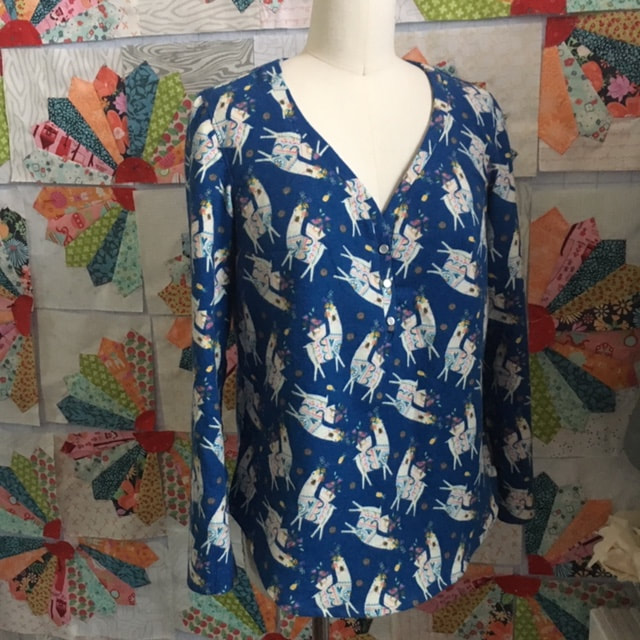 Yes, this post is about boxer shorts. Keep reading, friend! Last week I sewed up this shirt out of llama printed flannel using a self-drafted pattern. When I showed it to my husband and mentioned I had fabric leftover, he said, "I'd totally wear a shirt out of that fabric!" But there wasn't enough leftover to make a shirt, and I was trying to think up an alternate project. I wore the shirt a few days later to my quilting bee and told the story to my friends, and they said, "Make him boxer shorts instead!" Hah! What a good idea. I don't have a pant block drafted to my husband's measurements, and didn't have time to make one, so I decided to just go search for a boxer short pattern. I found 400 Oak Street by Green Style Creations. They sewed up pretty quickly and I'm pleased with how they came out. Whether they fit or not remains to be seen; these are a Valentine's Day present. I didn't see many reviews for this pattern, so I'll give you a short summary of the pros and cons. 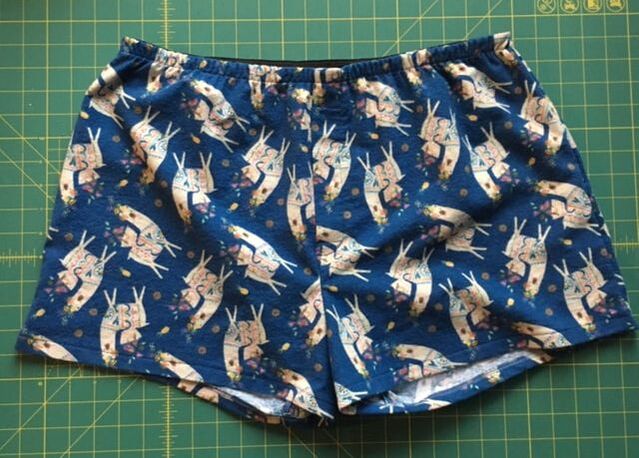 Happy New Year, sewing friends! A new year means lots of new things to come here. More patterns, tutorials and videos are coming your way. Is there something you'd like to see? Let me know by leaving a comment below, or filling out my contact form. Thanks! I’m starting a featured set of the week, with details on the patterns, fabrics and trims. To begin, here is Black & Tan:
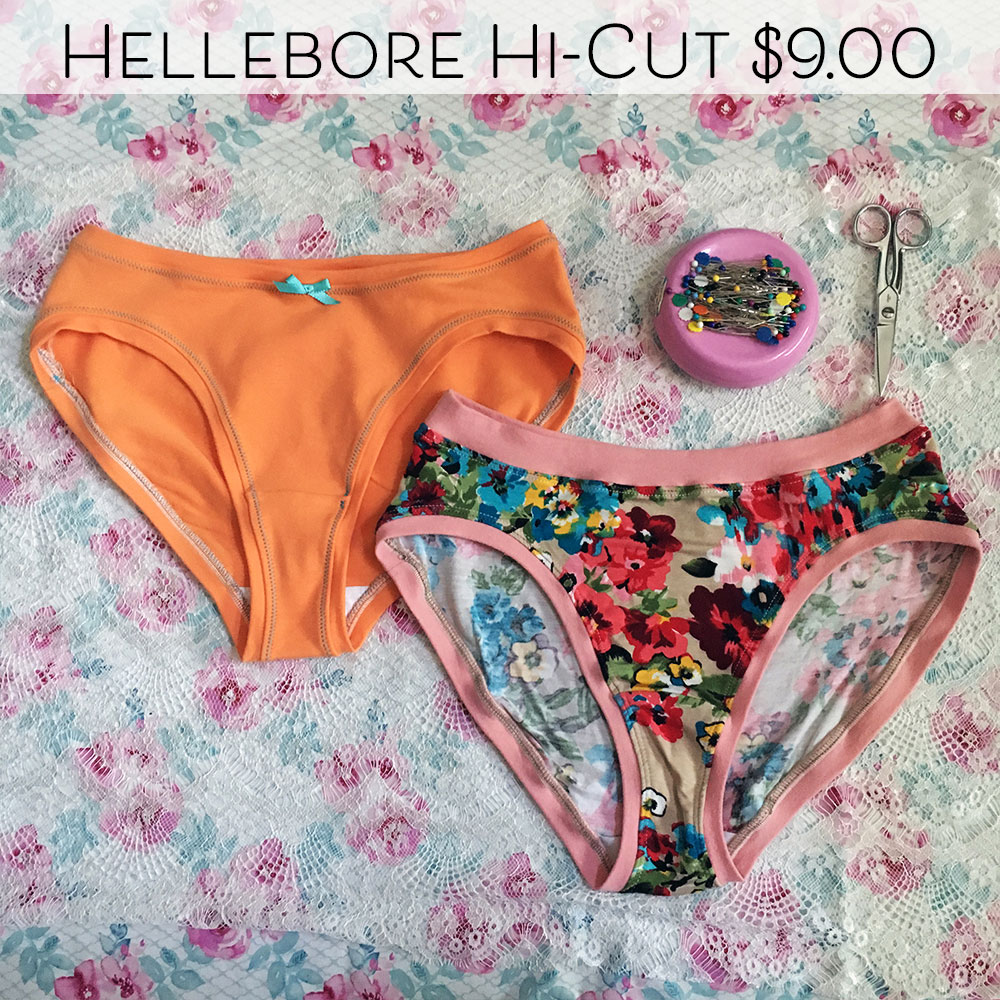
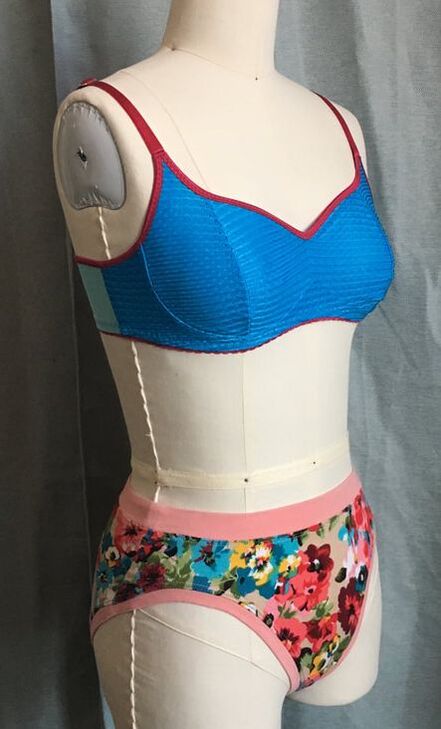
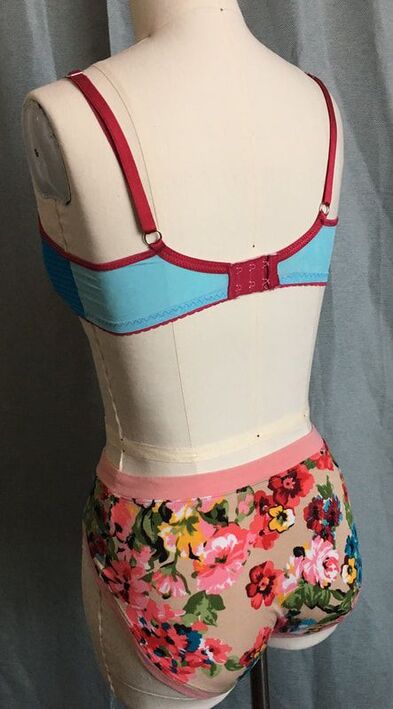
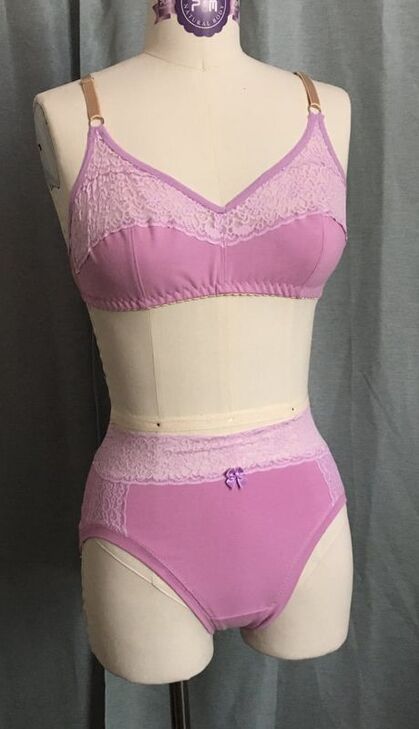
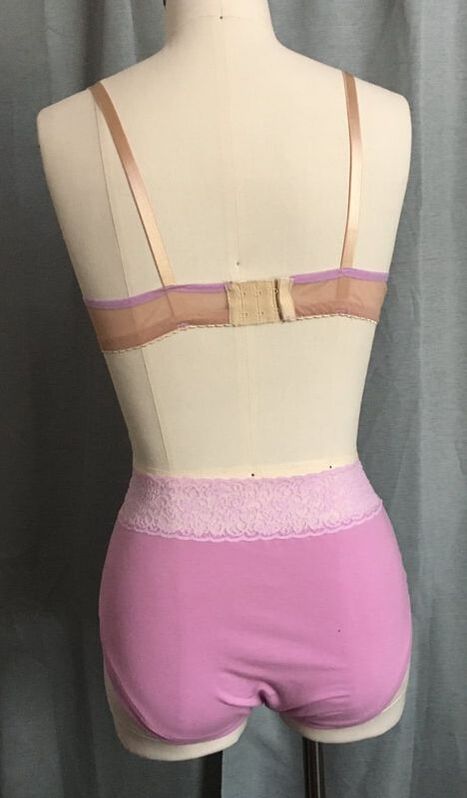
Awhile ago I made this set, and I forgot to share it! I thought of it again when I was writing my post about joining strips of lace. PatternsBralette: Bambi Bra by Ohhh Lulu Panties: Hellebore Hi-Cut This is my second time using the Bambi Bra. It is an interesting pattern because you can use knit or woven. I used bias charmeuse the first time and it turned out too big. The only measurements indicated on the size chart are the full bust measurements, and a note that Cup Size 1 is for A-B and Cup Size 2 is for C-D. I'm around a 32D, so I used Cup Size 2 and a size Small, but the band still felt quite big on me. The panties are one of my samples for my Hellebore Hi-Cut pattern. I enjoy making coordinating sets and wanted to use this pretty lavender lace again. Fabrics & TrimsMain fabric: Lavender heavy cotton-spandex jersey. I'm not sure of the weight or content because it came in a grab bag. Not terribly soft, but it has very good recovery, so it must have a high amount of spandex. Back band: beige powernet. The pattern doesn't actually say to use powernet for the band, but the first time I used this pattern it was too big, so I made the band smaller and definitely needed firmer fabric in the back. Lavender lace: 2" wide, two pieces joined together. Also from a grab bag. Elastic (upper edges): Lavender matte elastic. I love matte elastic for panties, but this is probably not the best choice for a bralette. Mostly I used it because it matched well. It is thin and soft, but not very firm. Band elastic: 1/2" beige scallop elastic  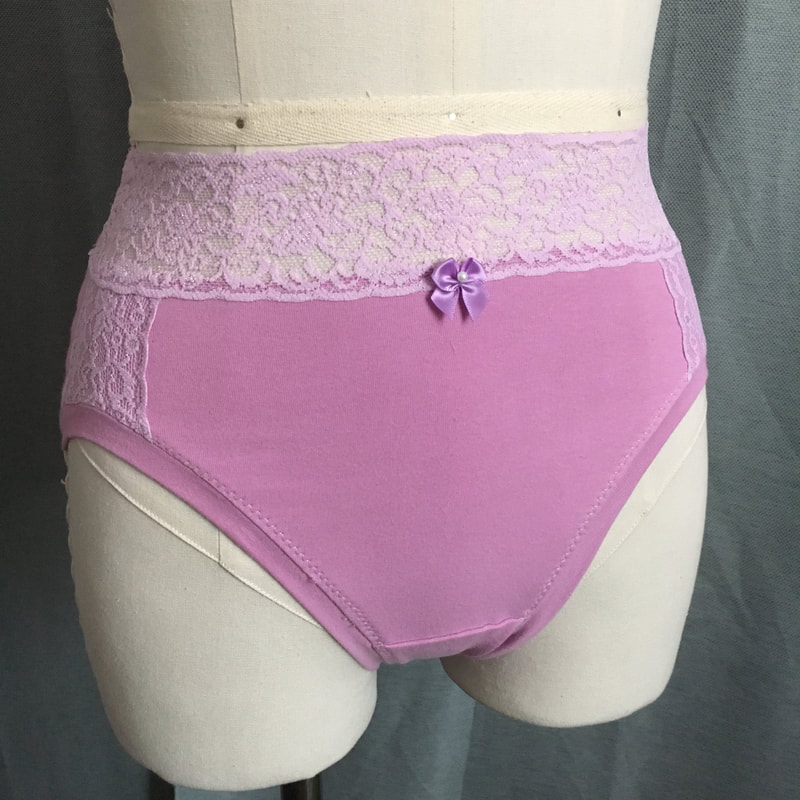 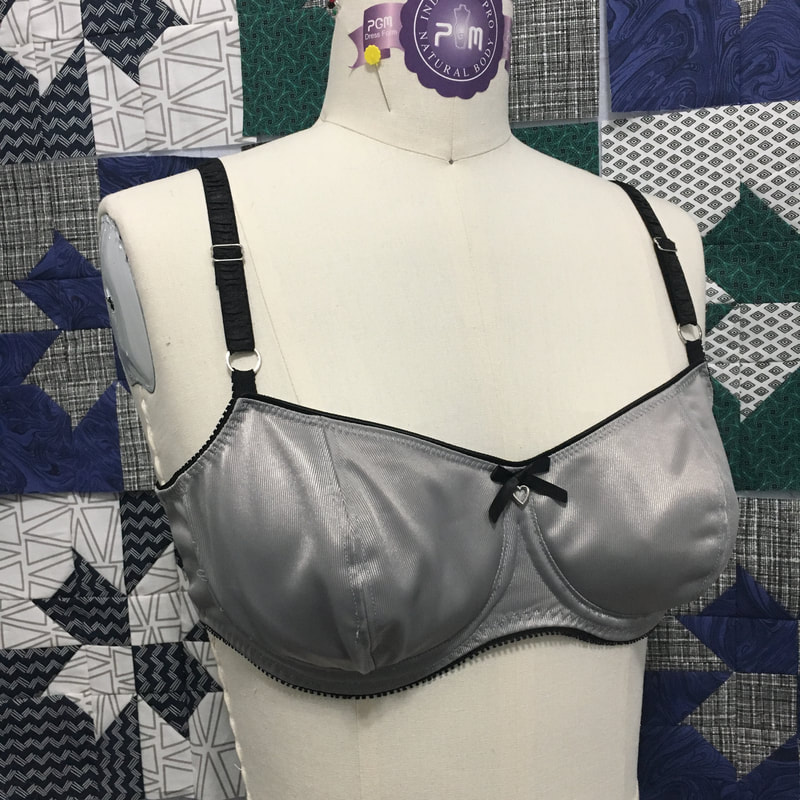 Here it is, my first bra made with my custom bra sloper using the drafting method from Bare Essentials Bras, 3rd Edition by Jennifer Lynne Matthews-Fairbanks. Pattern: self draft, 2-piece vertical seam cups with full frame. Underwire: Carmen by Emerald Erin Fabrics: Grey duoplex and powernet I think from Bra Maker's Supply. Elastics: 3/8" & 1/2" black picot elastics from Fabric Depot Co. Piping edge elastic along the neckline from Sew Sassy. Straps: 1/2" ruched strap elastic. Can't remember where I bought it, sorry. Bow: 1/4" satin ribbon, heart charm from Joann jewelry department.  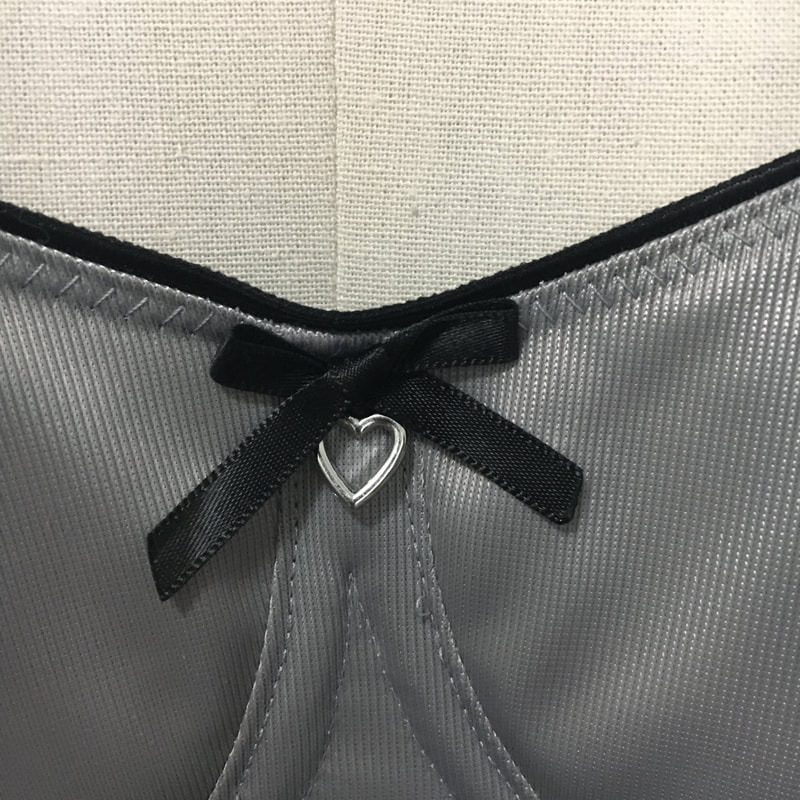 While I would not say that sewing a bra is hard, there are always a few parts I struggle with. Every time I sew a bra, I try out a new technique or two to see if I can improve my sewing experience.
This time around, there were two areas I wanted to try something new: encasing the ends of the channeling at the front, and making a strap attachment less bulky. For the channeling, I'd normally have the ends extend past the edge of the cradle, then close them off and trim them at the end after everything else is sewn. I think I learned this method from the Harriet Bra instructions. But after seeing a few Emerald Erin bras that use the neckline elastic to finish the top of the cradle as well as the cups, I decided to see if I could get the ends of the channeling under the edge of the neckline elastic. I started the channeling 1/4" down from the edge, since I was using 1/4" elastic. I didn't quite get the ends under the elastic, but at least they aren't sticking out past the top of the cradle. I usually attach the ring to a strap attachment that is part of the cup. So far that has led to a very bulky seam that usually breaks my needle with several layers of fabric and elastics all coming together. This time I decided to just let the armhole elastic extend past and thread the ring through that. I probably should have made a tighter loop against the cup; it stretches out a bit when worn, obviously because it is elastic. But this join was much easier for me to execute and left me with a much smoother fold. Do you have any tips for sewing channeling or attaching the straps? I'd love to hear them, leave a comment below. Happy Sewing! 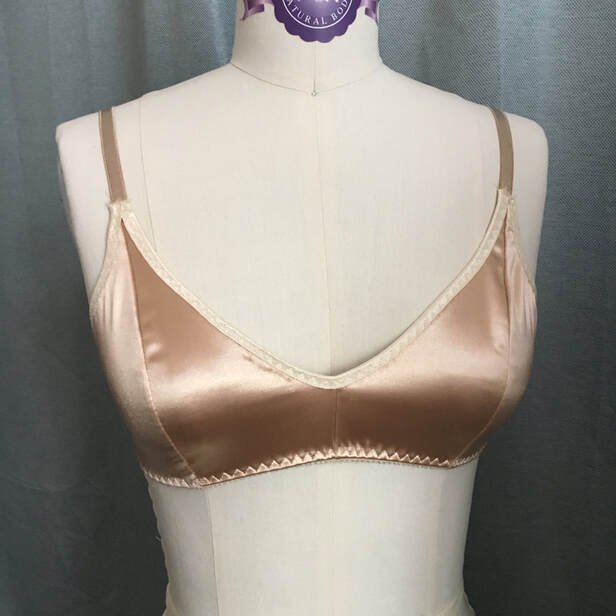 Yesterday I sewed my first Darcey Bra by Evie La Luve. My feelings about it are a bit mixed, but I think I will sew myself another Darcey Bra in the future with some modifications to the fit and the fabric choice.
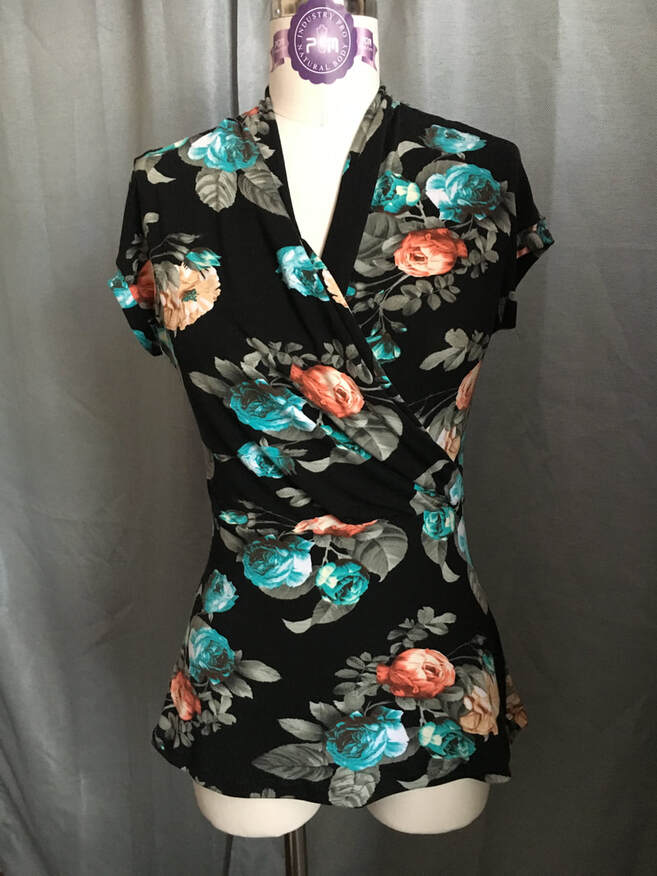 Yesterday I had a bit of time for some personal sewing, so I tackled a project I cut out awhile ago and left languishing in my project box. This is the Mirri Wrap Dress by Wardrobe by Me, top version. When this pattern was first published, I saw lots of tester photos and it seemed to be a universally flattering style. It also seemed like the wrap generally stayed closed on most people, which is always a big problem for me. I decided to try it out in a top before plunging into a dress. I was tired when I printed out the pattern and totally forgot about the layers option and ended up printing out all the sizes. So. Many. Lines. Do yourself a favor and print only the sizes you need! I cut a straight size 8, which seemed to match my measurements perfectly. 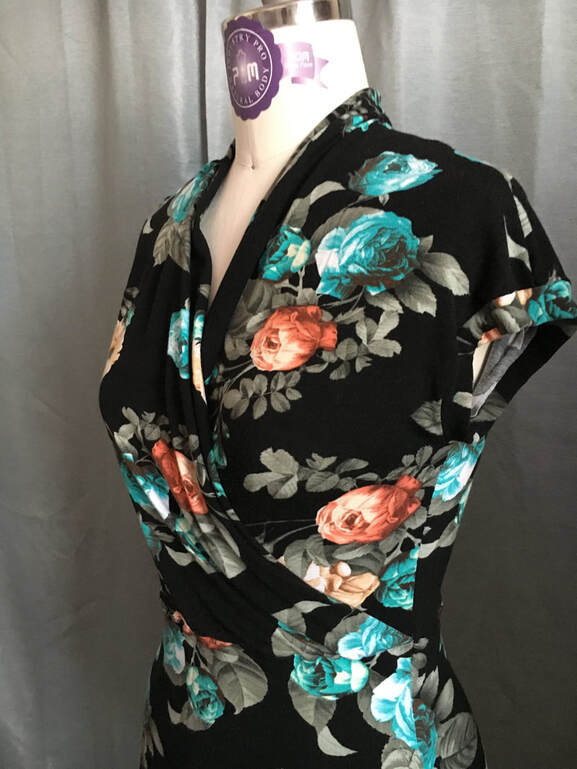 I read the directions before I started sewing and it all seemed straightforward and clear, but I still managed to struggle right from the beginning. The first step was to form the pleats on the front and I had to pin the darn things three times. I think the directions seemed to say to pin the pleats one direction and the illustration shows them going the other direction. Also I was working with rayon/spandex jersey, which is heaven to wear but so limp while sewing. Anyway, I finally got the pleats to cooperate. The other step I struggled with was sewing the collar extension to the back neck, and then sewing the shoulders. Somehow I managed to sew the collar bit upside down, so I ended up with a big twist. I unpicked the seam (thankfully, I wasn't using my serger!) and decided to sew the shoulders and back neck all in one seam. Not as tidy, but easier to wrap my brain around. The rest of the sewing was easy and worked out well. 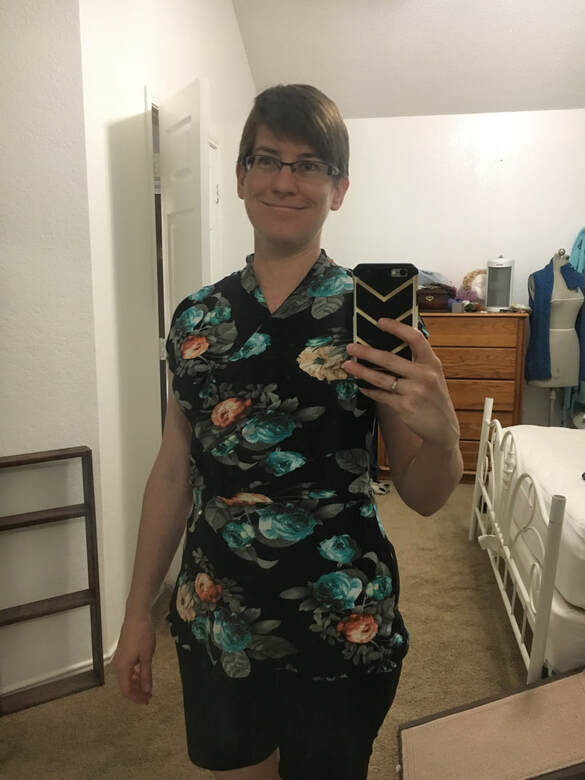 Of course I had to include my blurry mirror selfie, haha. I always show you the clothing on my dress form and never myself. Well, I'm happy with how it came out. I wore my new top today, and for the most part the wrap did stay wrapped and my modesty was preserved. I think using a more substantial fabric would make it easier to form the pleats, and also for the wrap to stay wrapped. Next one will be one of the dress views, probably in a printed cotton spandex.
Happy Sewing! 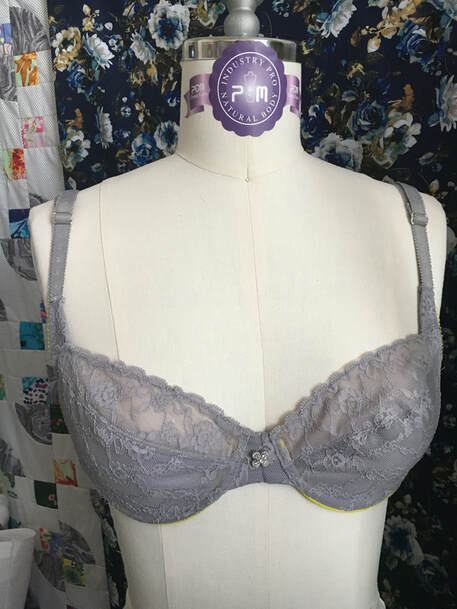 Hello sewing friends! I'm back to share another bra project with you. It seems like every bra I make is an experiment, and there is always something I want to do differently on the next one.
 Yesterday I made my first partial band bra! Back when I wore store-bought bras, partial band styles were what I usually went for. So why did it take me so long to make one? Well... I guess I wanted to perfect the fit on my full-frame bra before jumping into more patternmaking with a totally different style. I followed Beverly Johnson's instructions (from her Bluprint class "Sewing Bras: Designer Techniques") for making the partial band pattern, and I have to say it made me nervous. I understood adding an allowance for the channeling to the cups, but removing the seam allowance from the bridge just didn't seem right. But Beverly must have read my mind because she even said it might not seem right and to just trust her.  |

CassieI design lingerie sewing patterns for everyday comfort and feminine style in an inclusive size range. Fill up your underwear drawer with beautiful custom-made bras and panties in your favorite fabrics and trims, designed to fit your body. 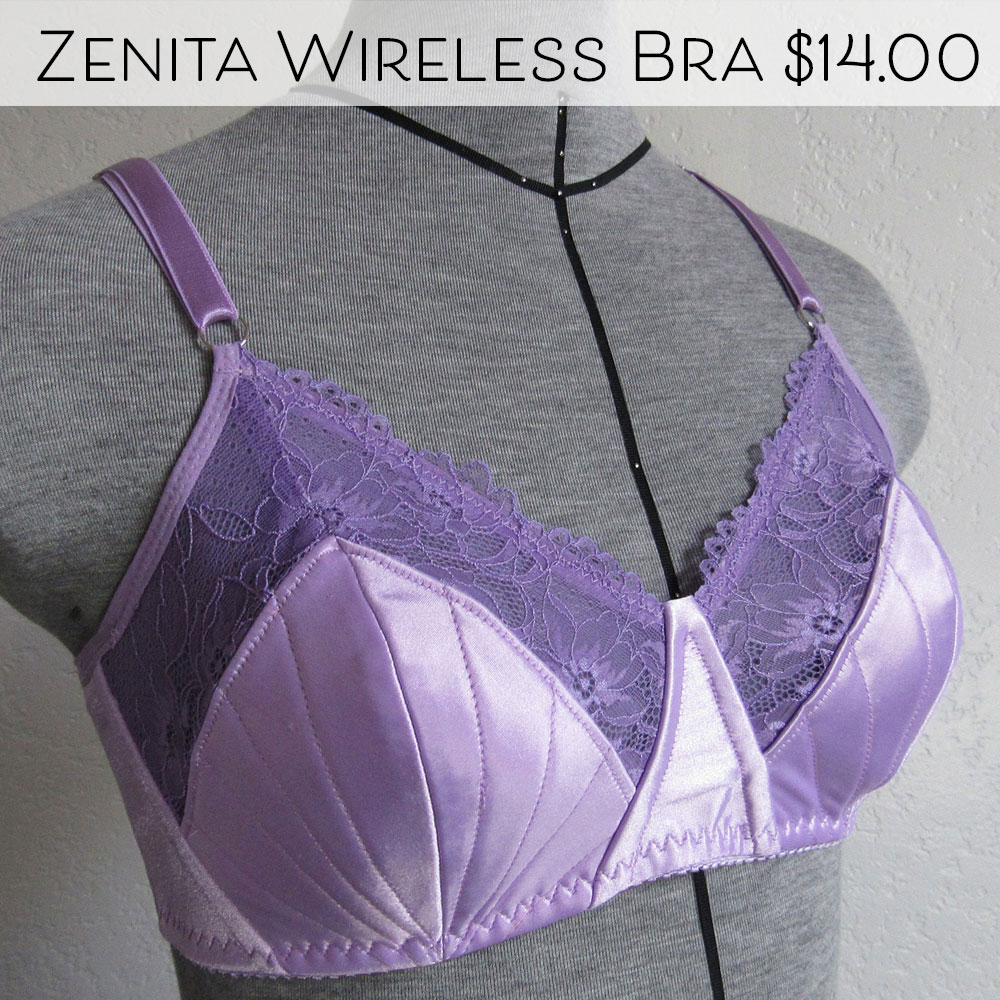


Categories
All
Archives
February 2024
|


 RSS Feed