
  I have completely worn out my foam cup Harriet bra, so it was time to make another. While I do love wearing plain bras without foam, sometimes I really need a thicker bra. When I first began making bras, I wondered why I couldn't use a seamless cover for a cut-and-sew foam cup. But after a bit of research, I realized cut and sew foam is just not stable enough to handle the tension of a single piece of knit fabric being stretched around it. So what to do? Eventually I saw this bra made by Lily Fong with a seamless cover. Perfect! Now to make the pattern. To begin, I used my self-drafted vertical seam bra and the sloper I made, following the directions from Bare Essentials Bras. You can use any type of cup here, I just happen to like my vertical seam cup. Below are the original pattern pieces. There is 1/4" seam allowance, and 3/8" elastic allowance in the underarm area. 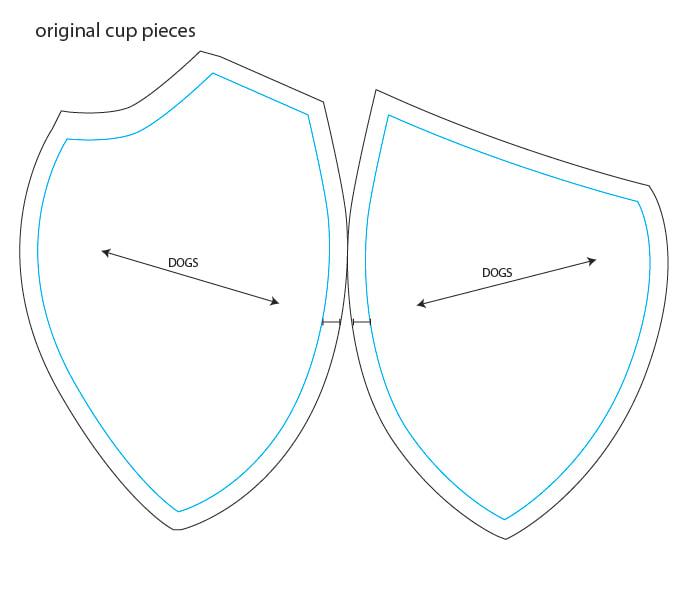 To make the pattern for the foam cups, trace around the original pieces. Remove the seam allowance from the neckline, underarm, and cross-cup seam. Leave the wireline seam allowance!  Now to make the pattern pieces for the cover. I used my sloper (shown below at left), but you could also take the foam pieces you just created, trace them again, and overlap at the neckline to create one piece (shown below in middle). Now add in the seam allowances, and we are going to add in extra to be sure that the cup will be completely covered and there will be an extra bit to hang onto while we are attaching the cover to the cup. Neckline: add1/2". The neckline will have a rolled edge, so we need twice the seam allowance. It'll make more sense once we begin sewing. Underarm: add 3/4". Wireline: Fill in the bottom wedge to continue the smooth curve of the wireline. This is the excess fabric which will be distributed in the gathers. Add an extra 1/4" at the wireline. If you are using the sloper, which doesn't have any seam allowances, add 1/2". Also add notches to indicate where to gather the bottom of the cup. I just estimated about 1/3" the way up from the center bottom of the cup. 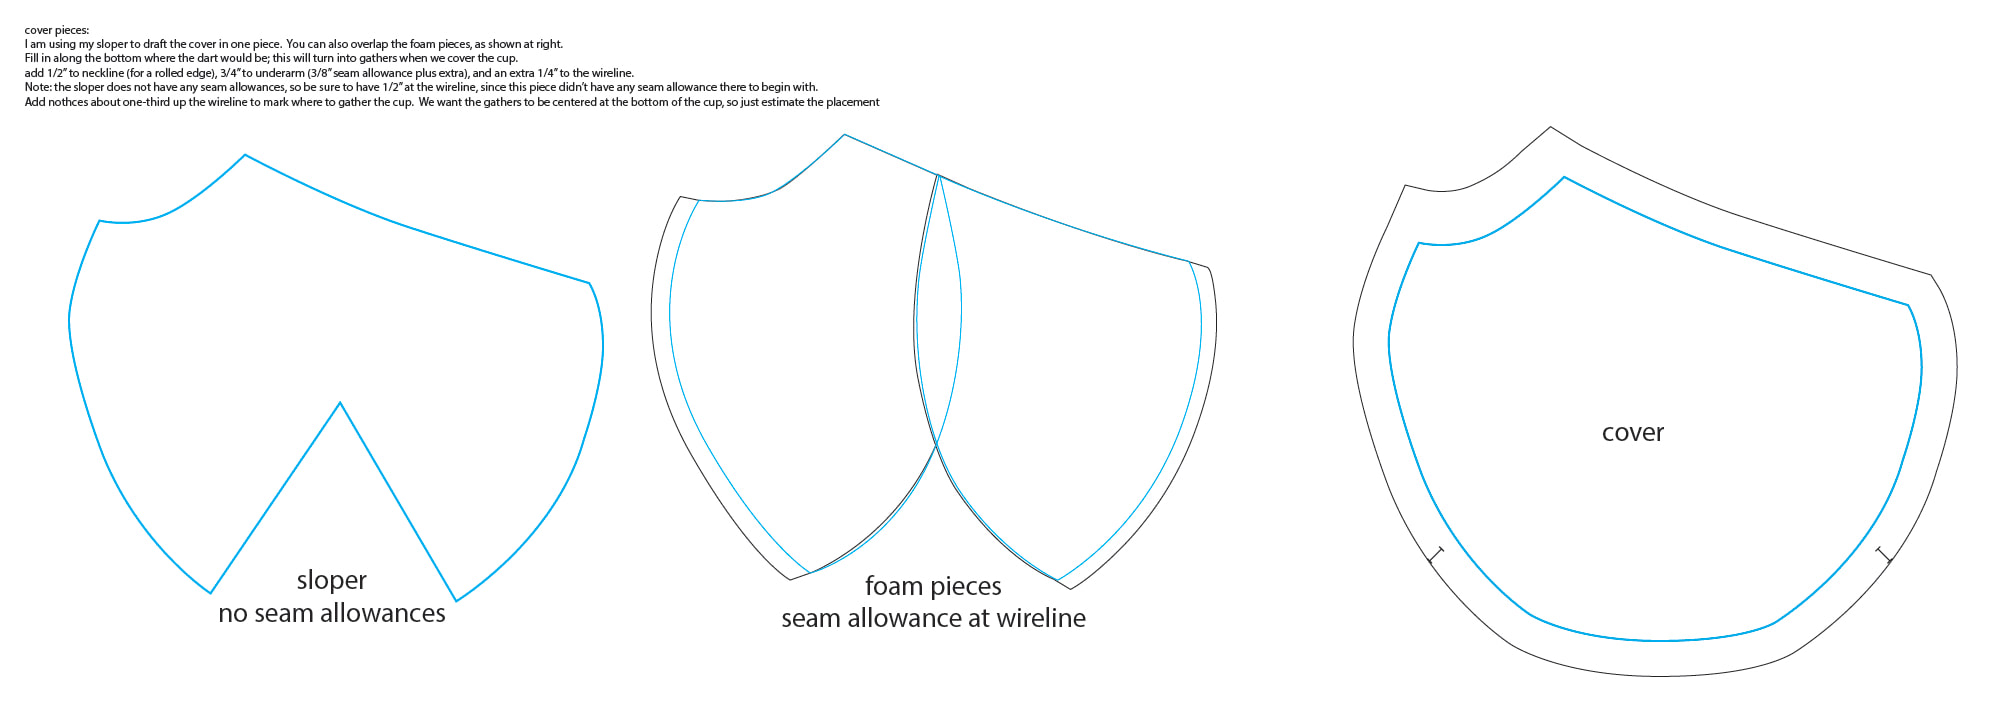 Pattern pieces are ready! Time to cut out and begin sewing. As usual, sew the foam by butting the edges up and sew with a 3-step zigzag.
Sew a long basting stitch along the bottom of each cup, ½” in from the edge, between the notches. Leave long thread tail for gathering.  Place RS of cup cover to WS of foam cup. Align neckline edges and pin. The cover should be wider than the foam cup; allow excess to be along both the underarm and wireline edges. Sew neckline seam with ¼” seam allowance.  Zigzag along neckline edge, in the seam allowance, to crush the edge of the foam. The top of the foam cup will be much thinner if the edge is crushed down.  Turn the cover out to the RS. Now you have to smooth cover and mold it to the cup. Take your time with this step to make sure it’s nice and smooth, but not pulled so tightly that the foam is beginning to collapse. Beginning with the outer edge, smooth the cover over the cup and pin along the wireline. Once you get to the basting stitches, pull the thread tails to gather. Continue to pin across the bottom of the cup. Once it is all pinned, turn the cup to the WS to make sure that the foam is smooth and not collapsing in. See how nice the rolled edge at the neckline is?  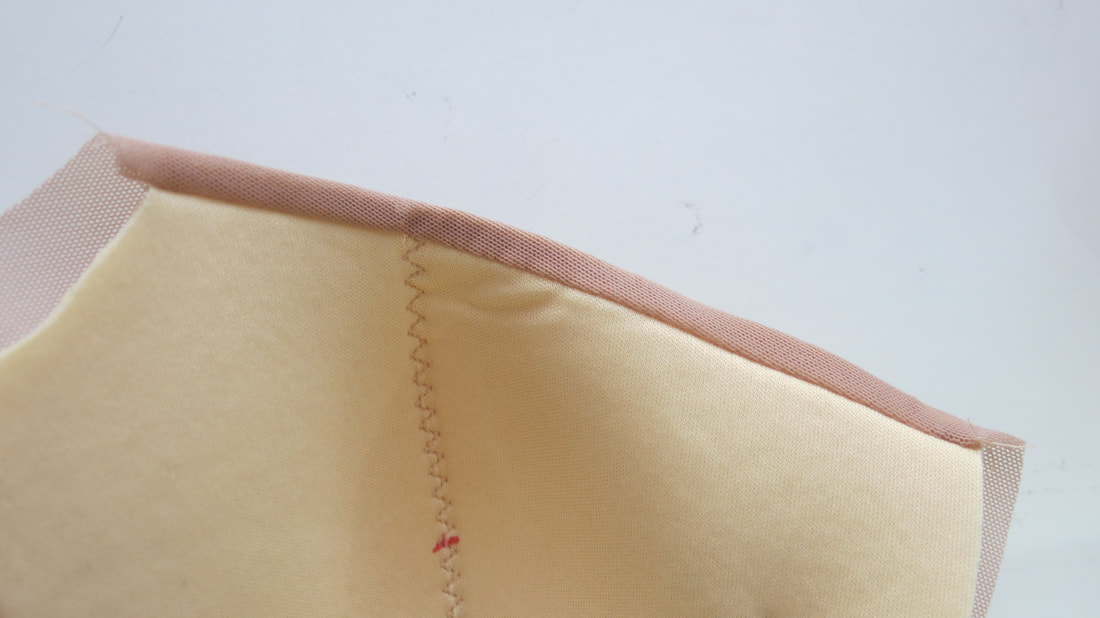 Once everything is nice and smooth, turn back to the RS of the cup and stitch ¼” from the edge of the foam along the wireline. There may be excess fabric from the cover extending past the foam. Sew another line 1/8” from the edge of the foam to hold down the seam allowances. (The photo below only shows the first pass of stitching, oops!) After stitching, cut away the excess fabric; only do this along the wireline! We still need the excess fabric in the underarm area.  Continue sewing the bra as usual. The only other change comes when attaching the underarm elastic. Beverly Johnson suggests using a separate piece of elastic and sewing it to the cup by hand. I’m not a fan of hand stitching, and considering how often I wash my bras I don’t think that will hold up well. Here’s what I did: Pin the cover to the cups at the underarm area. When sewing the first pass of the underarm elastic, align the bottom of the picots to the edge of the foam. After sewing the first pass, trim the excess fabric and turn the elastic back. Sew the second pass of zigzag.  And, you're done! So here are a couple conclusions I made while working on this project:
 Do you like to work with cut and sew foam? Do you have any special methods for making the cup covers?
1 Comment
The author explains that while cut-and-sew foam is not stable enough to handle the tension of a single piece of knit fabric being stretched around it, they saw a bra made by Lily Fong with a seamless cover and decided to try making one. They began by using their self-drafted vertical seam bra and sloper, tracing around the original pieces and removing the seam allowance from the neckline, underarm, and cross-cup seam. They then added seam allowances and extra fabric for the cover, cut out the pieces, and sewed them together using a 3-step zigzag. They also added underarm elastic by pinning the cover to the cups and sewing it in place with a zigzag stitch. The author shares some conclusions they reached while working on this project, such as using a lightweight stretch mesh in the cups, and considering using a series of pleats instead of gathers next time. Leave a Reply. |

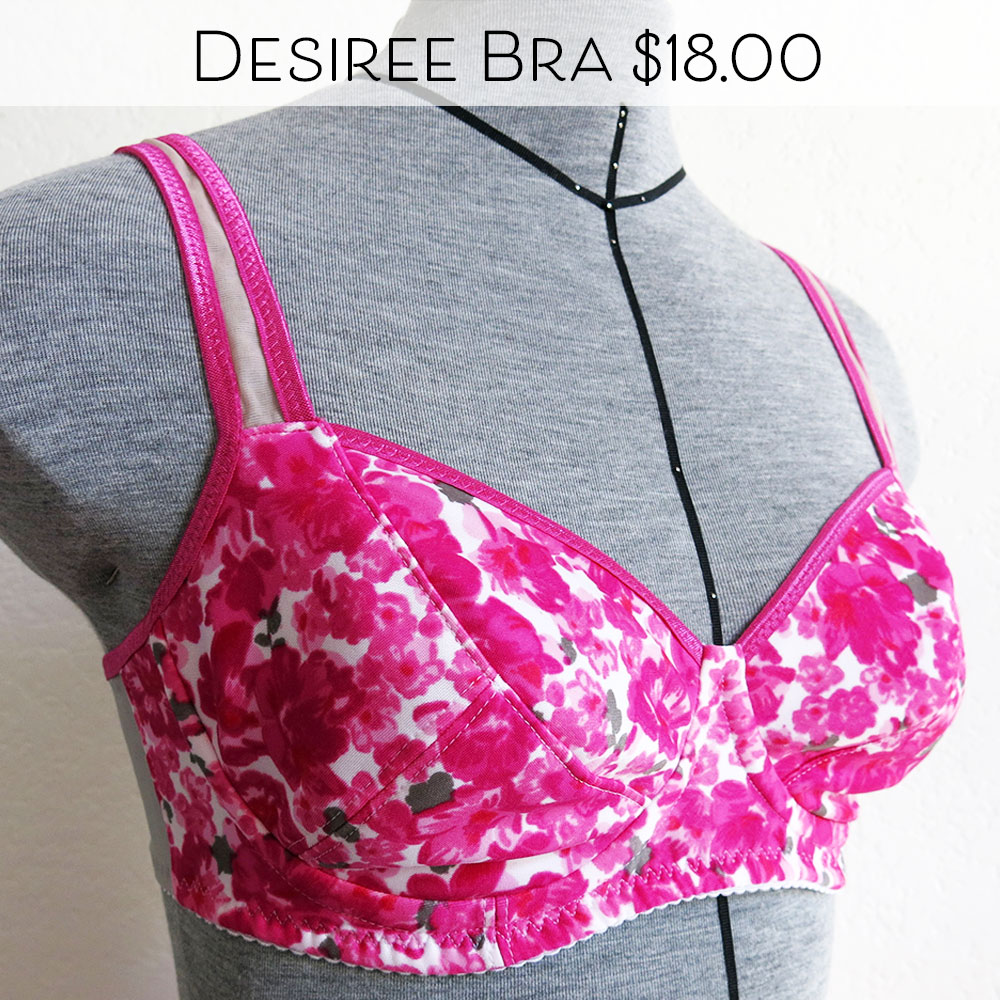
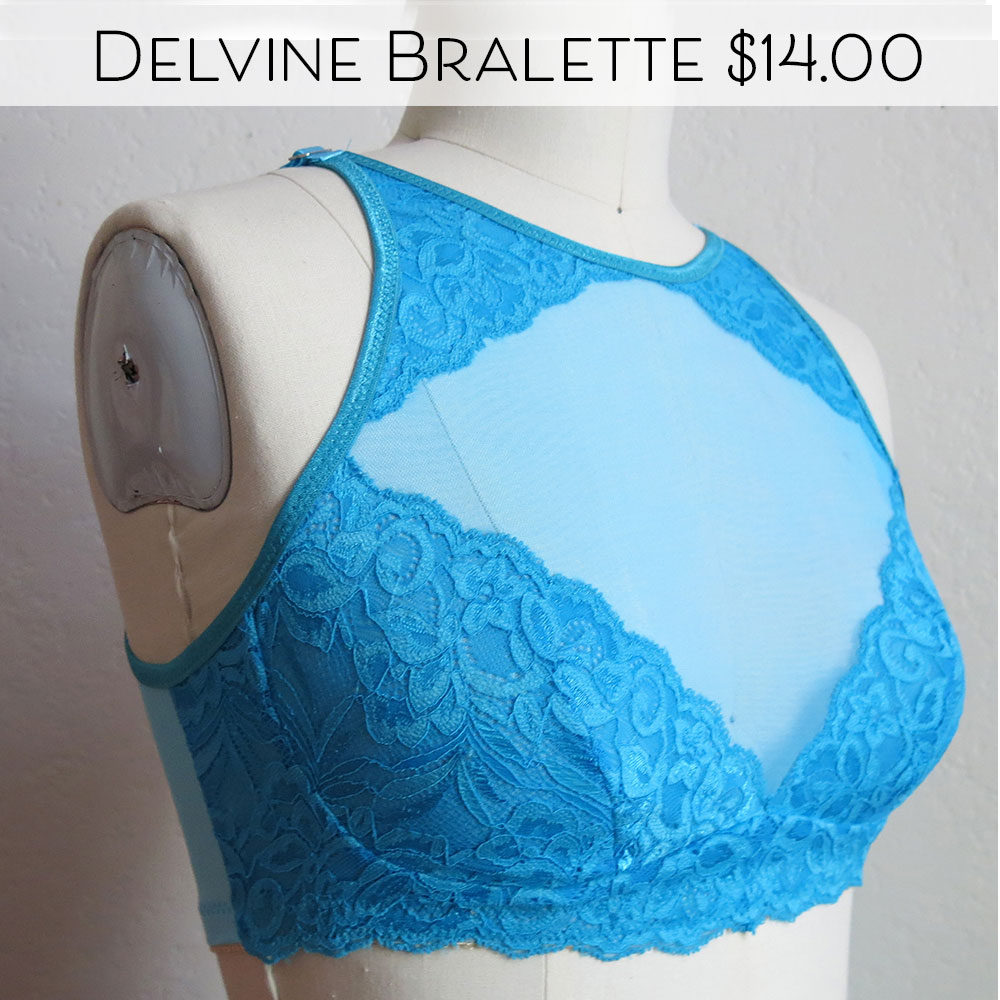
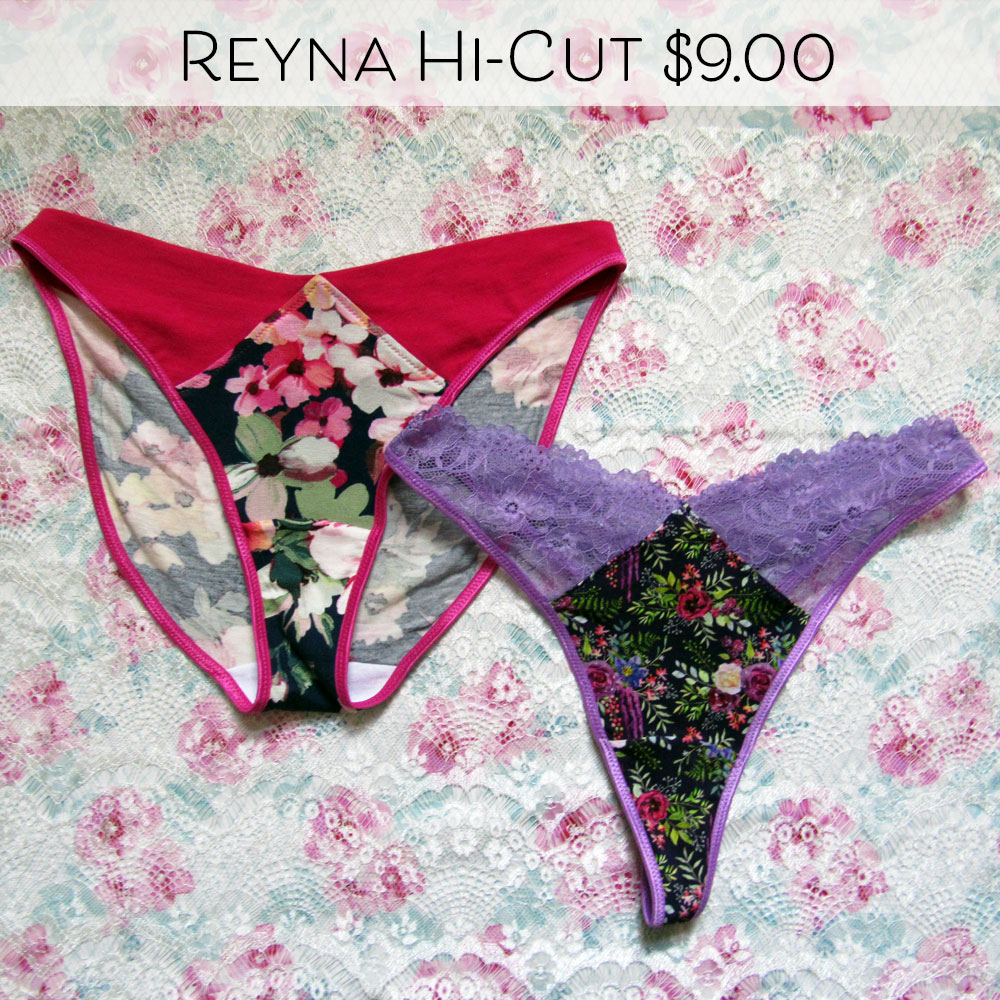
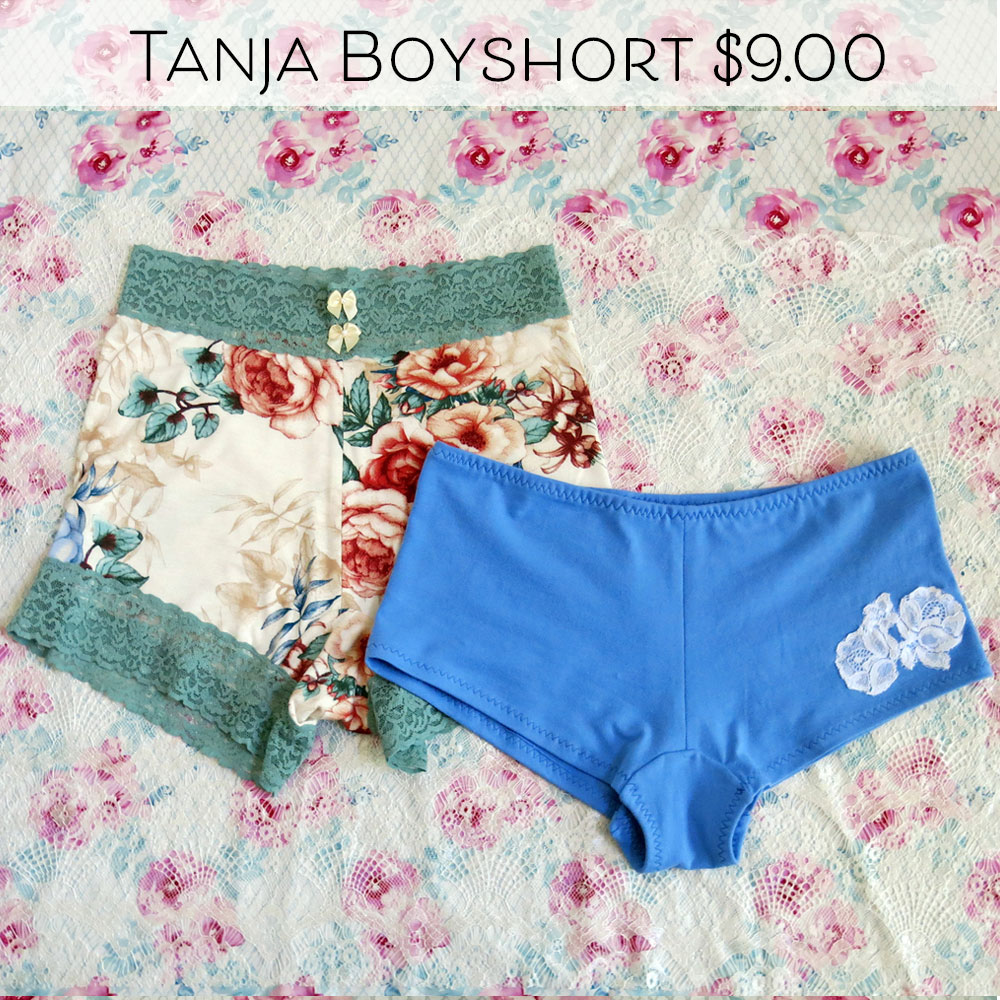
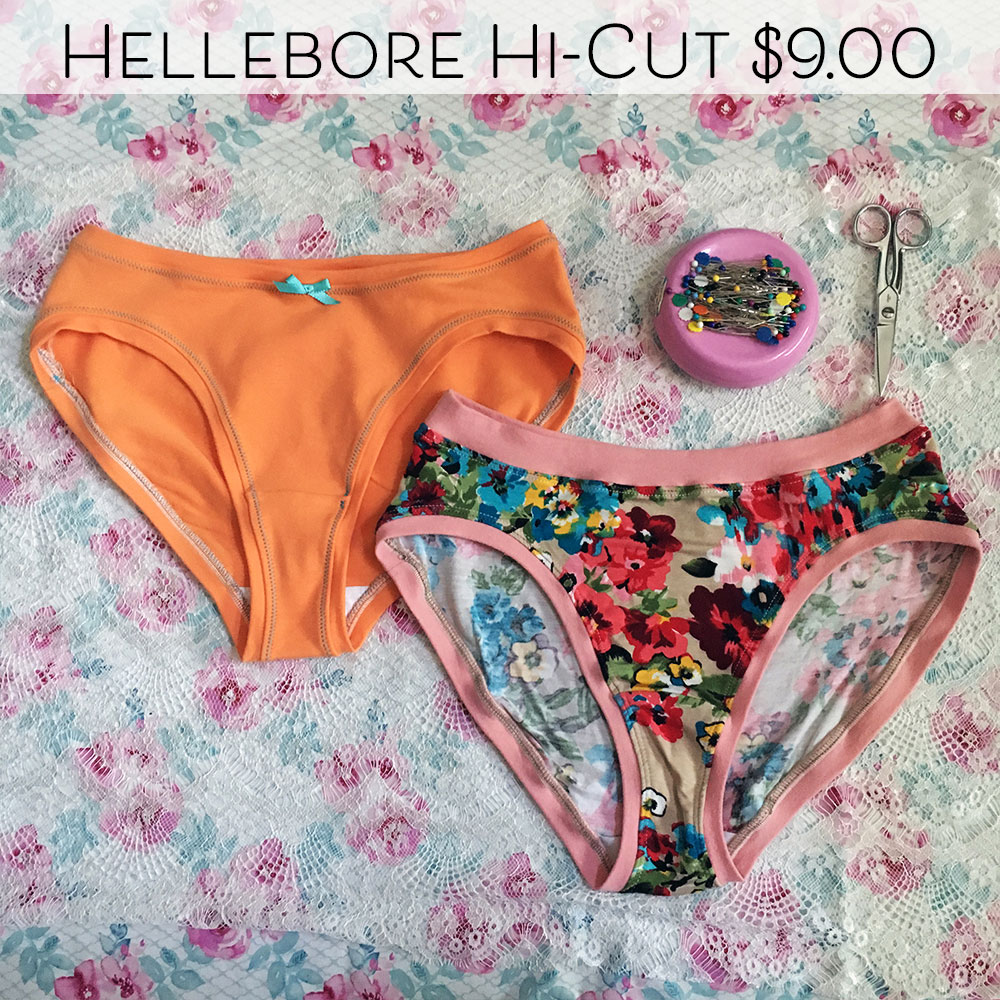
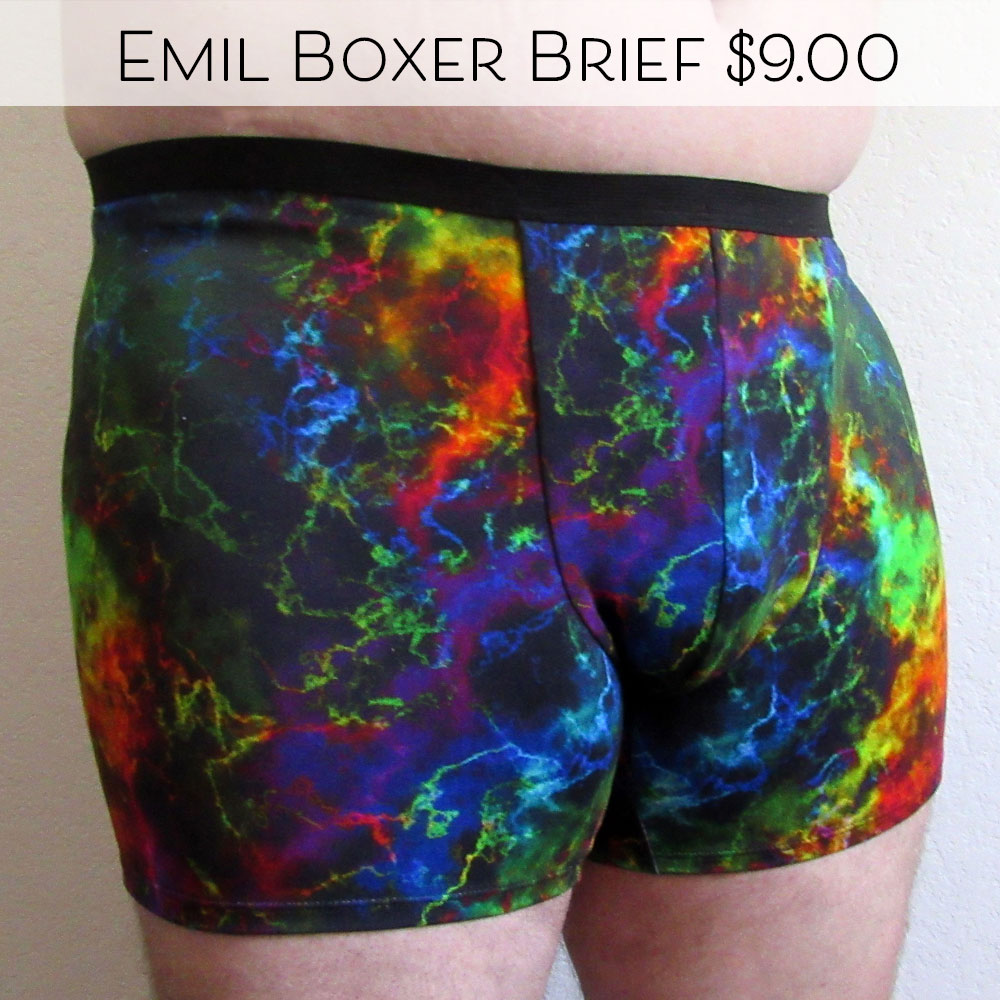
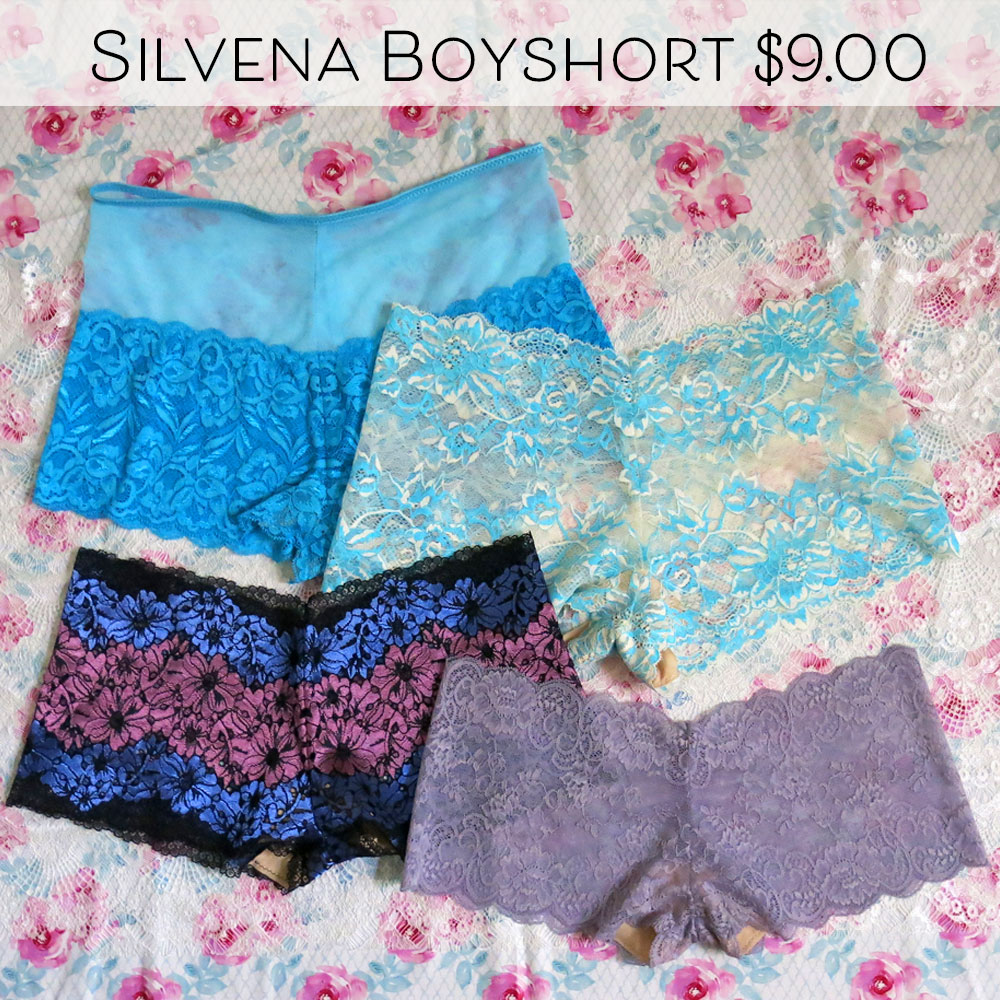
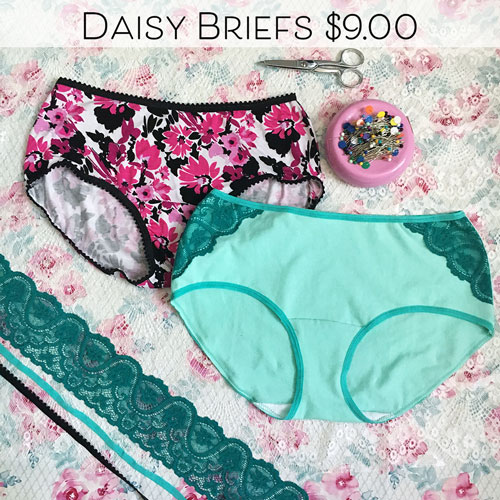
CassieI design lingerie sewing patterns for everyday comfort and feminine style in an inclusive size range. Fill up your underwear drawer with beautiful custom-made bras and panties in your favorite fabrics and trims, designed to fit your body. 


Categories
All
Archives
February 2024
|


 RSS Feed