
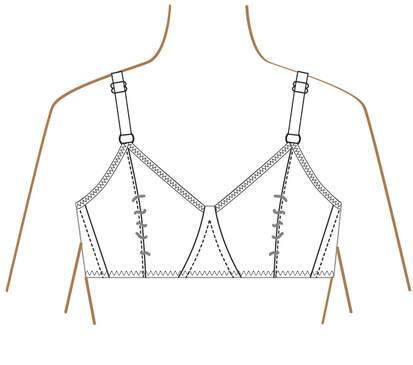
 If you find you have multiple horizontal folds of fabric in your bra cup, you might have too much vertical length. Try pinching out a horizontal fold at the apex and see if the cup fits better. If it does, you will need to remove some of the vertical length of the cup. Shown below are the Inner Cup/Outer Cup pieces for the Zenita Wireless Bra. I recommend applying the changes (and creating a test fit sample) in just these pieces before applying the changes to the Upper/Lower Inner and Outer Cup pieces of Zenita. Measure the total amount of the fold. Mark your notches in the inner and outer cup pieces past the seamline onto the pattern pieces. Cut off the seam allowances on the Inner Cup and Outer Cup seamline. We will add them back at the end. 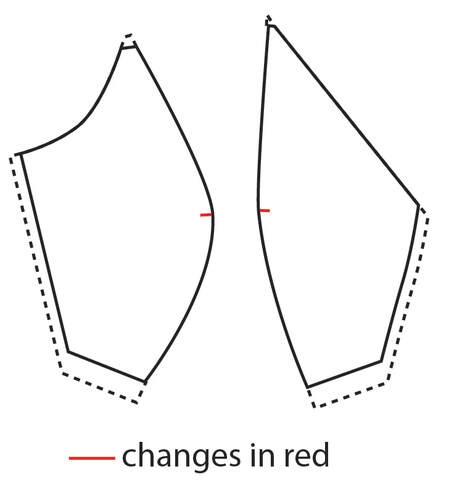 Outer Cup: Draw a line from the apex to the cradle seam. Inner Cup: Draw a line from the apex to the bridge seam. For both pieces, cut from the apex to the seamline. Make a small snip from the outer edge to the seamline, leaving a small hinge. If you accidentally cut all the way through, repair the hinge with a piece of tape. 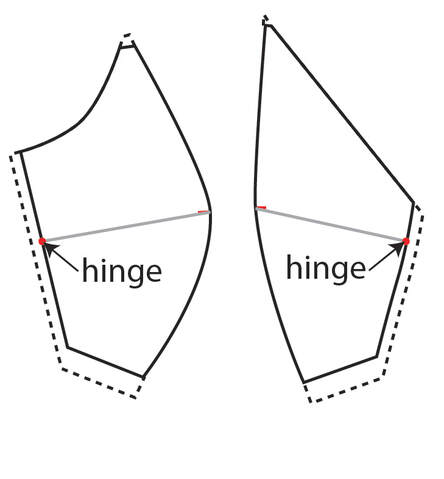 Overlap the pieces the same amount as the fold you measured on your fitting sample. Tape the overlap. Blend the apex into a smooth curve. Measure your seamlines to be sure they still match. Add paper behind your pattern pieces and add the 1/4"/6mm seam allowances. Make your new apex notch in the middle of the overlapped section. 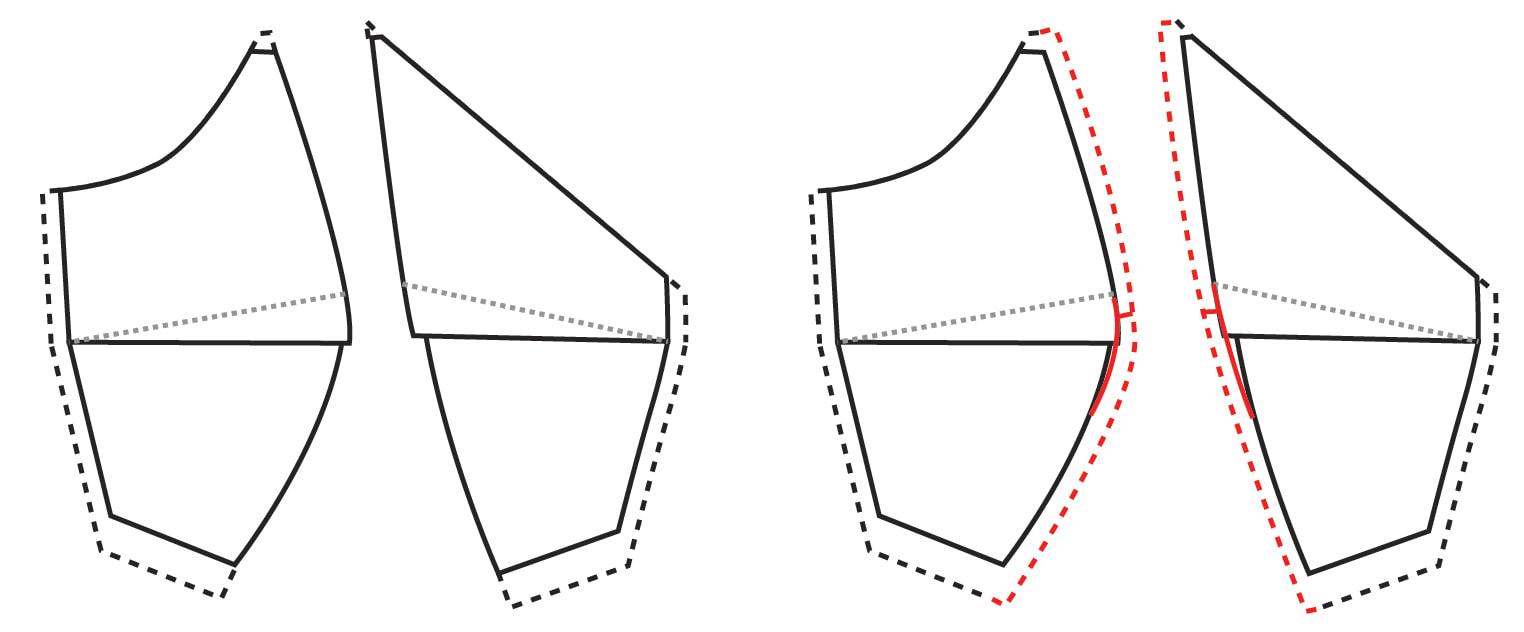
0 Comments
Leave a Reply. |

CassieI design lingerie sewing patterns for everyday comfort and feminine style in an inclusive size range. Fill up your underwear drawer with beautiful custom-made bras and panties in your favorite fabrics and trims, designed to fit your body. 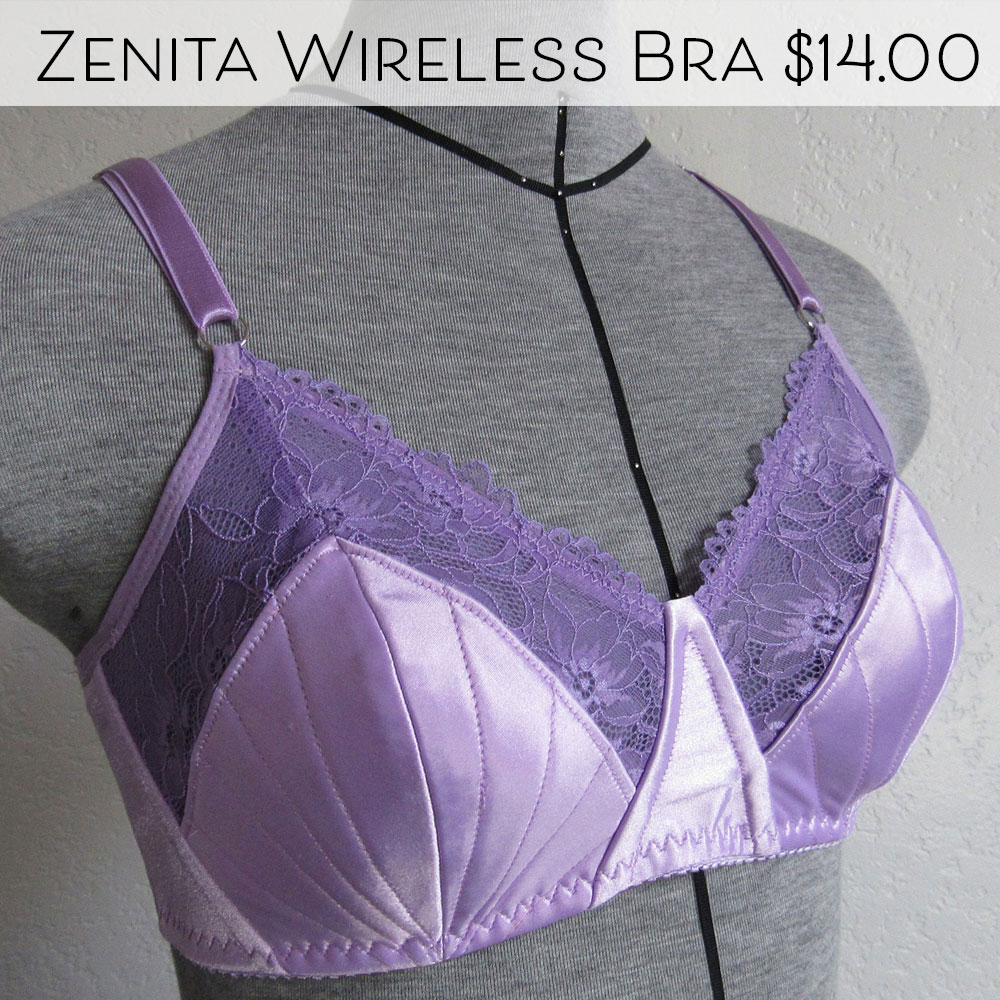


Categories
All
Archives
March 2024
|
 RSS Feed