
|
Do you find sewing an enclosed gusset confusing? Or are you wondering just what the heck the burrito method is? Today I filmed a video to show two methods for sewing an enclosed gusset. The first method, which I use in my Daisy Briefs pattern, attaches the gusset and gusset lining in separate steps to help you understand what it going on and (hopefully) end up with all the right sides of the fabrics facing outwards. In the second method, I show you how to attach both the gusset and gusset lining at the same time, making this method a bit faster and more efficient. Let me know if you have any questions! Happy Sewing.
1 Comment
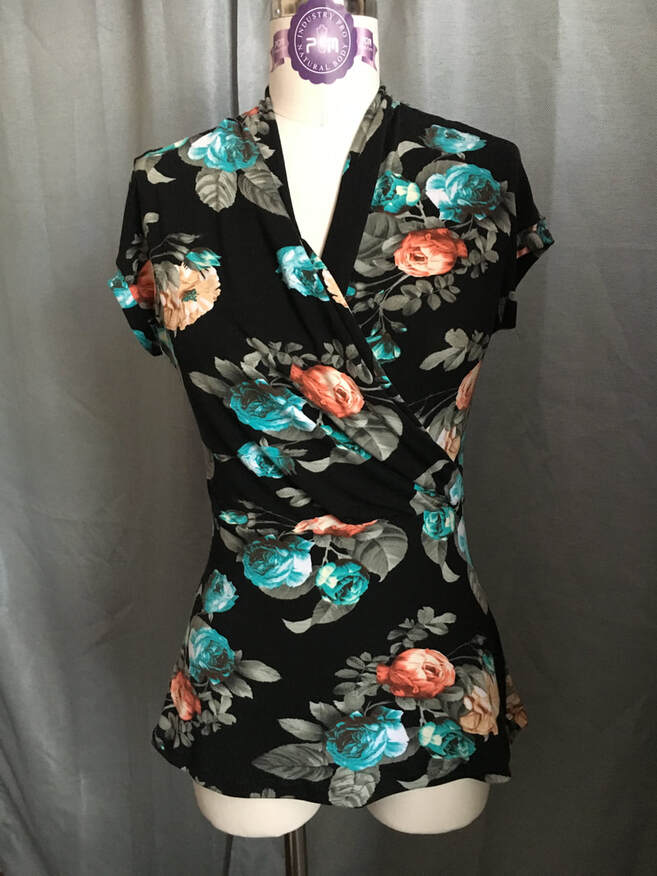 Yesterday I had a bit of time for some personal sewing, so I tackled a project I cut out awhile ago and left languishing in my project box. This is the Mirri Wrap Dress by Wardrobe by Me, top version. When this pattern was first published, I saw lots of tester photos and it seemed to be a universally flattering style. It also seemed like the wrap generally stayed closed on most people, which is always a big problem for me. I decided to try it out in a top before plunging into a dress. I was tired when I printed out the pattern and totally forgot about the layers option and ended up printing out all the sizes. So. Many. Lines. Do yourself a favor and print only the sizes you need! I cut a straight size 8, which seemed to match my measurements perfectly. 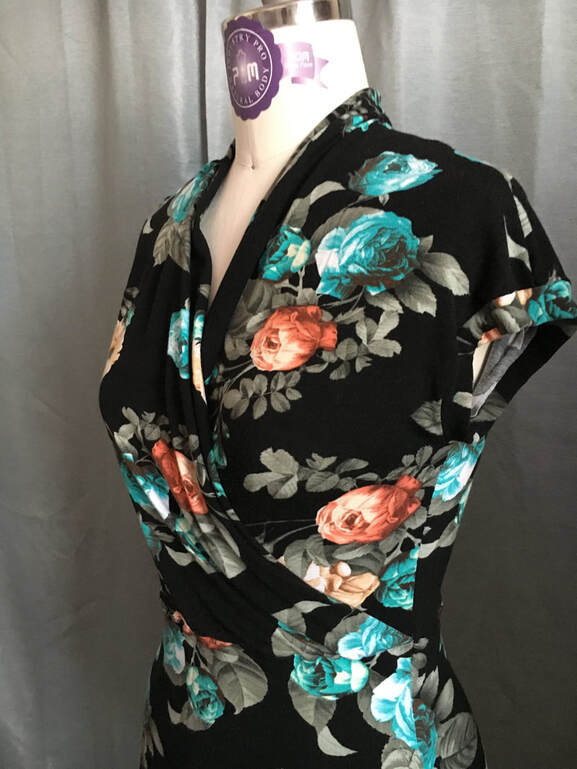 I read the directions before I started sewing and it all seemed straightforward and clear, but I still managed to struggle right from the beginning. The first step was to form the pleats on the front and I had to pin the darn things three times. I think the directions seemed to say to pin the pleats one direction and the illustration shows them going the other direction. Also I was working with rayon/spandex jersey, which is heaven to wear but so limp while sewing. Anyway, I finally got the pleats to cooperate. The other step I struggled with was sewing the collar extension to the back neck, and then sewing the shoulders. Somehow I managed to sew the collar bit upside down, so I ended up with a big twist. I unpicked the seam (thankfully, I wasn't using my serger!) and decided to sew the shoulders and back neck all in one seam. Not as tidy, but easier to wrap my brain around. The rest of the sewing was easy and worked out well. 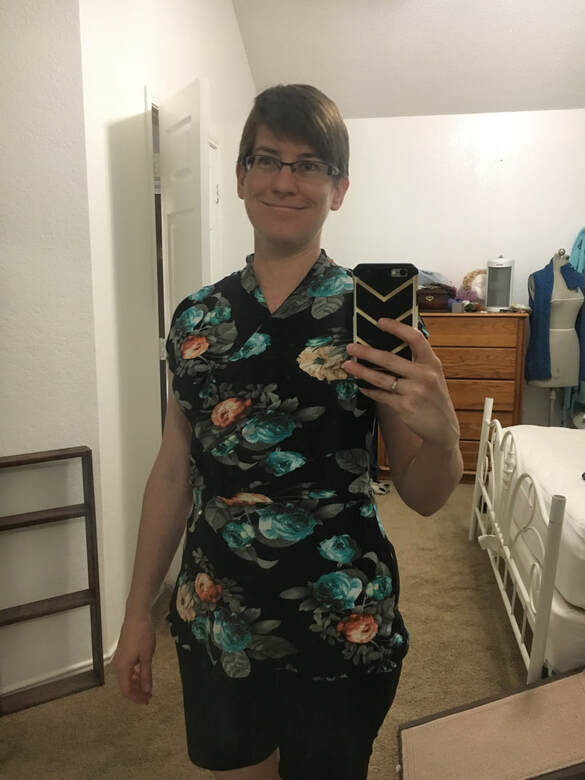 Of course I had to include my blurry mirror selfie, haha. I always show you the clothing on my dress form and never myself. Well, I'm happy with how it came out. I wore my new top today, and for the most part the wrap did stay wrapped and my modesty was preserved. I think using a more substantial fabric would make it easier to form the pleats, and also for the wrap to stay wrapped. Next one will be one of the dress views, probably in a printed cotton spandex.
Happy Sewing!
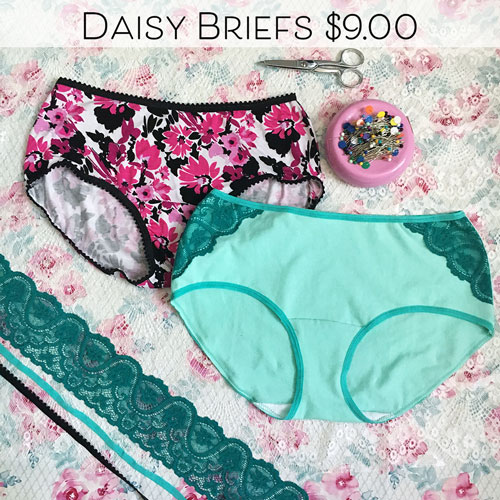
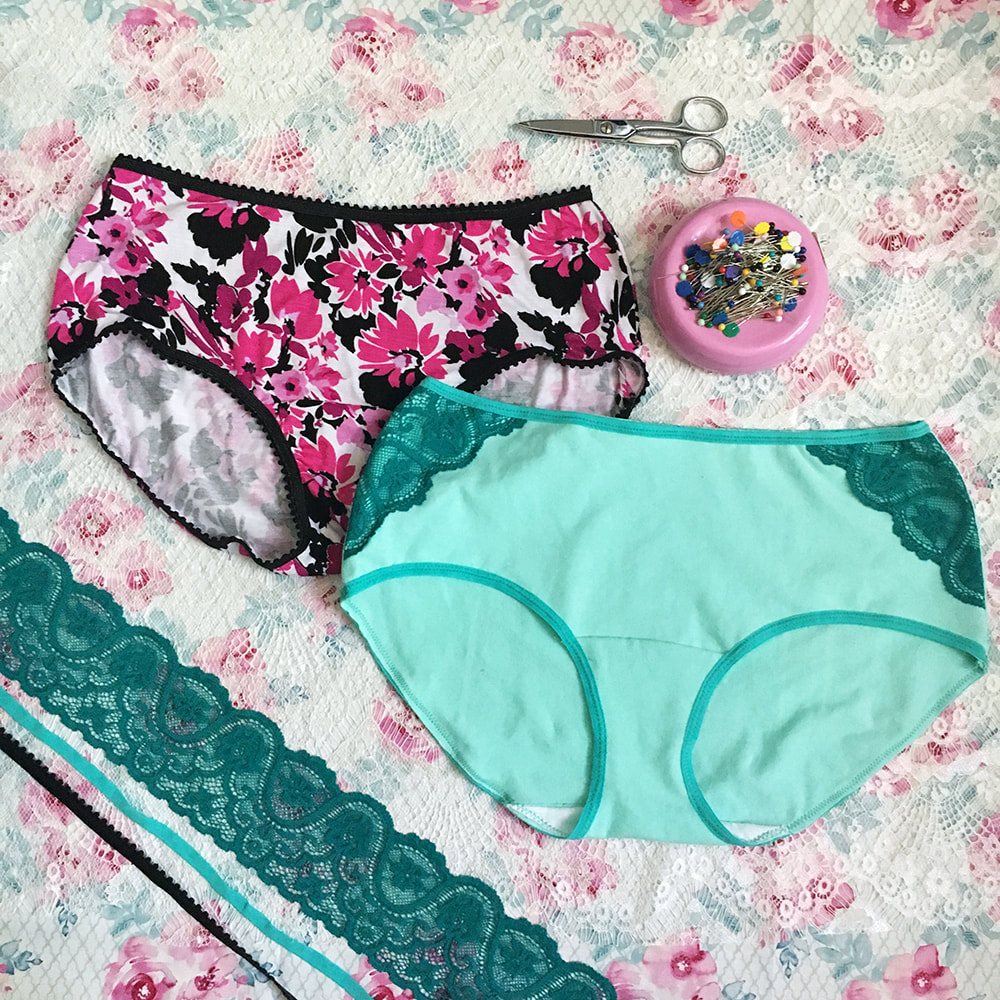
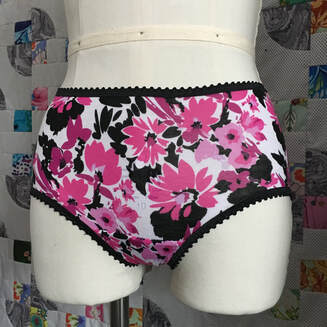
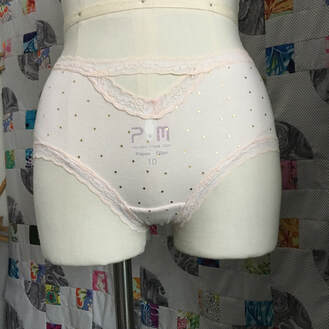
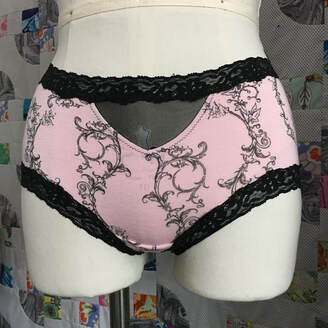
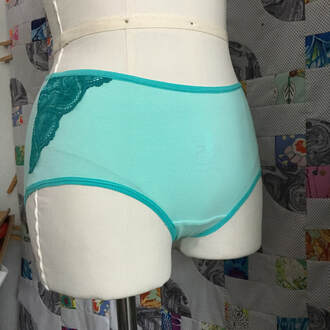
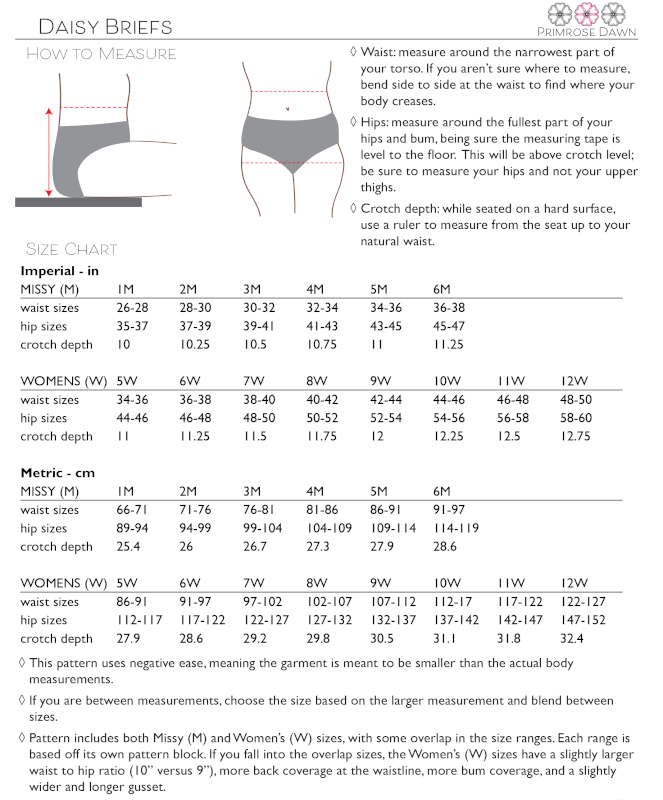  I've been working hard behind the scenes to bring my first sewing pattern to life. Say hello to the Daisy Briefs! Daisy is a basic mid-rise full coverage brief with a fully enclosed gusset.
Available in: waist sizes 26-50" / 66-127 cm hip sizes 35-60" / 89-152 cm Testing will be conducted May 14-21, 2019 in a closed Facebook group. If you'd like to test the Daisy Briefs, please fill out the tester signup form. Thanks so much for your help!  Hello sewing friends! I'm back to share another bra project with you. It seems like every bra I make is an experiment, and there is always something I want to do differently on the next one.
|

CassieI design lingerie sewing patterns for everyday comfort and feminine style in an inclusive size range. Fill up your underwear drawer with beautiful custom-made bras and panties in your favorite fabrics and trims, designed to fit your body. 


Categories
All
Archives
March 2024
|

 RSS Feed