
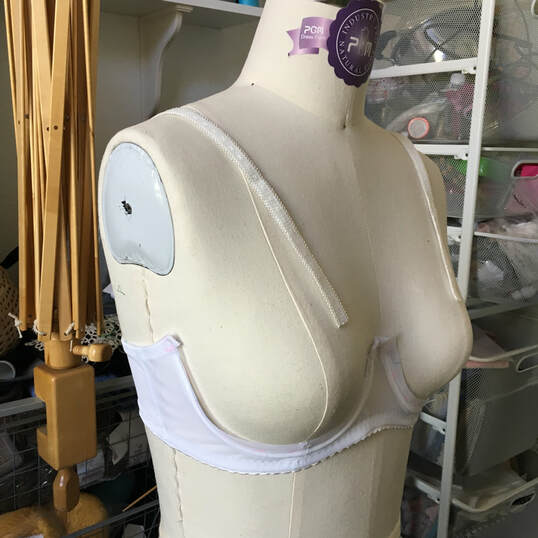
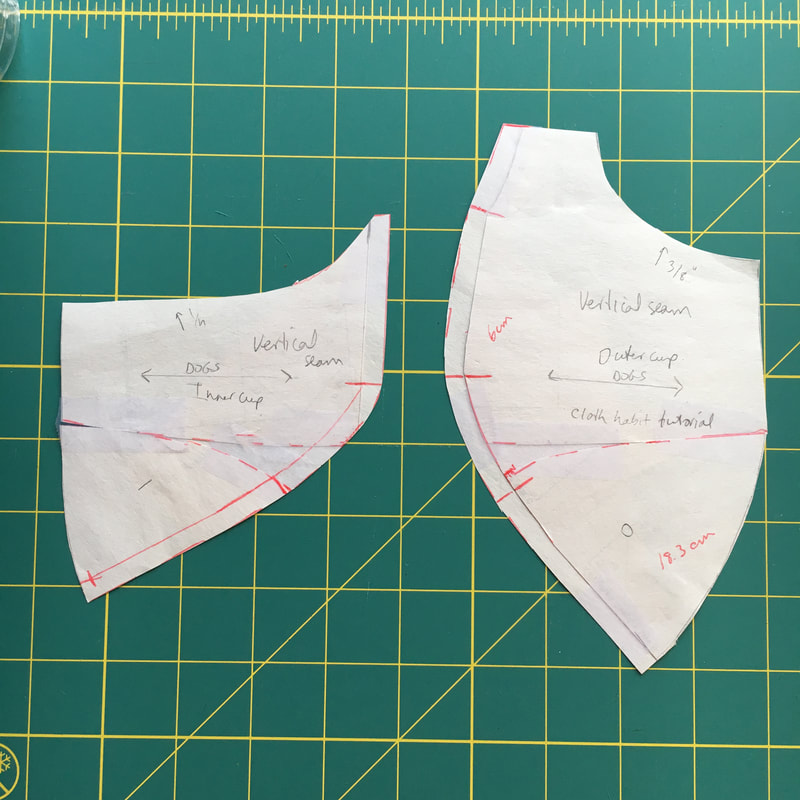
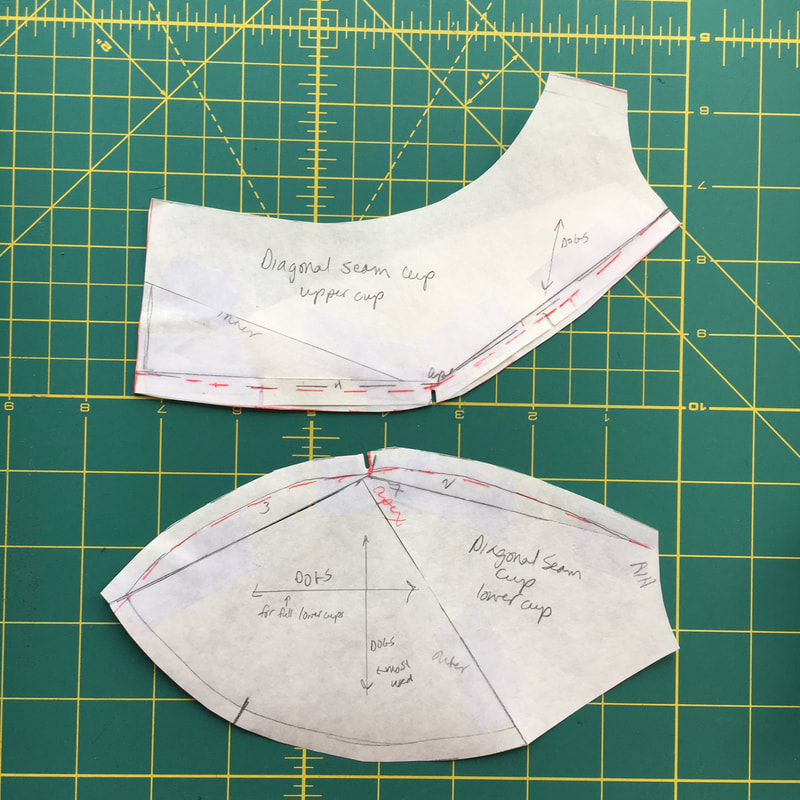
 Today I made a bra fitting band following the instructions on the Merckwaerdigh blog. A bra fitting band serves two purposes: 1. When first fitting a bra pattern, after finding the correct wire, the next step is to fit the band. It is easier to fit the bra in steps than try to fit the underwire, band and cups all at the same time. 2. Even though I now have a well-fitting bra pattern, I want to try out different bra cup designs, and rather than make an entire bra every time I make a style change, I can sew up a single cup to check the design and fit. To begin, cut out the bridge, cradle, and back band pieces. Since this is only for fitting, I cut a single layer of simplex for the bridge and cradle and didn't bother with lining. 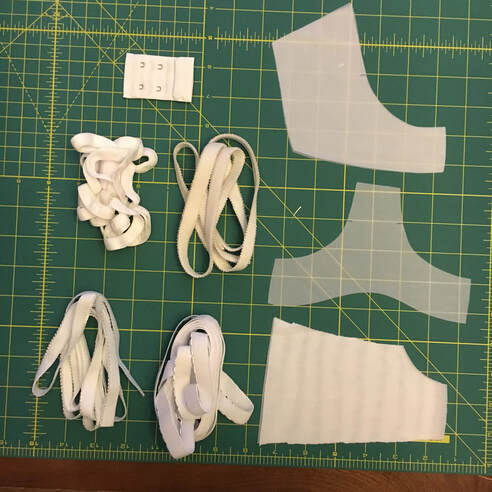 Sew the elastics on as usual. This would be a good opportunity to use up scraps, and you could zigzag together shorter pieces if necessary. I didn't happen to have any scraps in the correct widths, so I just used white. 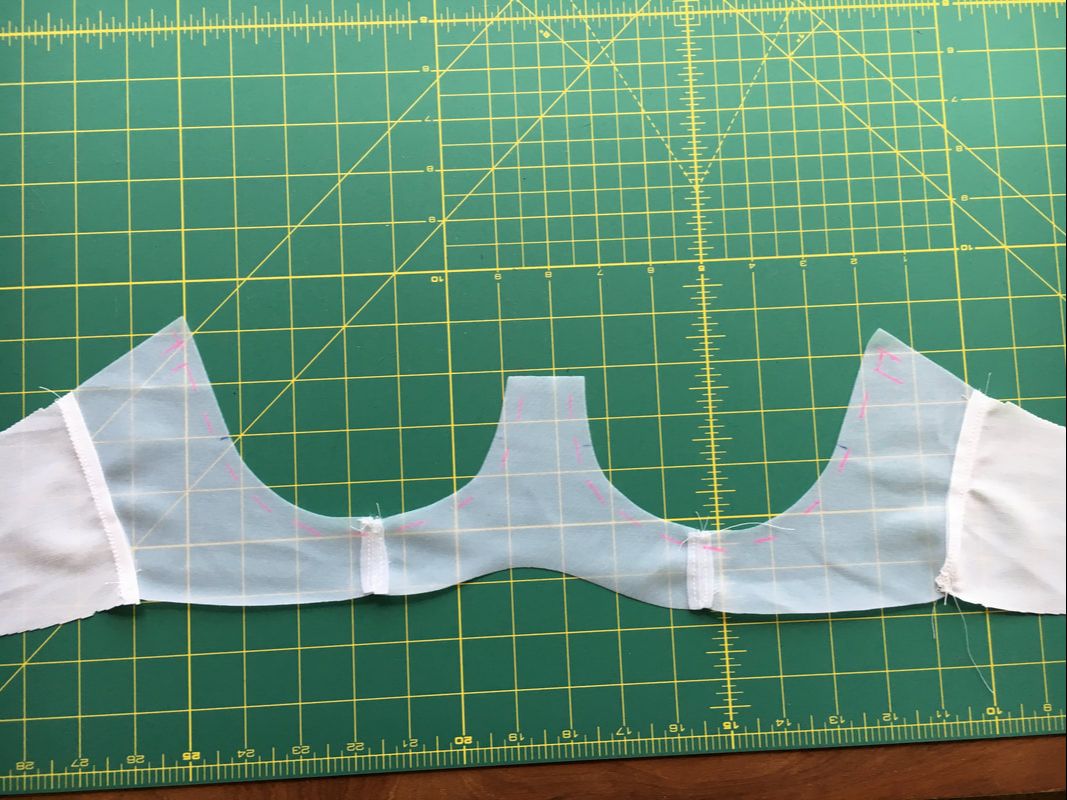 If I was sewing a regular bra, the next step would be to sew the channeling to the cup/cradle seam allowances. Since I don't have a cup, I marked out the seam allowance on the cradle and sewed the channeling below the markings. I sewed the channeling to the inside of the bra, but it could work on the outside as well. Finish the underarm elastic as usual. As you can see in the picture below, I inserted the wires and closed the channeling at the center front. Don't do that! As soon as I started to sew on a tester bra cup I realized the underwire would be in the way (duh) and I had to unpick the seam. So leave one end of each channeling open. 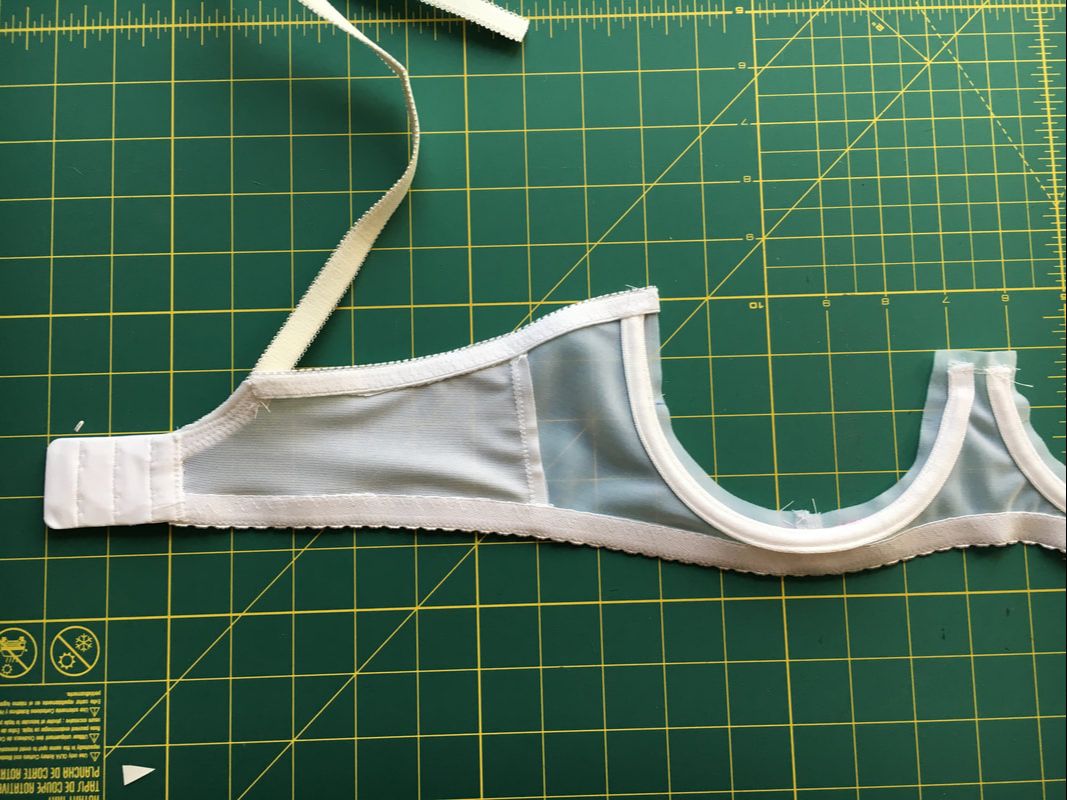 And here is the fitting band on my dress form. The straps are just pieces of elastic, I figured it would be simpler to pin the front of the straps to the cups and didn't bother with rings and sliders. 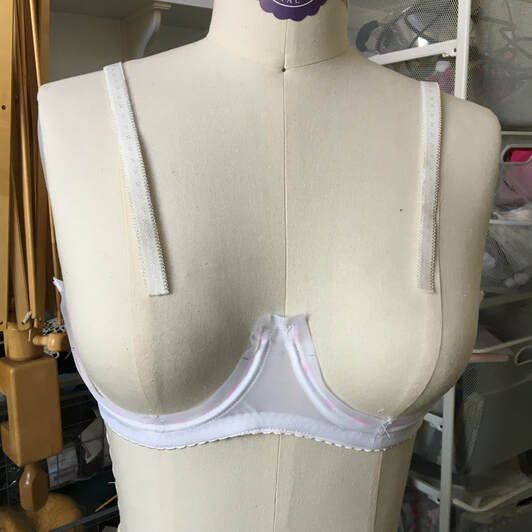 Now the new cup styles. My self-drafted bra has horizontal cup seams, and I wanted to try both vertical and diagonal seams.
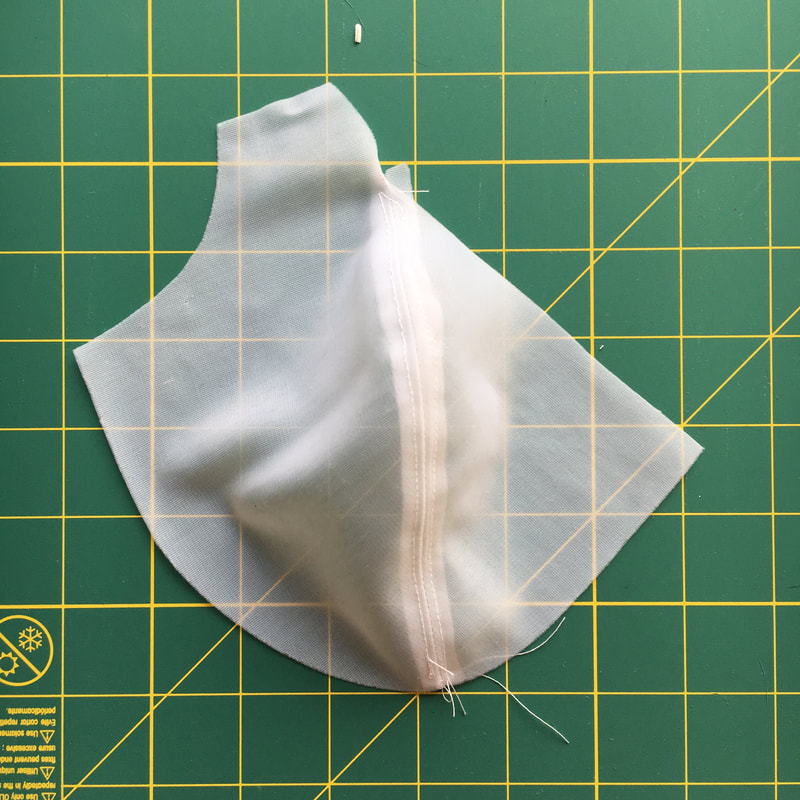
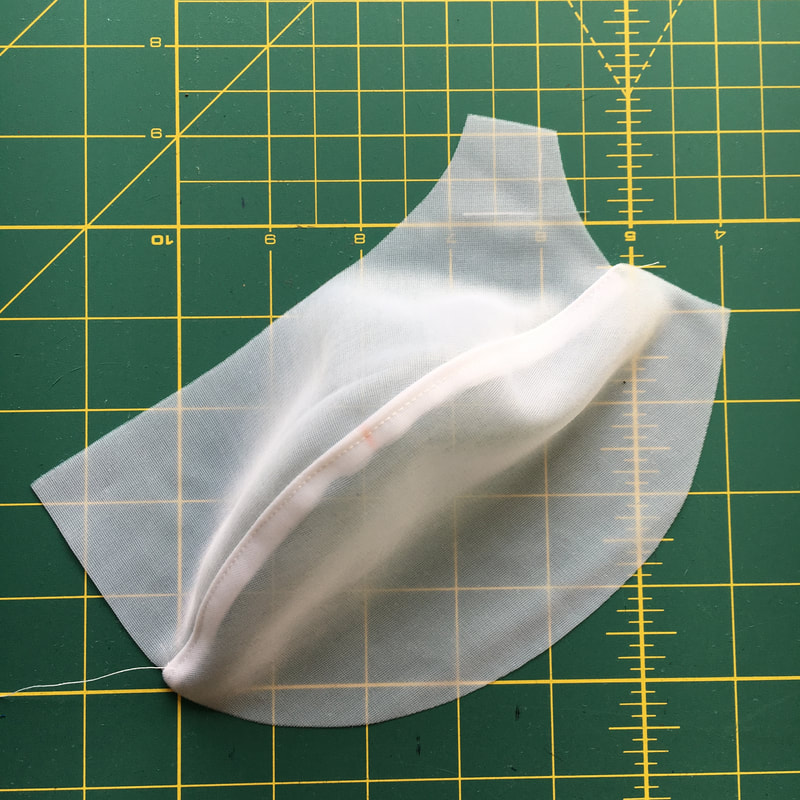
I cut and sewed one cup in each style, with the vertical seam as a right cup and the diagonal seam as a left cup.
After removing the underwires from the channeling, I basted the cups into my fitting band, keeping in mind that extra seam allowance would stick out at the underarm edge that would normally be finished with elastic. Looks like I forgot to add seam allowance to the neck edge of the vertical cup. Oops! Now pop the underwires back in and try it on. 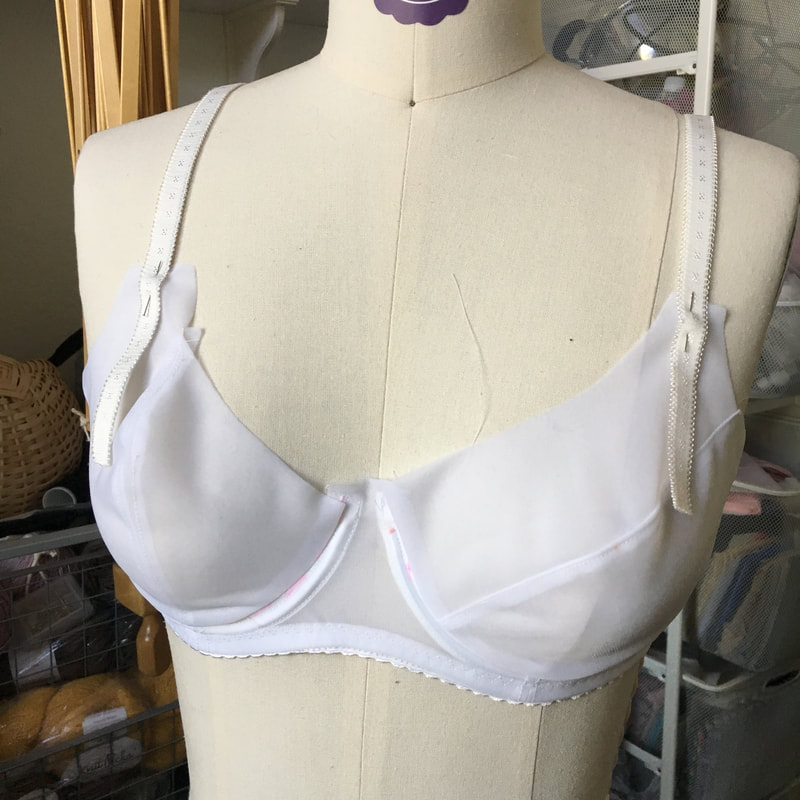 My dress form is not as squishy as I am, and doesn't have as much lower cup fullness as I do. The diagonal seam cup fits me very well and doesn't seem to need any changes. There is some weirdness in the fit of the vertical seam cup. Horizontal wrinkles in the lower part of the cup seem to indicate not enough room, and the bulging above the apex means there is too much curve in the seam. Looks like I have some alterations to work on!
0 Comments
Leave a Reply. |

CassieI design lingerie sewing patterns for everyday comfort and feminine style in an inclusive size range. Fill up your underwear drawer with beautiful custom-made bras and panties in your favorite fabrics and trims, designed to fit your body. 


Categories
All
Archives
March 2024
|
 RSS Feed