
|
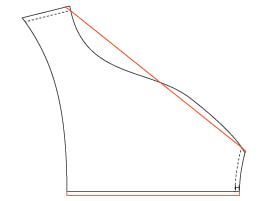
Happy New Year, dear sewists! After a short winter holiday, I am back at work. Today I wanted to share with you a pattern hack for my latest panty pattern, the Tulip Hi-Cut. While developing this pattern, I had considered a lace back option, but I already had too many varations. During my holiday, I decided to come back to that idea and try it out as a pattern hack. I hope you enjoy the following tutorial. Happy Sewing!   Adjusting the Pattern Print out your back piece and tape it over some paper. Mark the seam allowances on the gusset and side seams. I find it easier to make everything match perfectly when I know exactly where the seam is.
Sewing
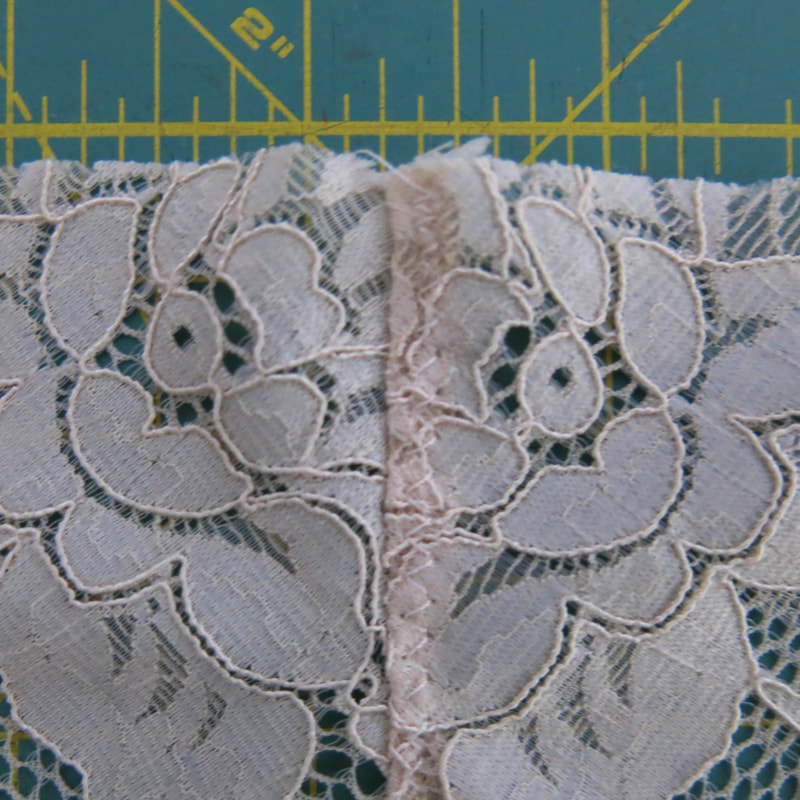
With right sides together, sew the center back seam of Back with a stretch stitch. Here I used a lightning stitch.
Finger press the seam allowance to one side and topstitch with zigzag stitch. Trim the excess seam allowance.
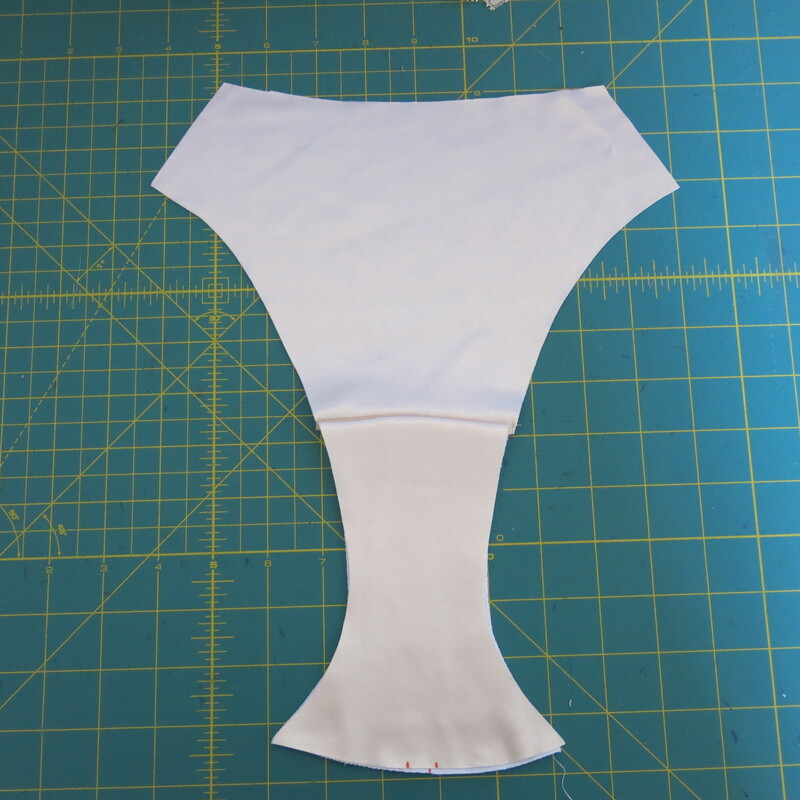
Sew the Front to both Gusset layers, following the instructions in the pattern. On the right, here is my (somewhat messy) graded seam allowance. 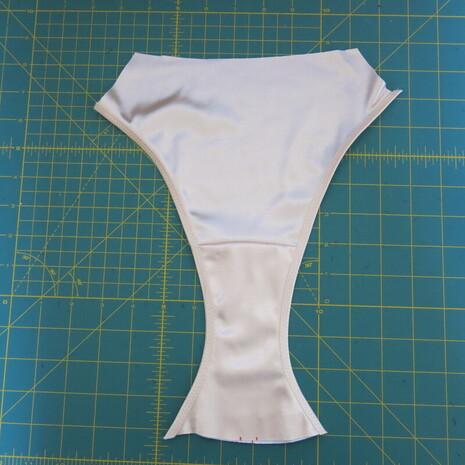 Apply fold over elastic to the leg openings.
Sew Front/Gusset unit to Back, right sides together with a straight stitch. Finger press seam allowance towards the Back, and topstitch with zigzag stitch. Trim excess seam allowance
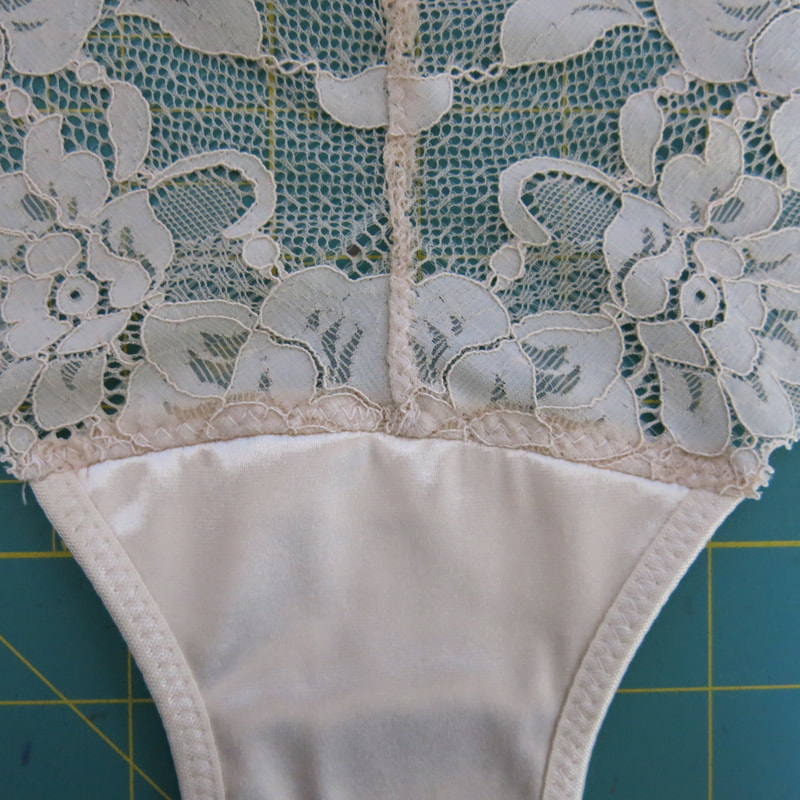
With right sides together, sew one side seam. Finger press seam allowance towards the back. Apply FOE along the waistline.  Sew remaining side seam. If desired, add bartracks at the side seams to compress the elastics. Trim excess elastic. Enjoy!
0 Comments
Leave a Reply. |

CassieI design lingerie sewing patterns for everyday comfort and feminine style in an inclusive size range. Fill up your underwear drawer with beautiful custom-made bras and panties in your favorite fabrics and trims, designed to fit your body. 


Categories
All
Archives
March 2024
|


 RSS Feed