
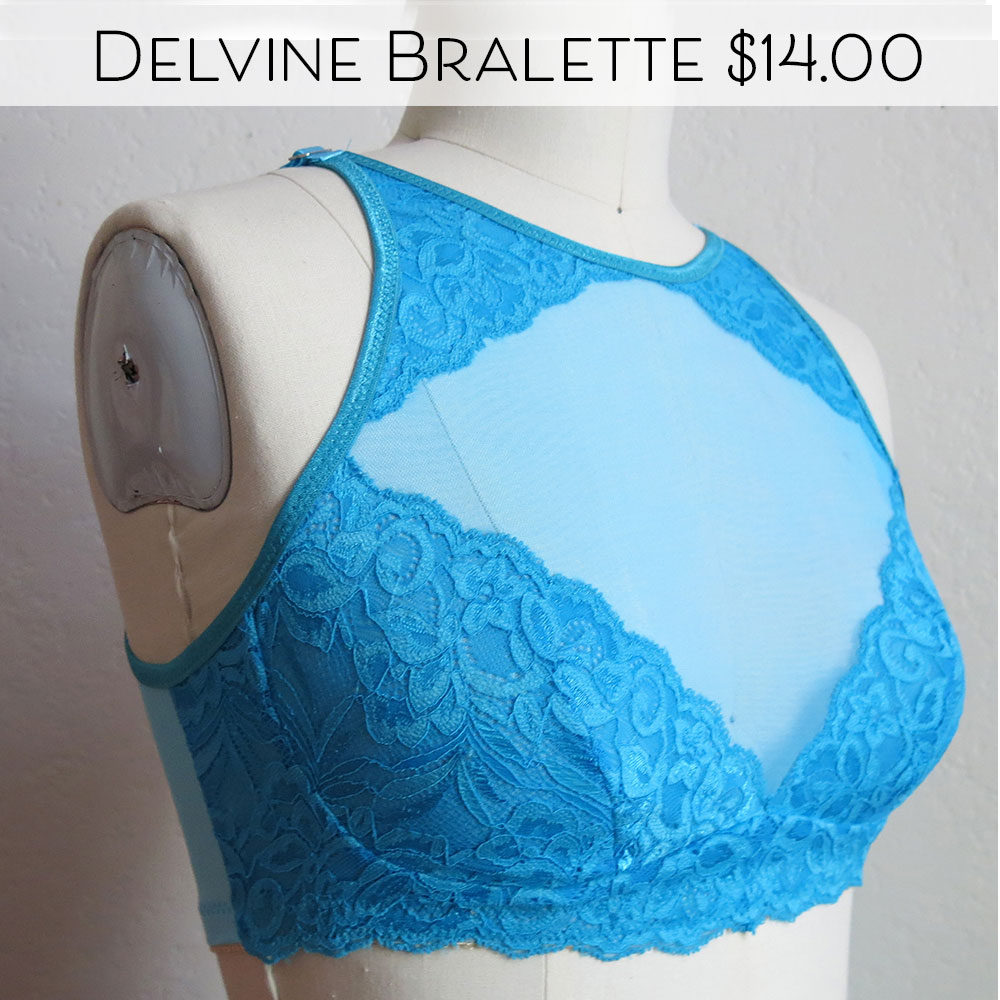
 My original design idea for the Delvine Bralette was to have a gathered cup. But after I started adding the lace overlay options, there were just too many choices. I decided it would be better to include the gathered cup as a pattern hack. In this quick tutorial video, learn how to change the bust dart into gathers, while still adding a lining with darts for bust support and shaping. If you have any questions, leave me a comment below. Happy Sewing!
1 Comment
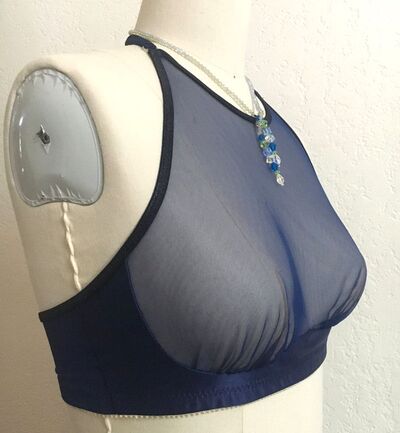
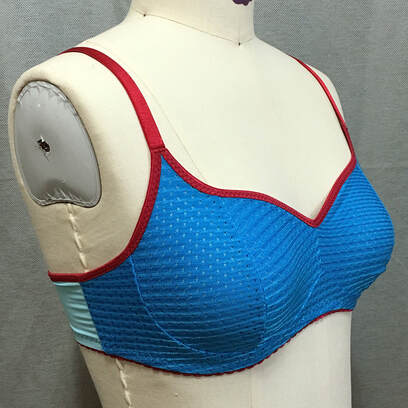
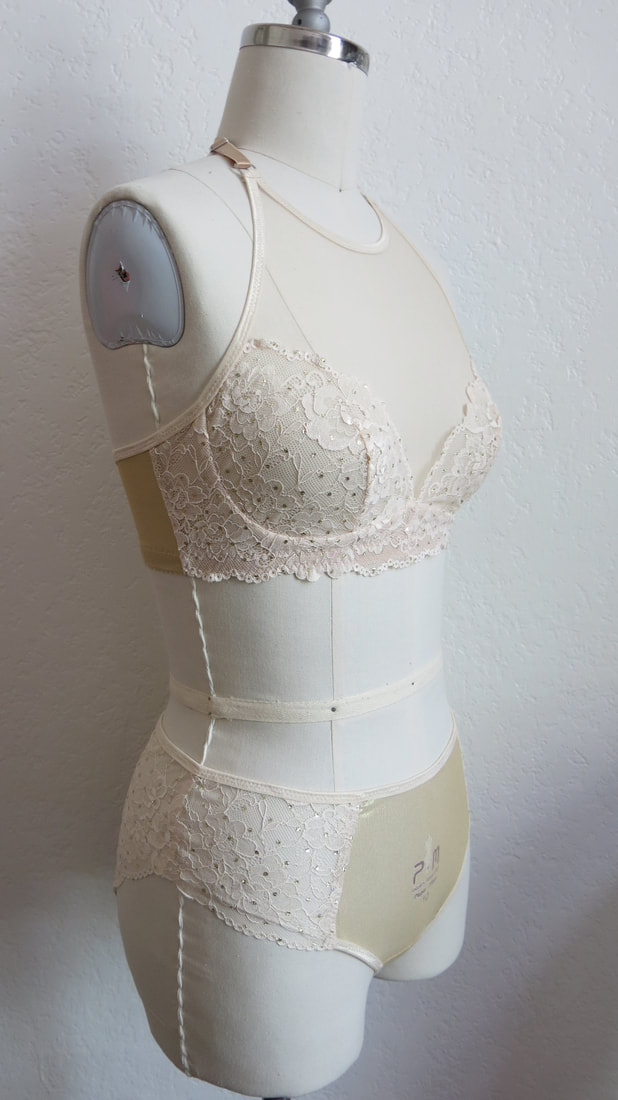
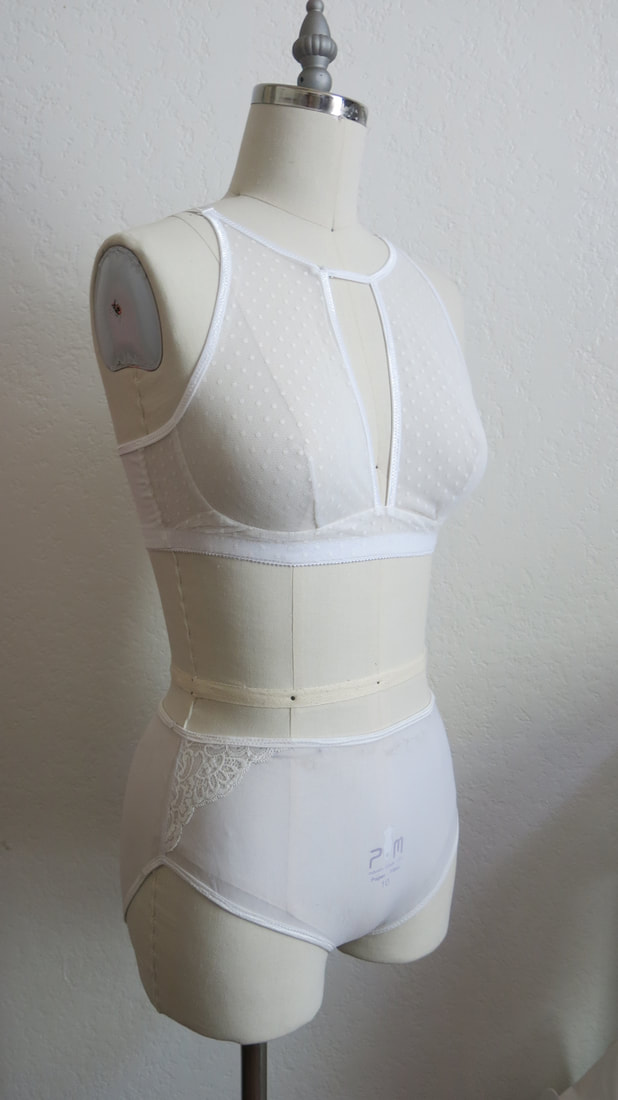
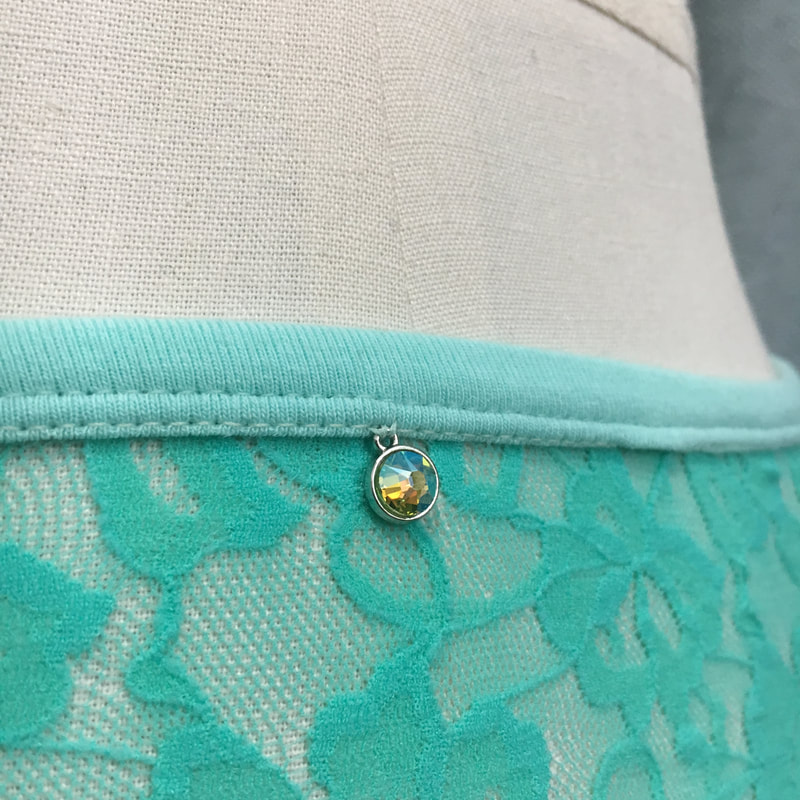
 When I create patterns, I try to make them easy to customize not only for style but for fit as well. To get an optimal fit in the Delvine Bralette, it may be necessary to move the dart position so that it is aligned with the apex on the body. What is the apex?The apex is the fullest part of the bust, usually where the nipple lies. In the photo above, you can see that the dart aligns with the fullest part of the bust, and also aligns with the vertical seam on the dress form. Depending on your body shape, it may be necessary to alter the apex position on the pattern pieces. Video TutorialBelow is a video tutorial showing you how to determine your apex measurement and how to alter the pattern pieces. As I mention in the video, regardless of what front style you wish to use, you will need to begin with changing the pattern piece for Front A, D, E, F. Once you have changed it, you will need to copy the changes to Front B/C and any of the lace overlay pieces you wish to use. Other Dart QuestionsI have received a few other dart-related questions, so I will answer them here.
Why does the dart go past the apex? Usually when sewing tops and dresses, we want the dart to end 1"+ away from the apex point. If the dart ended directly at the apex, that would create pointiness in the bust, which is not very flattering. On my initial sample of the Delvine, I had the dart end directly at the apex point and the shape it created was pointy and not very pretty. But having the dart end above the apex point creates a nice rounded shape. Why are the dart legs curved? Again, when sewing tops and dresses, we usually see straight dart legs. Curved dart legs create a shape that contours more closely to the body, and in bra-making we definitely want a close fit! The curves in the dart legs create a rounded shape that contours to the roundness of the breast. How can I transfer the dart onto my fabric? When I made my samples, I used transfer marking paper and a tracing wheel. But one of my testers had a brilliant idea! She printed out an extra front piece and cut out the dart area, then used that to trace the dart. Do you have any other dart-related questions? Ask me in the comments section below. Until next time, Happy Sewing! I couldn't make patterns without the invaluable feedback from my hard-working pattern testers! They help me find any errors in the instructions and pattern pieces, and also help me test out my size range. Below are the beautiful creations from my pattern testers for the Delvine Bralette. 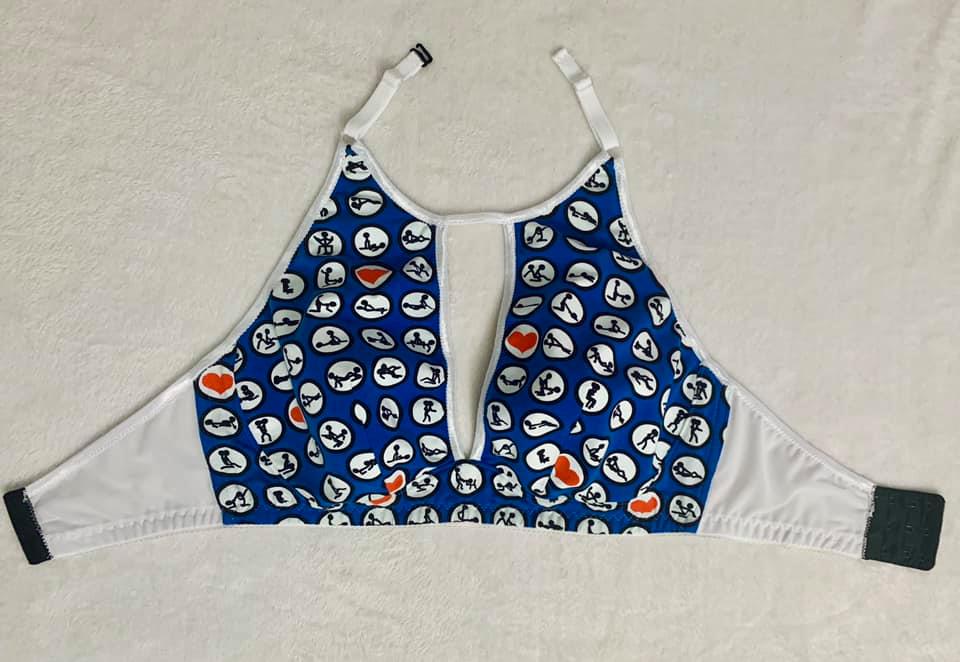 Anna @sew.cheeky Oh my goodness... once I took a close look at the main fabric, it made me laugh!!
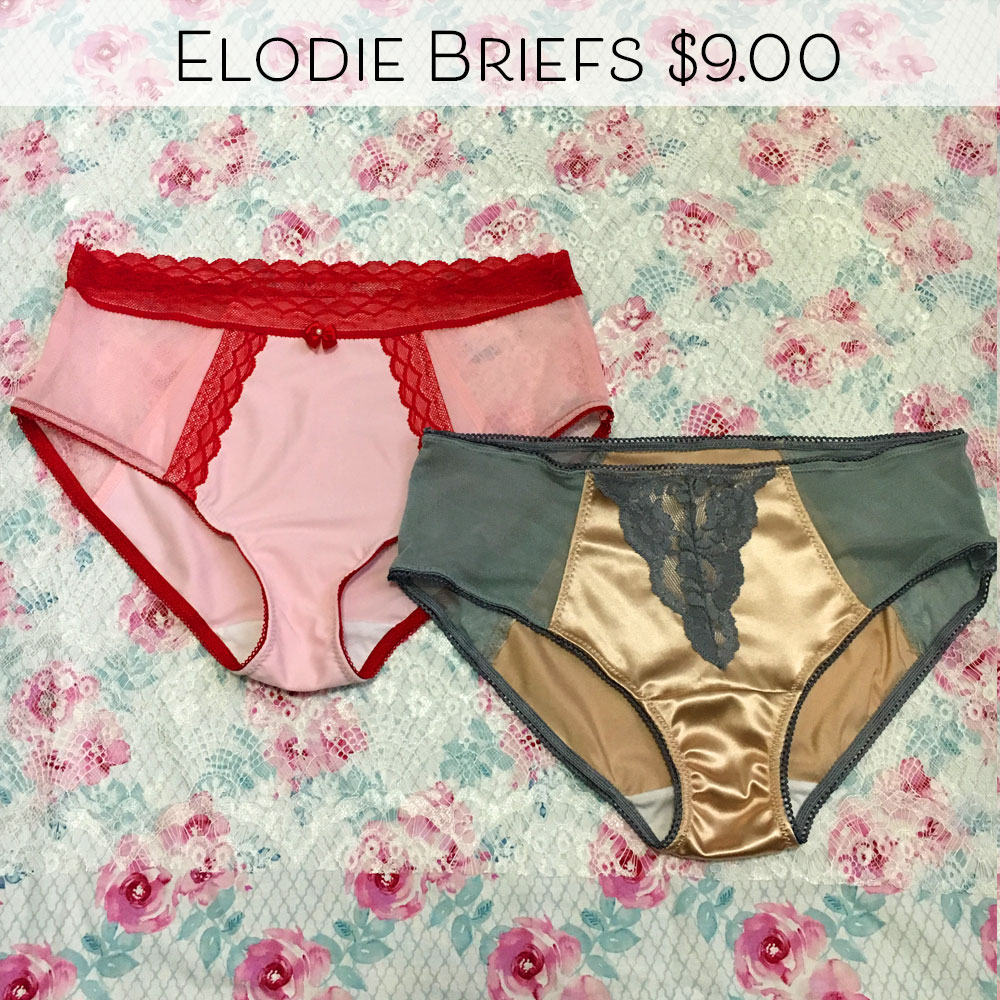
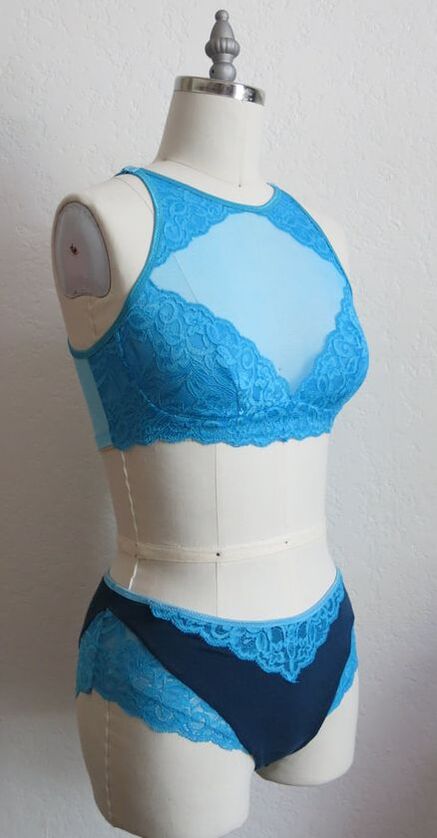
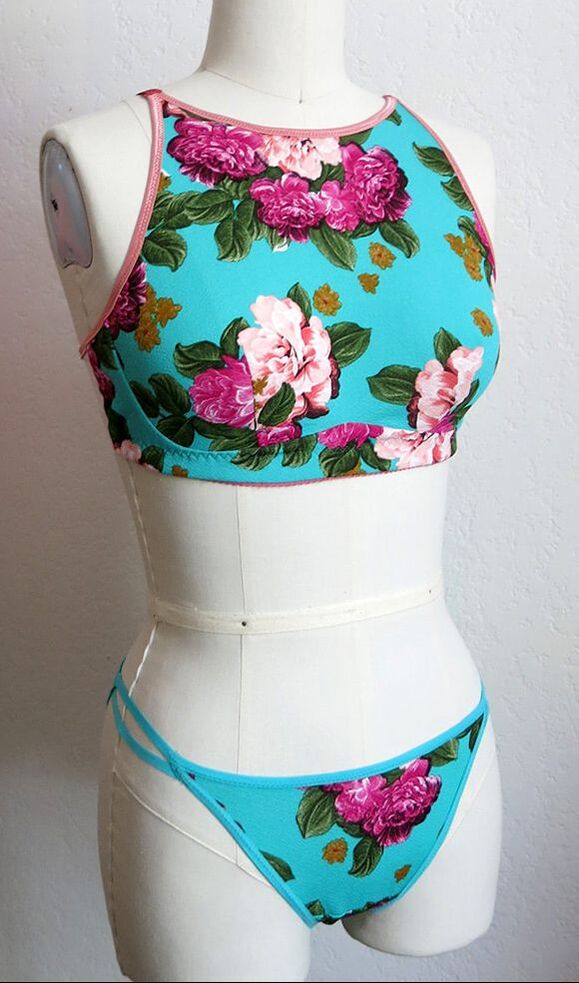
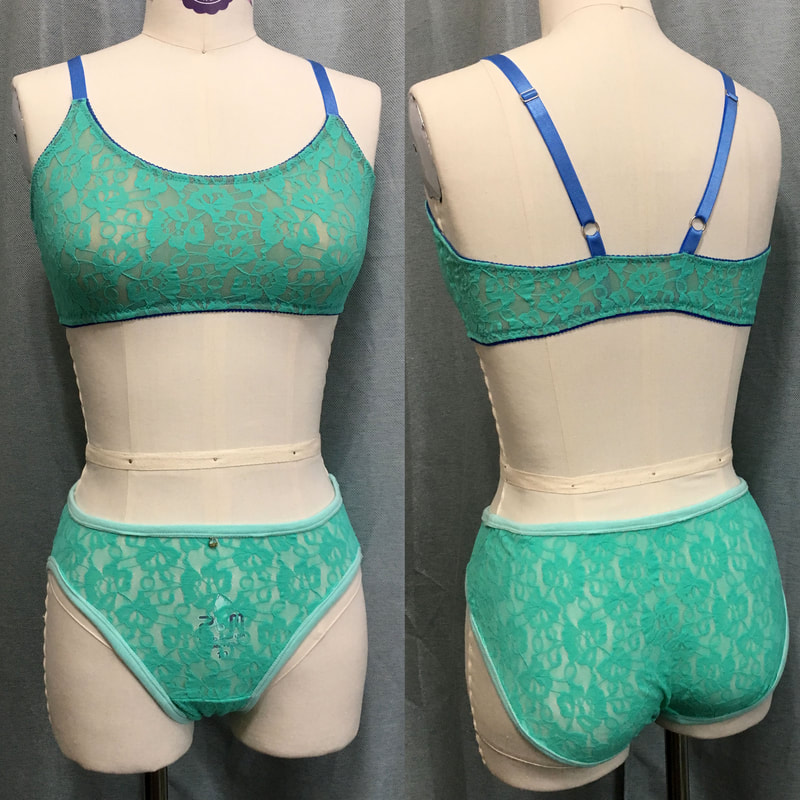
Is this set looking familiar? After yesterday's post about creating the strappy pattern hack for the Elodie Briefs, I decided to make this my set of the week. This also uses the same lace fabric as last week's set, aqua lace.
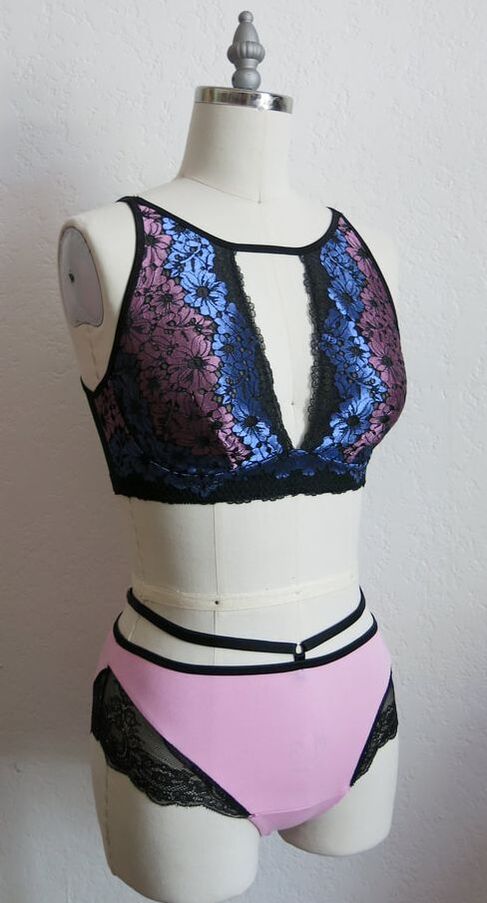
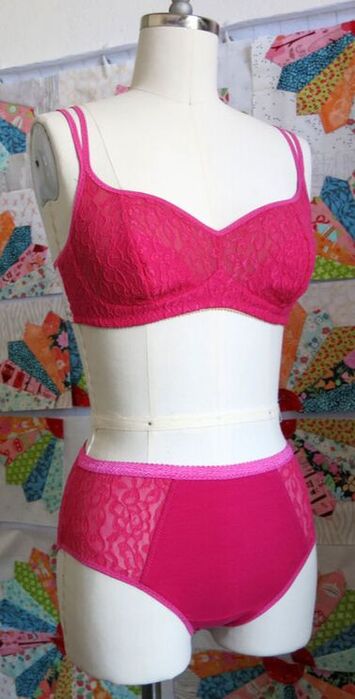
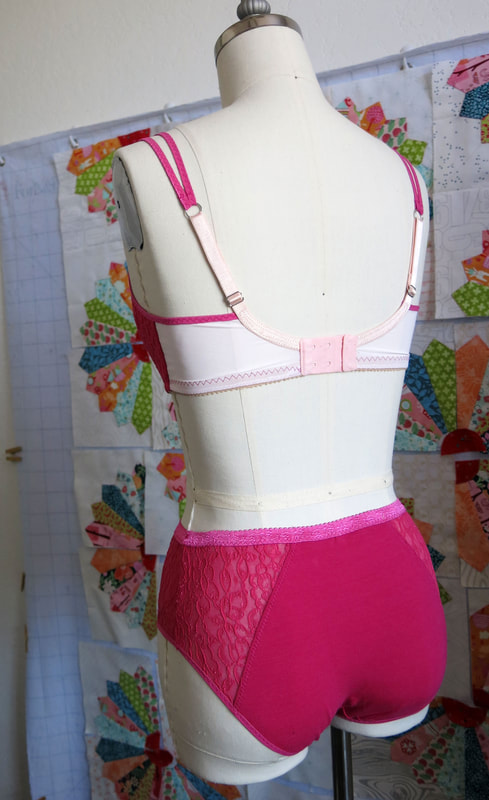
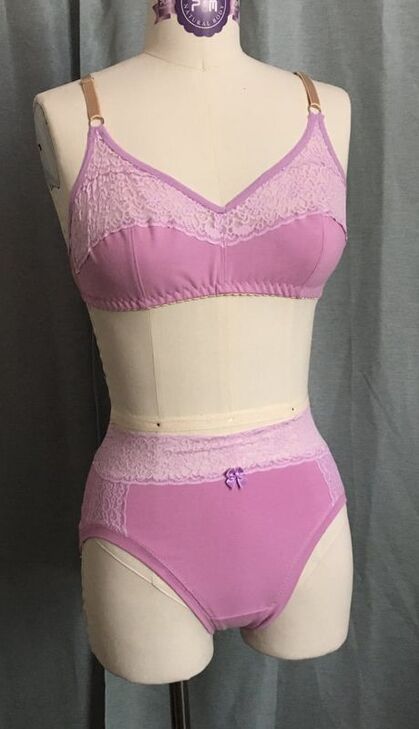
Even though my valentine is far away this year, I made myself a pretty (and comfortable!) magenta lace set for Valentine's Day!
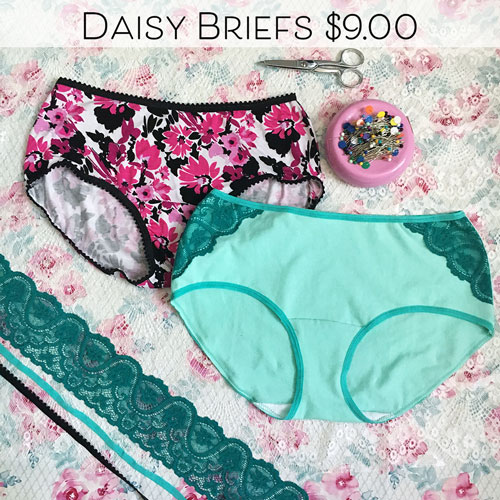
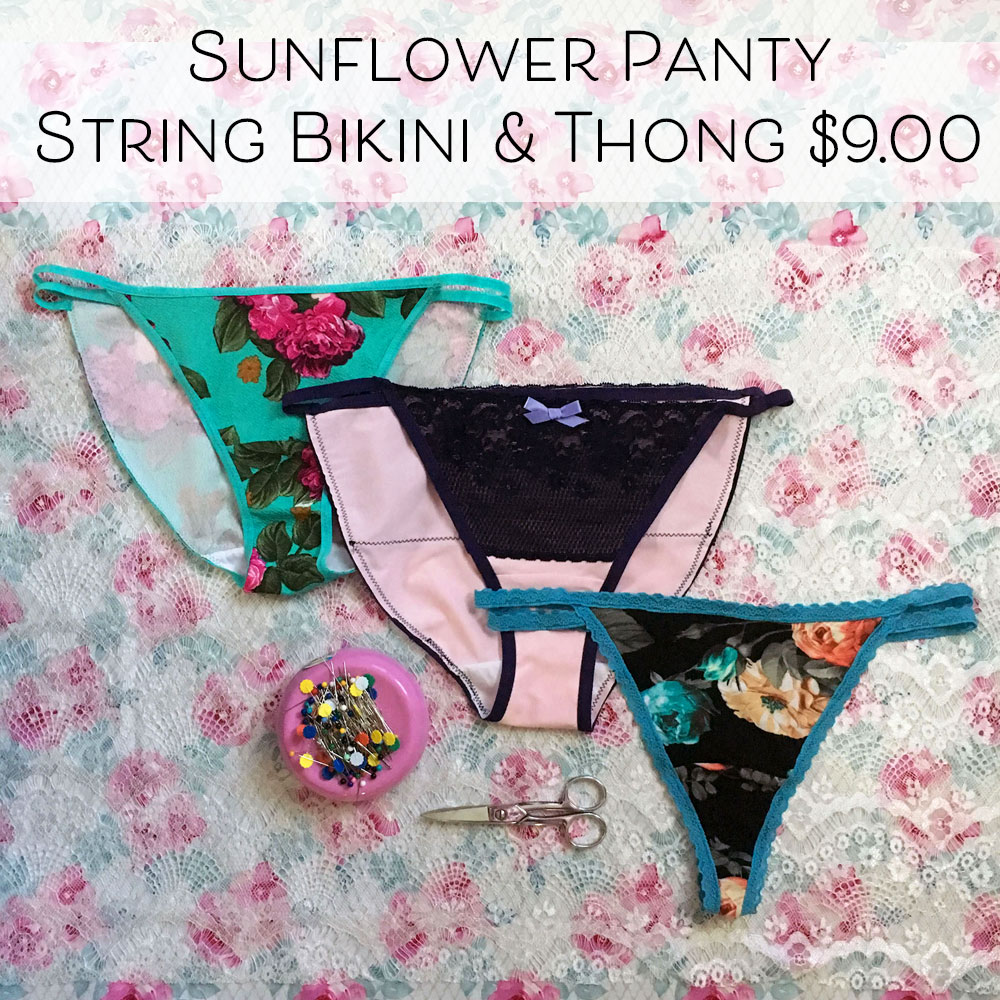
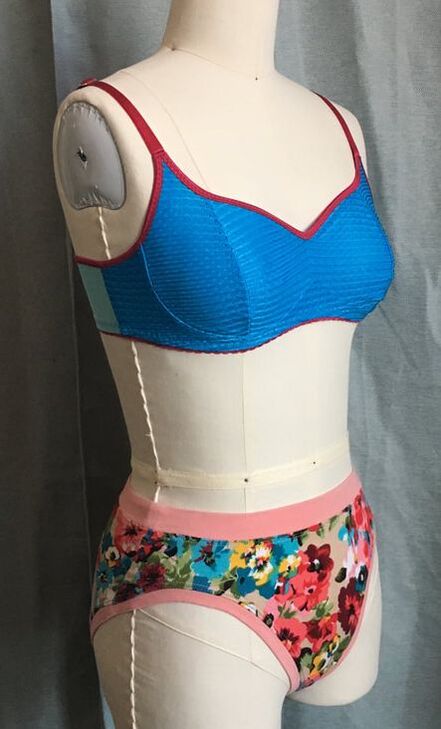
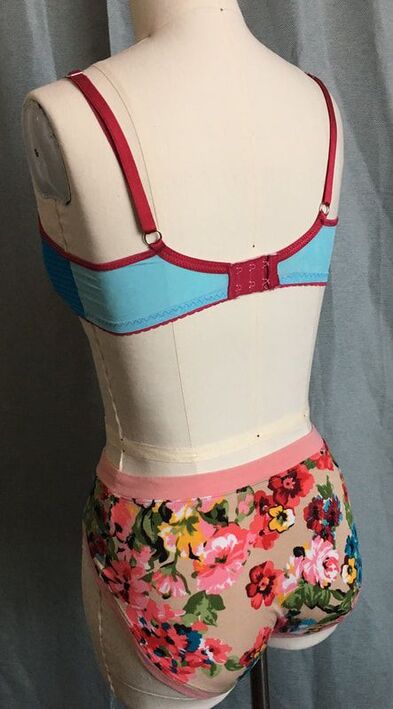
This week has been cold and dreary, so can I pretend that spring is coming soon with sunny skies and flowers?
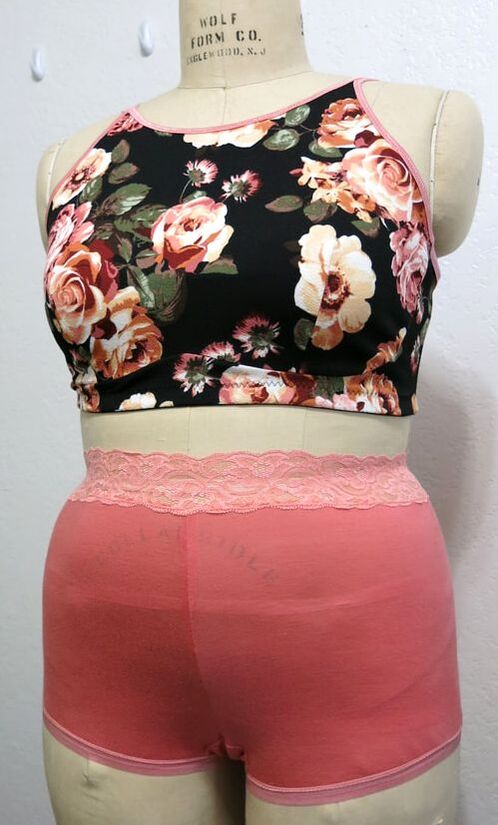
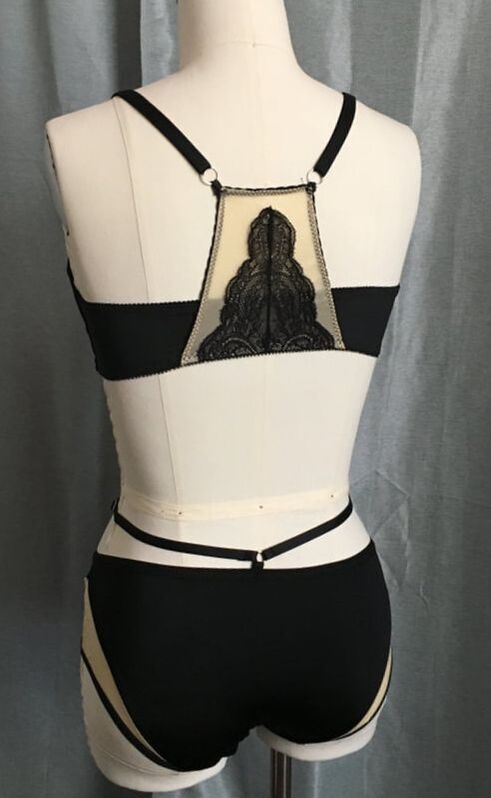
Happy New Year, sewing friends! A new year means lots of new things to come here. More patterns, tutorials and videos are coming your way. Is there something you'd like to see? Let me know by leaving a comment below, or filling out my contact form. Thanks! I’m starting a featured set of the week, with details on the patterns, fabrics and trims. To begin, here is Black & Tan:
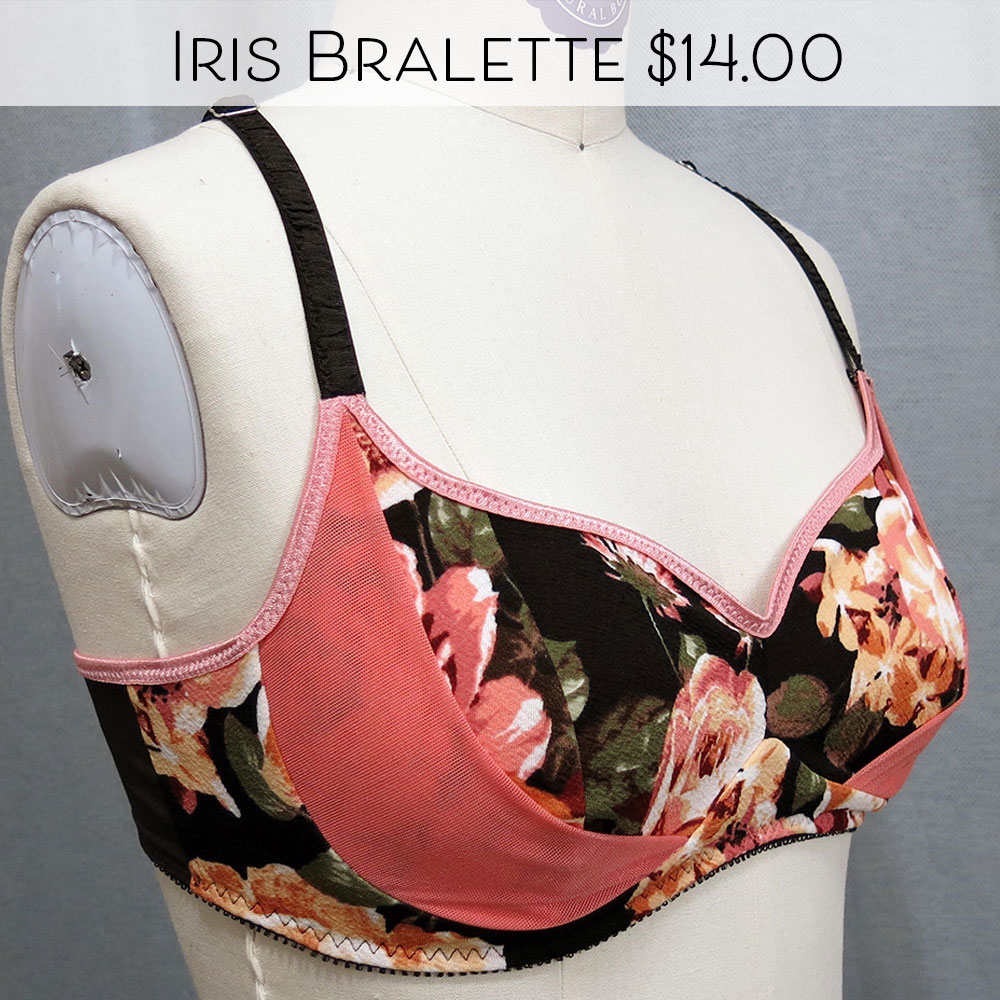
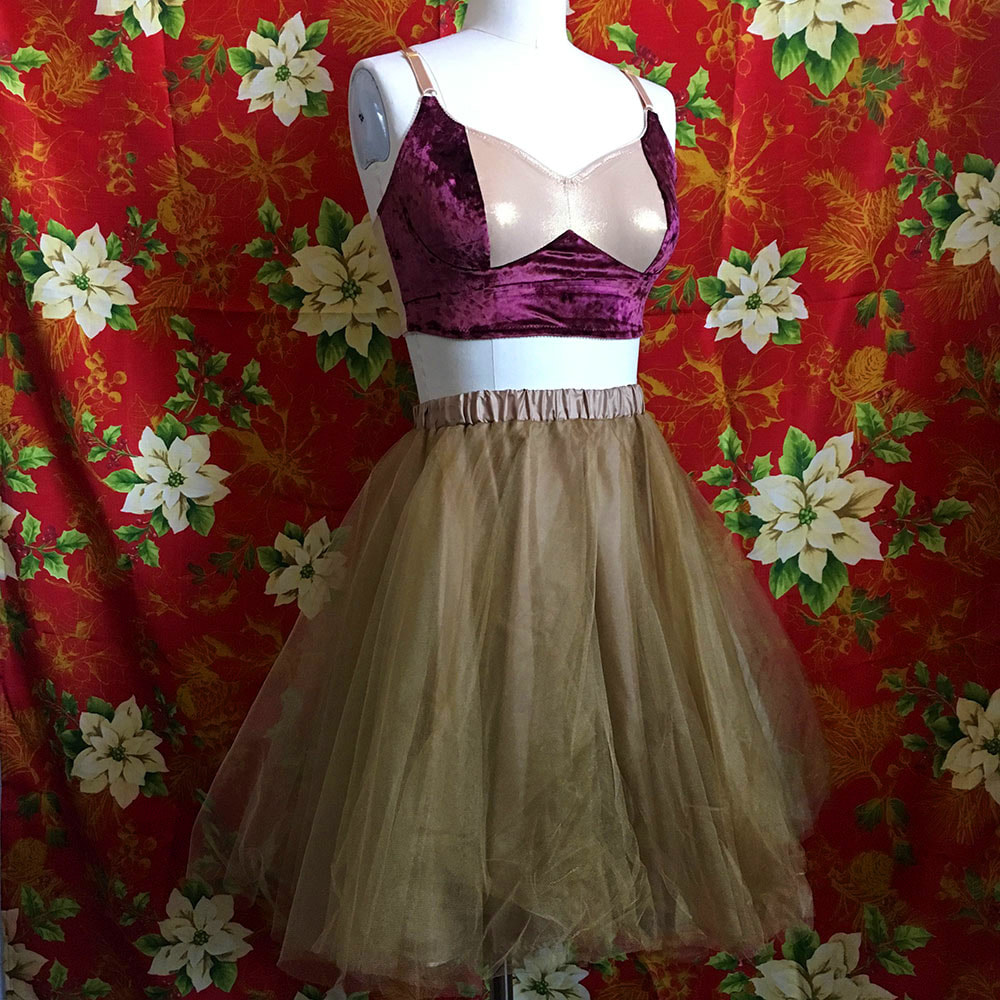 Christmas is almost here, and what a perfect time to use some of my luxurious and sparkly fabrics! Stretch panne velvet and gold stretch mesh are made up into a longline hack of my Iris Bralette pattern. This pattern hack is super easy, and creates such a pretty silhouette!
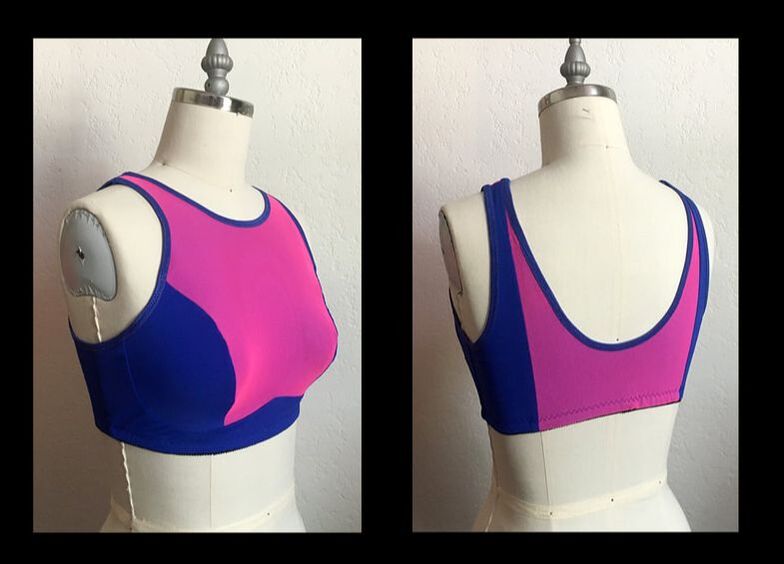
 For the best fit on the Iris Bralette, you will want the vertical seam to fall in line with the apex. What is the apex?The apex is the fullest part of the bust, usually where the nipple lies. In the photo above, you can see that the vertical seam aligns with the fullest part of the bust, and also aligns with the vertical seam on the dress form.
Here is the second part of the Iris Bralette tester roundup. Enjoy!  https://www.etsy.com/au/shop/SewWhatMay Working with pattern testers not only helps me improve the quality of my pattern, but also provides me with a source of inspiration from all the lovely projects they create. Below are some of their Iris Bralette projects, and I hope you enjoy seeing them as much as I do.  Ali @sewintimates www.wordpress.com/sewintimates 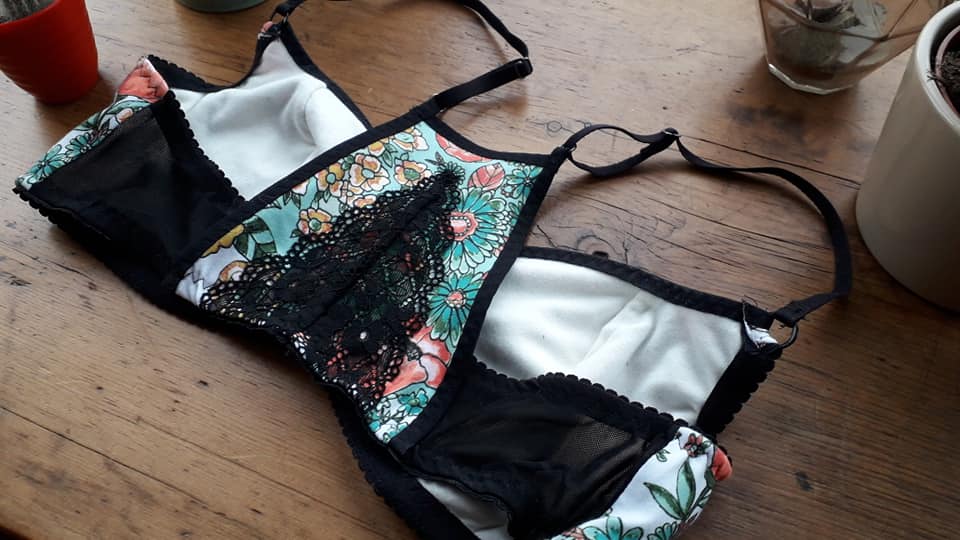 Ali @sewintimates www.wordpress.com/sewintimates I am so happy to share with you my new pattern, and first ever bralette pattern, the Iris Bralette! What do you look for in a bralette? I want mine to be comfortable, supportive, and pretty. Unlike many of the stretch knit bralette patterns out there, Iris has separate cups and cradle to provide the best fit and support. A variety of front and back style options let you create something beautiful to fit your personal style and needs. 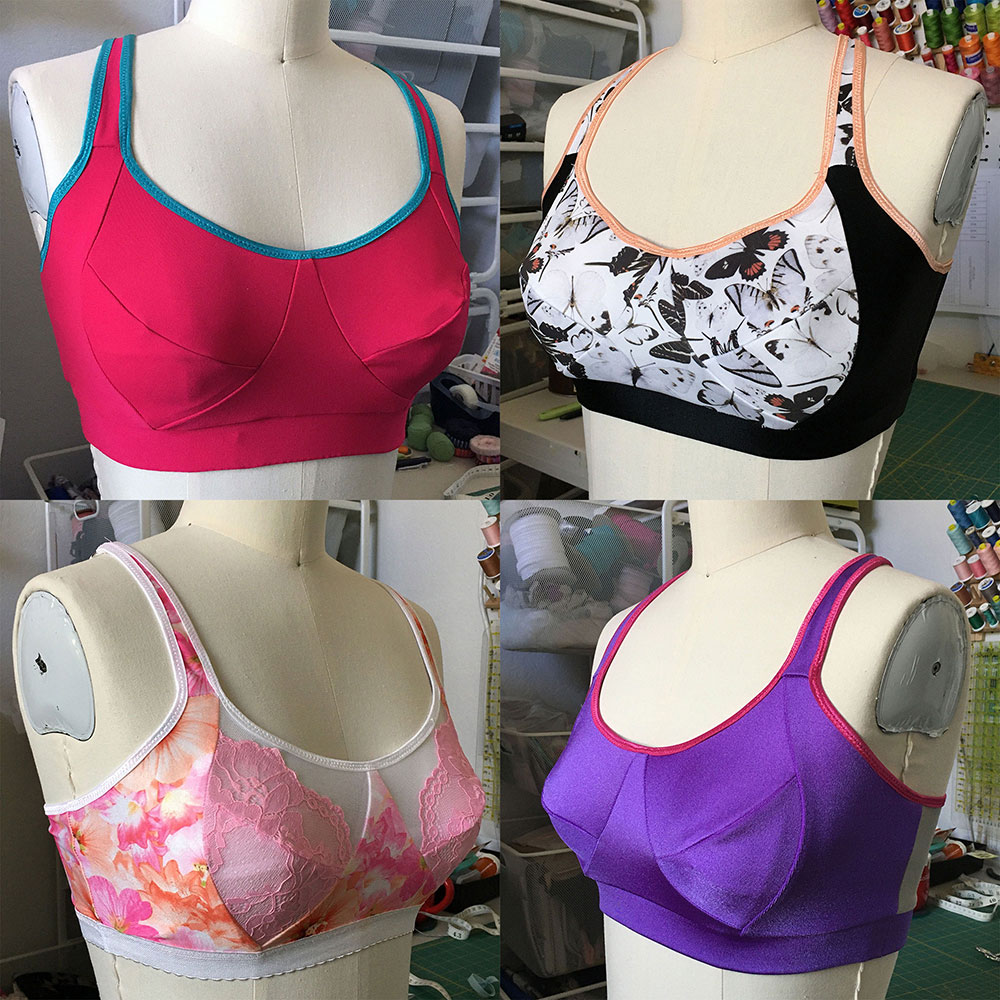
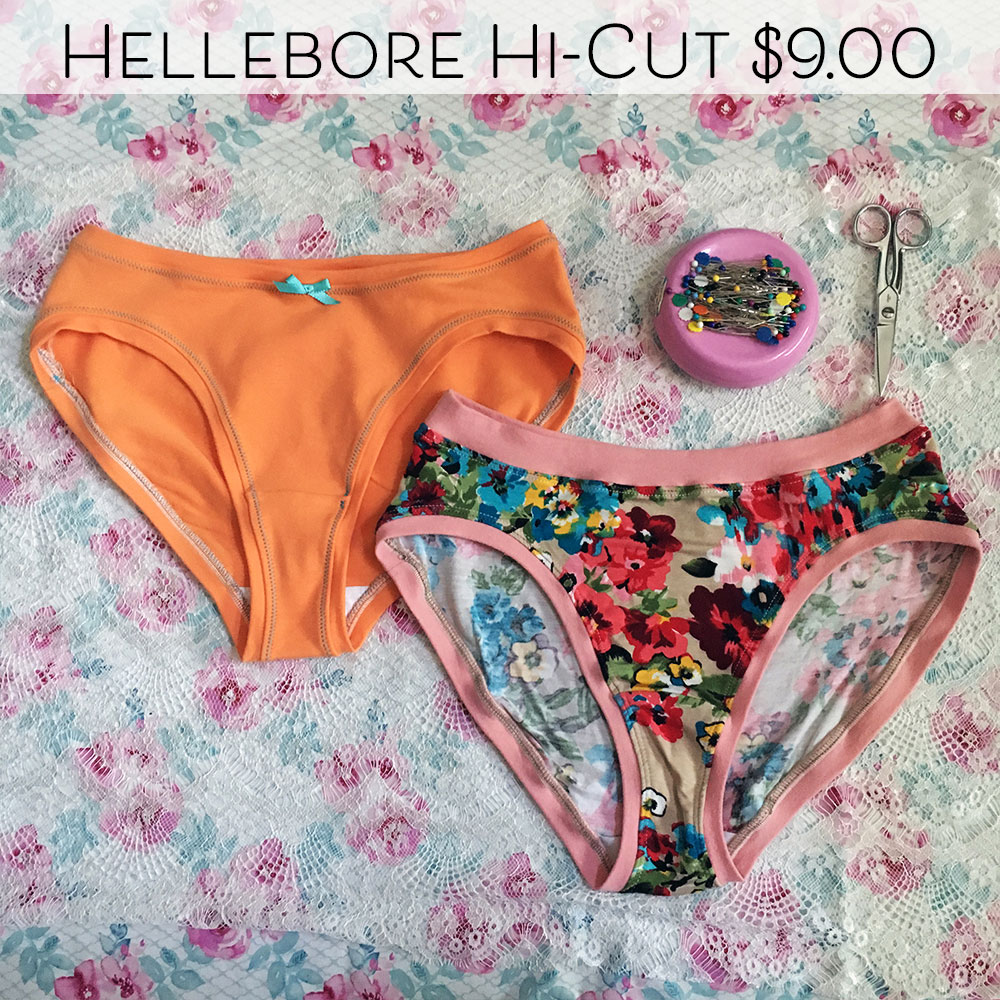
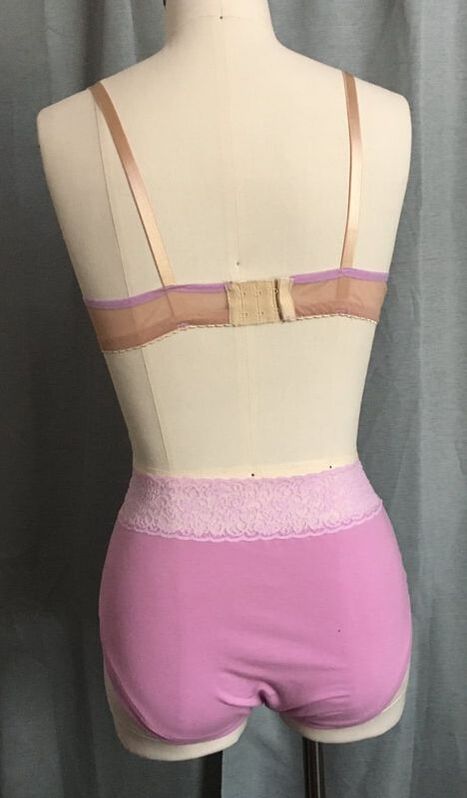
Awhile ago I made this set, and I forgot to share it! I thought of it again when I was writing my post about joining strips of lace. PatternsBralette: Bambi Bra by Ohhh Lulu Panties: Hellebore Hi-Cut This is my second time using the Bambi Bra. It is an interesting pattern because you can use knit or woven. I used bias charmeuse the first time and it turned out too big. The only measurements indicated on the size chart are the full bust measurements, and a note that Cup Size 1 is for A-B and Cup Size 2 is for C-D. I'm around a 32D, so I used Cup Size 2 and a size Small, but the band still felt quite big on me. The panties are one of my samples for my Hellebore Hi-Cut pattern. I enjoy making coordinating sets and wanted to use this pretty lavender lace again. Fabrics & TrimsMain fabric: Lavender heavy cotton-spandex jersey. I'm not sure of the weight or content because it came in a grab bag. Not terribly soft, but it has very good recovery, so it must have a high amount of spandex. Back band: beige powernet. The pattern doesn't actually say to use powernet for the band, but the first time I used this pattern it was too big, so I made the band smaller and definitely needed firmer fabric in the back. Lavender lace: 2" wide, two pieces joined together. Also from a grab bag. Elastic (upper edges): Lavender matte elastic. I love matte elastic for panties, but this is probably not the best choice for a bralette. Mostly I used it because it matched well. It is thin and soft, but not very firm. Band elastic: 1/2" beige scallop elastic  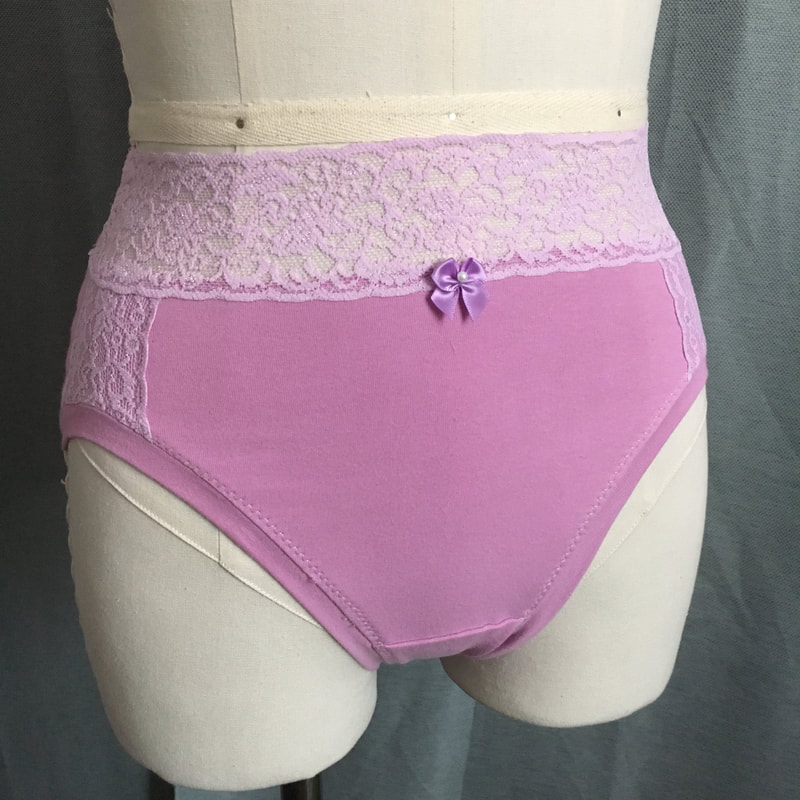 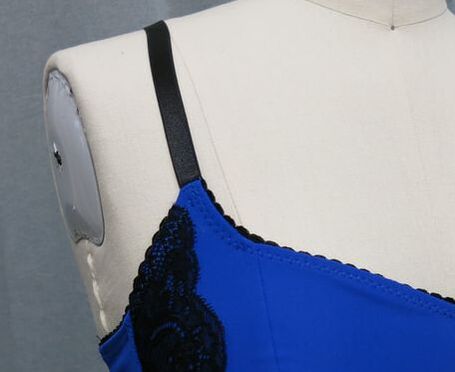 Here’s how it usually goes: my bra project goes swimmingly well until the last step of joining the bra strap. All those layers of fabric, elastic and seam allowances make for a bulky join, and inevitably I break a needle. Doesn’t seem to matter if the join is in the front or the back, I never seem to get it right.
I’ve been trying a few new techniques, and I really like this one. This is for a bra strap with rings at the back, a strap extension built into the cup, and uses a picot elastic for the underarm edge. I am demonstrating this technique with my upcoming bralette pattern. We will begin after the neckline has been finished, and before the underarm elastic is added. |

CassieI design lingerie sewing patterns for everyday comfort and feminine style in an inclusive size range. Fill up your underwear drawer with beautiful custom-made bras and panties in your favorite fabrics and trims, designed to fit your body. 


Categories
All
Archives
March 2024
|


 RSS Feed